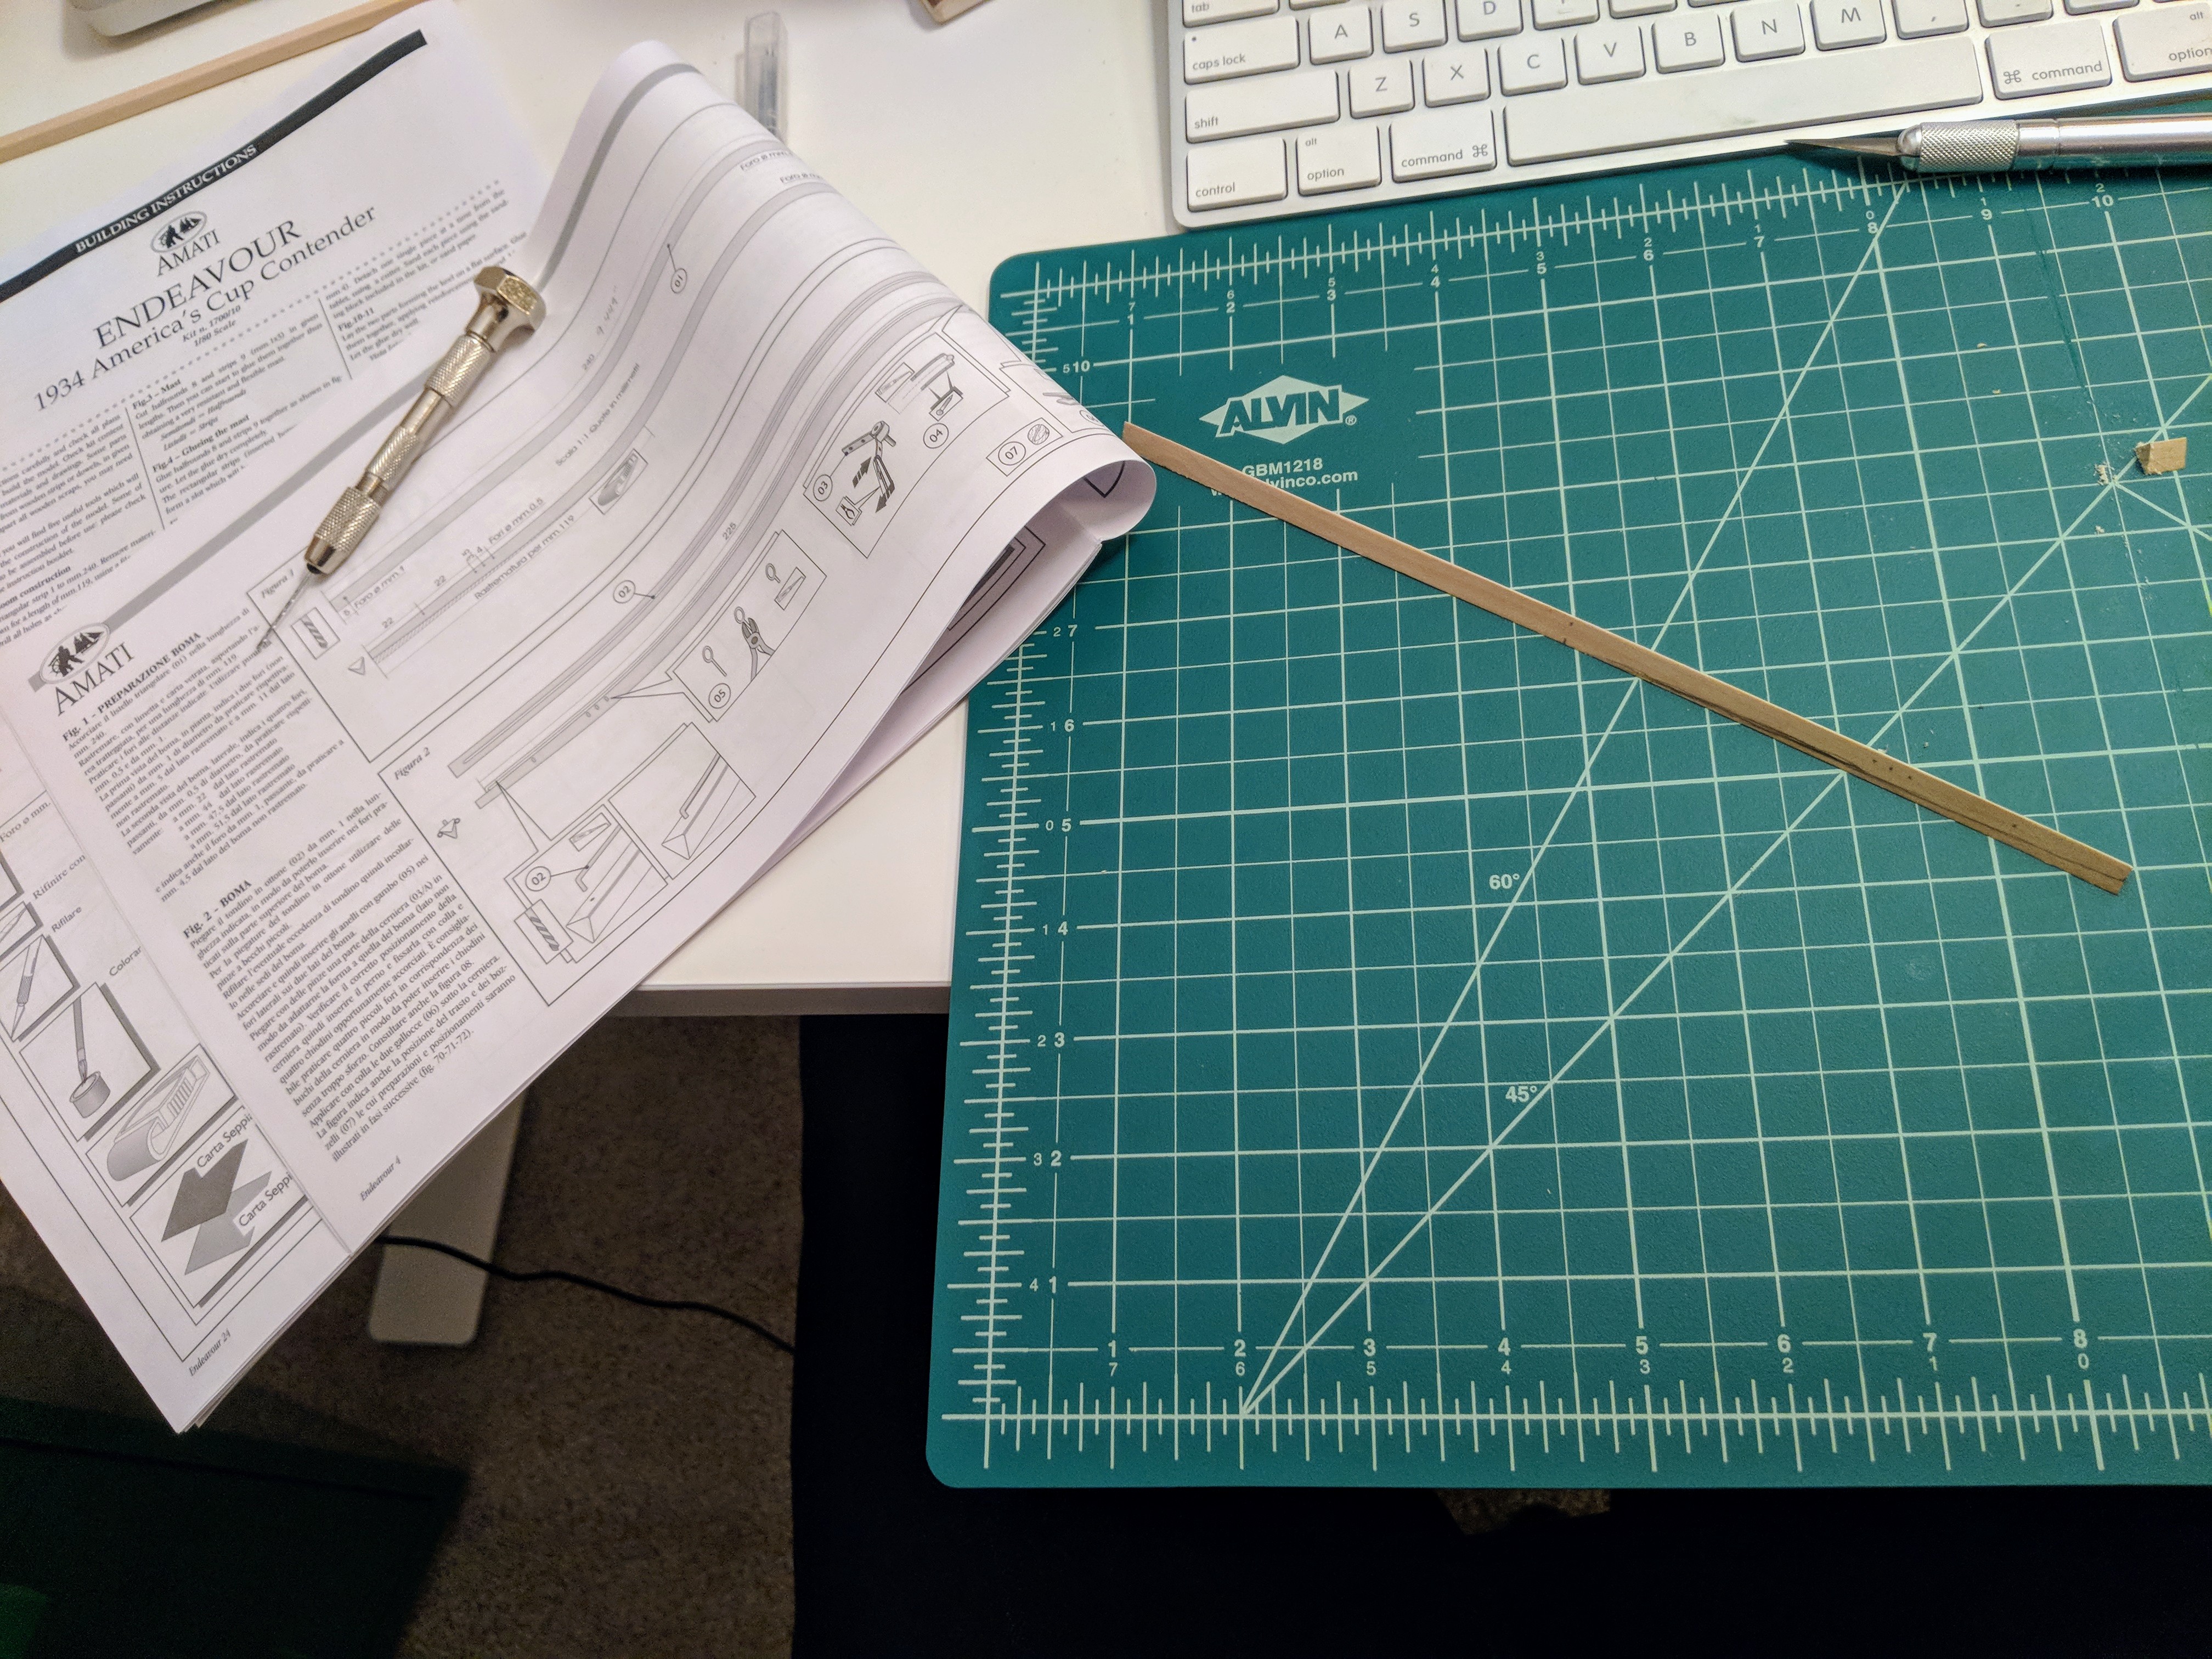
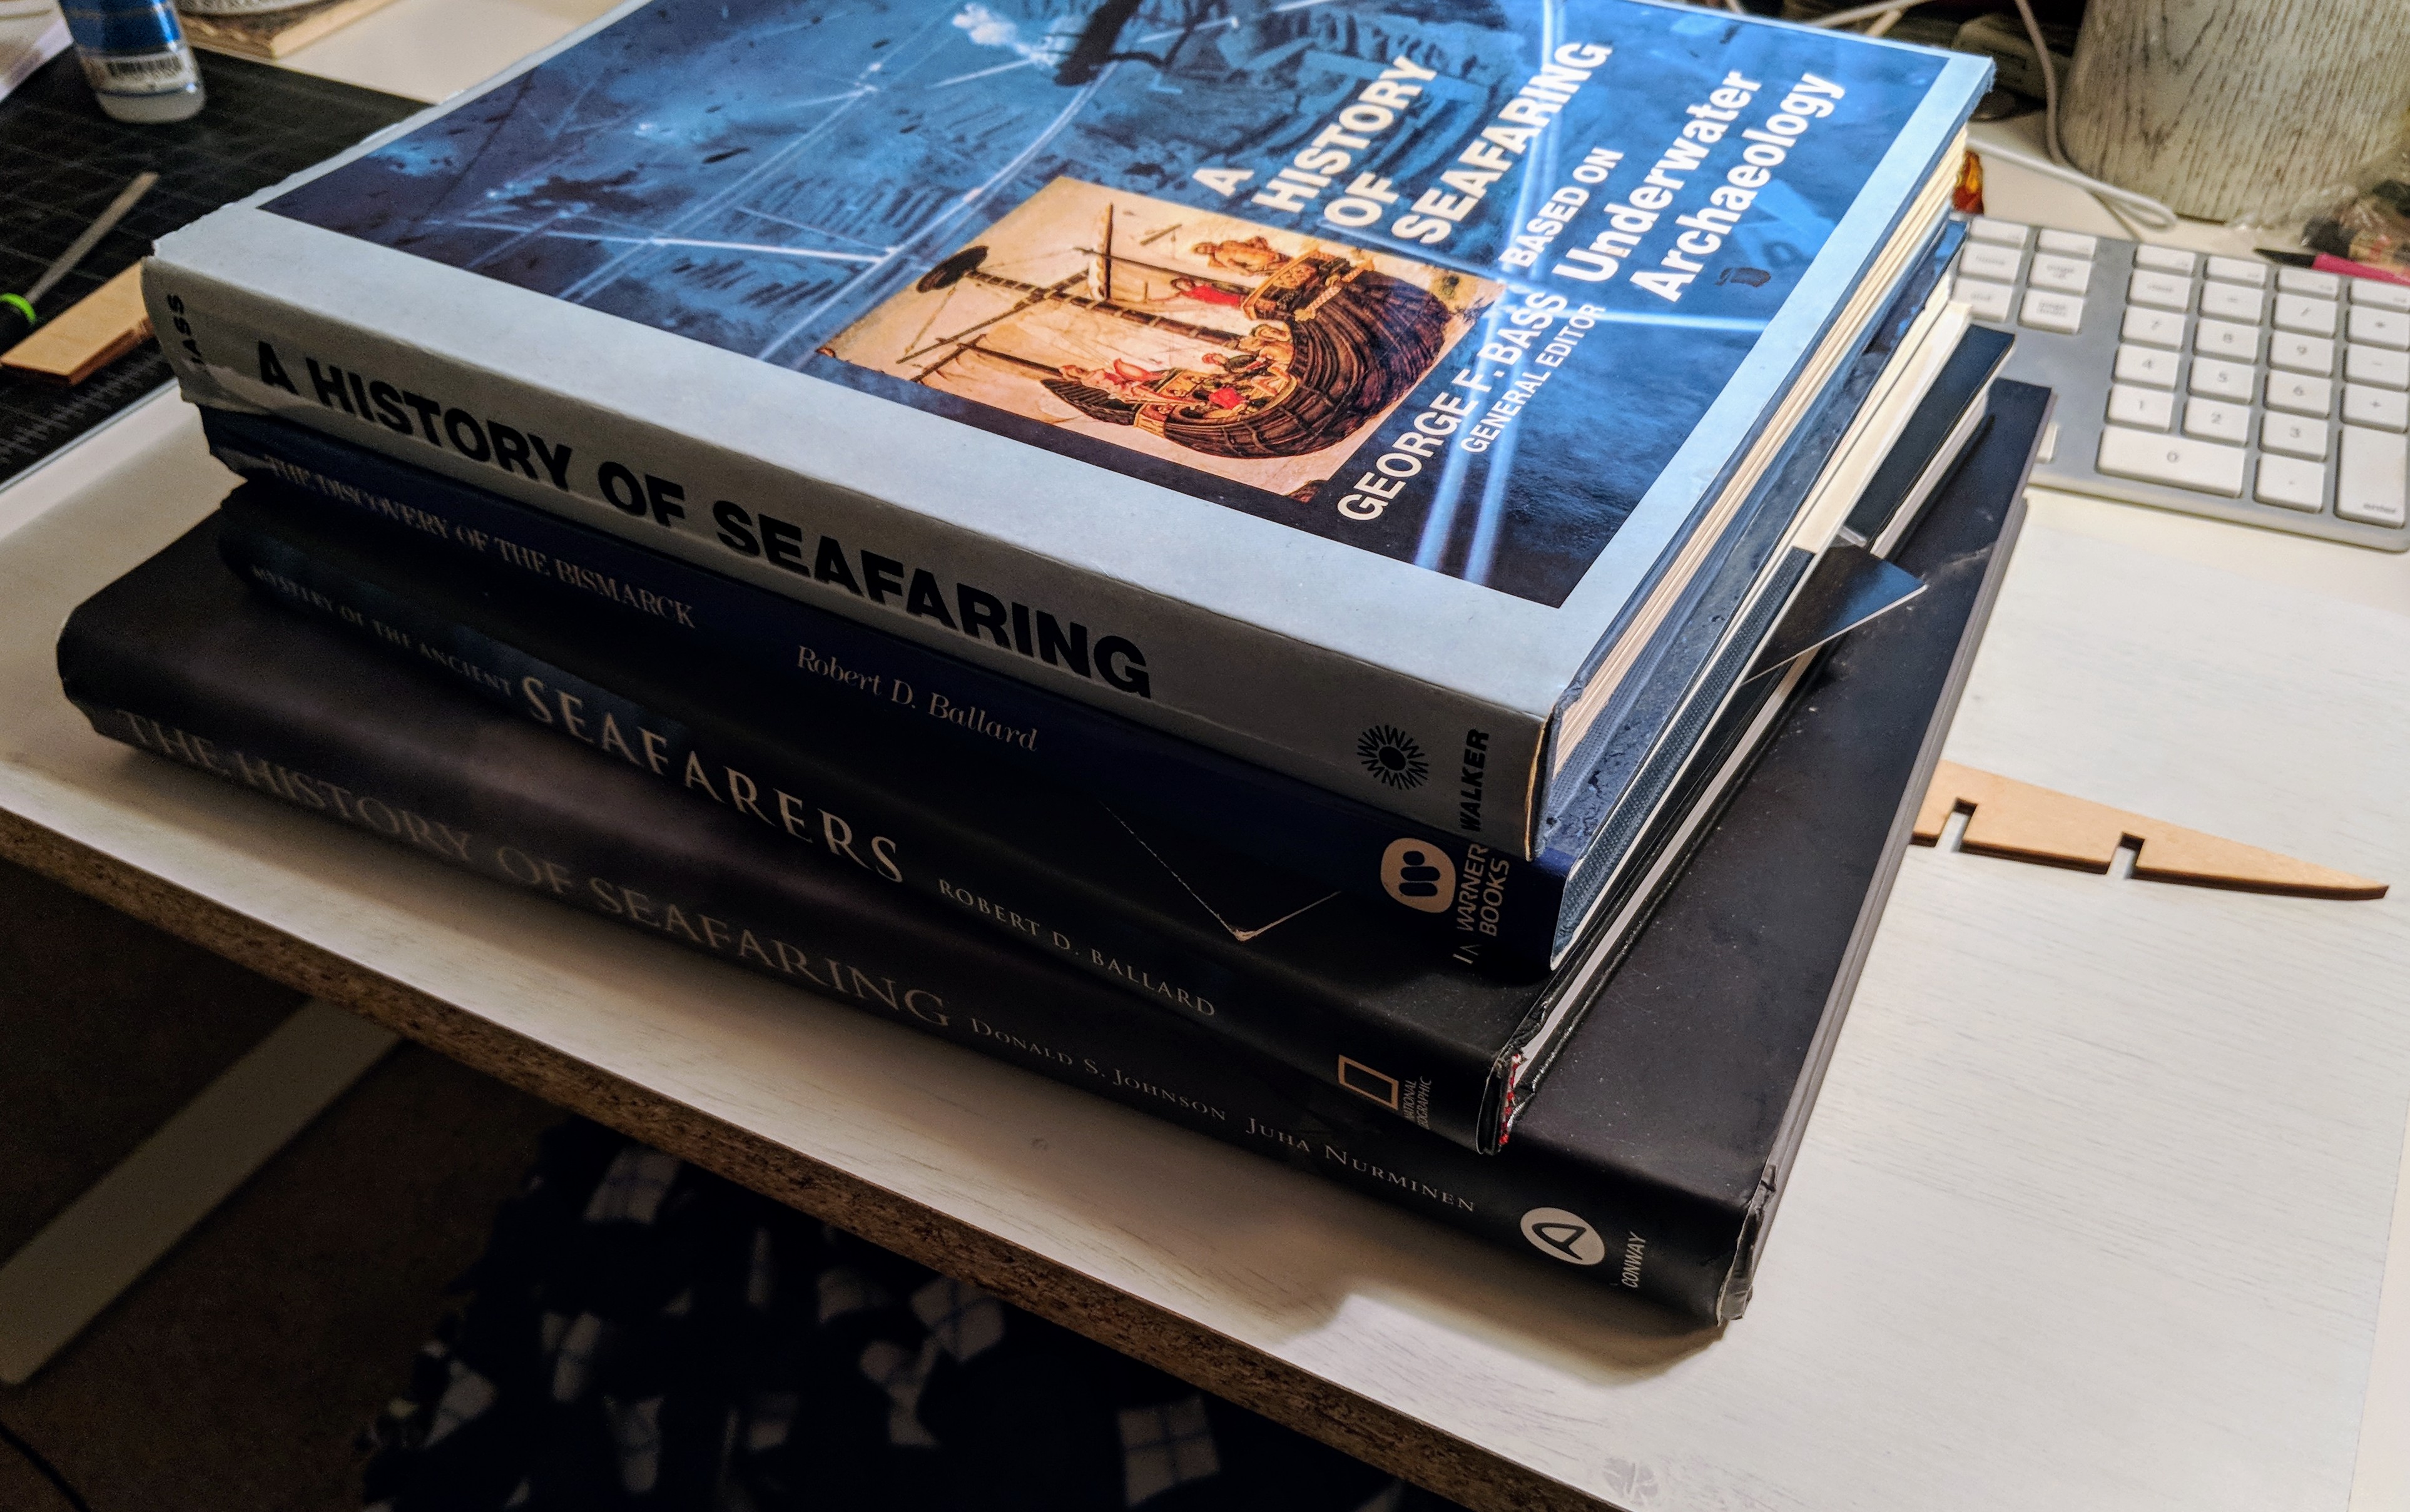
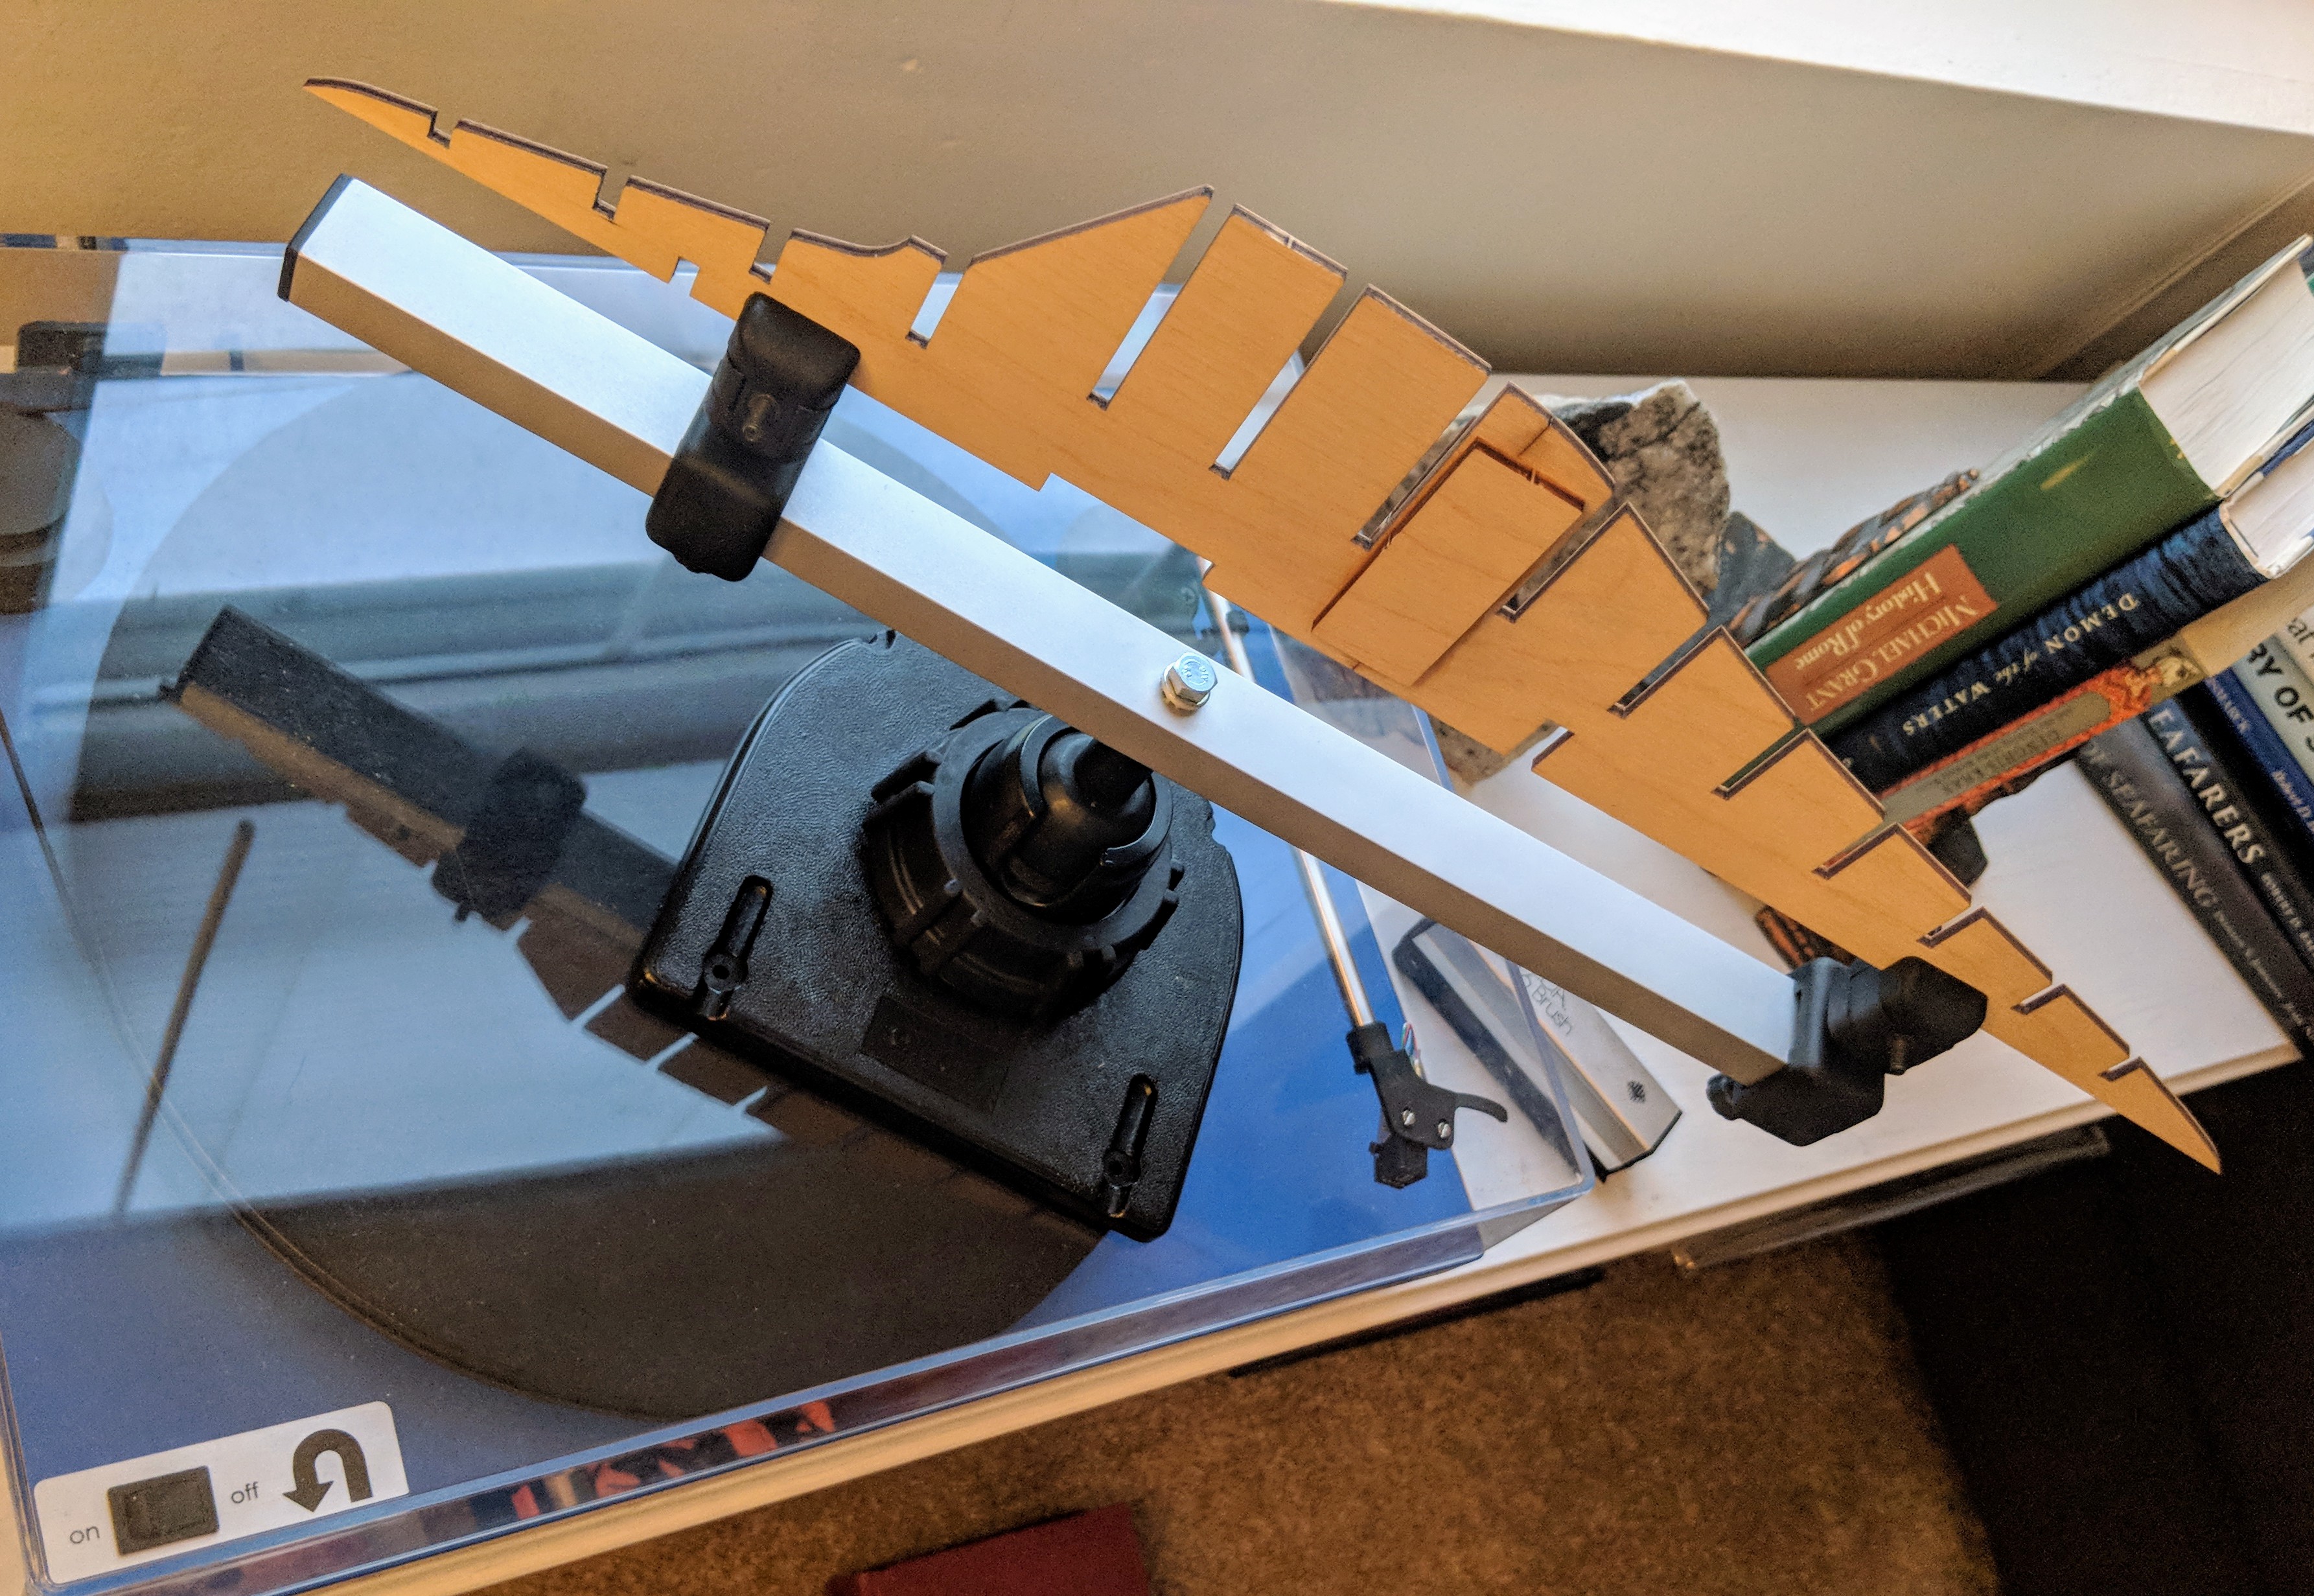
Over the past few months I've been quite methodically working on the early stages to Amati's kit of the America’s Cup 1934 J Class Endeavour. I'll not really elaborate too much on these early stages here beyond a few basic thoughts.
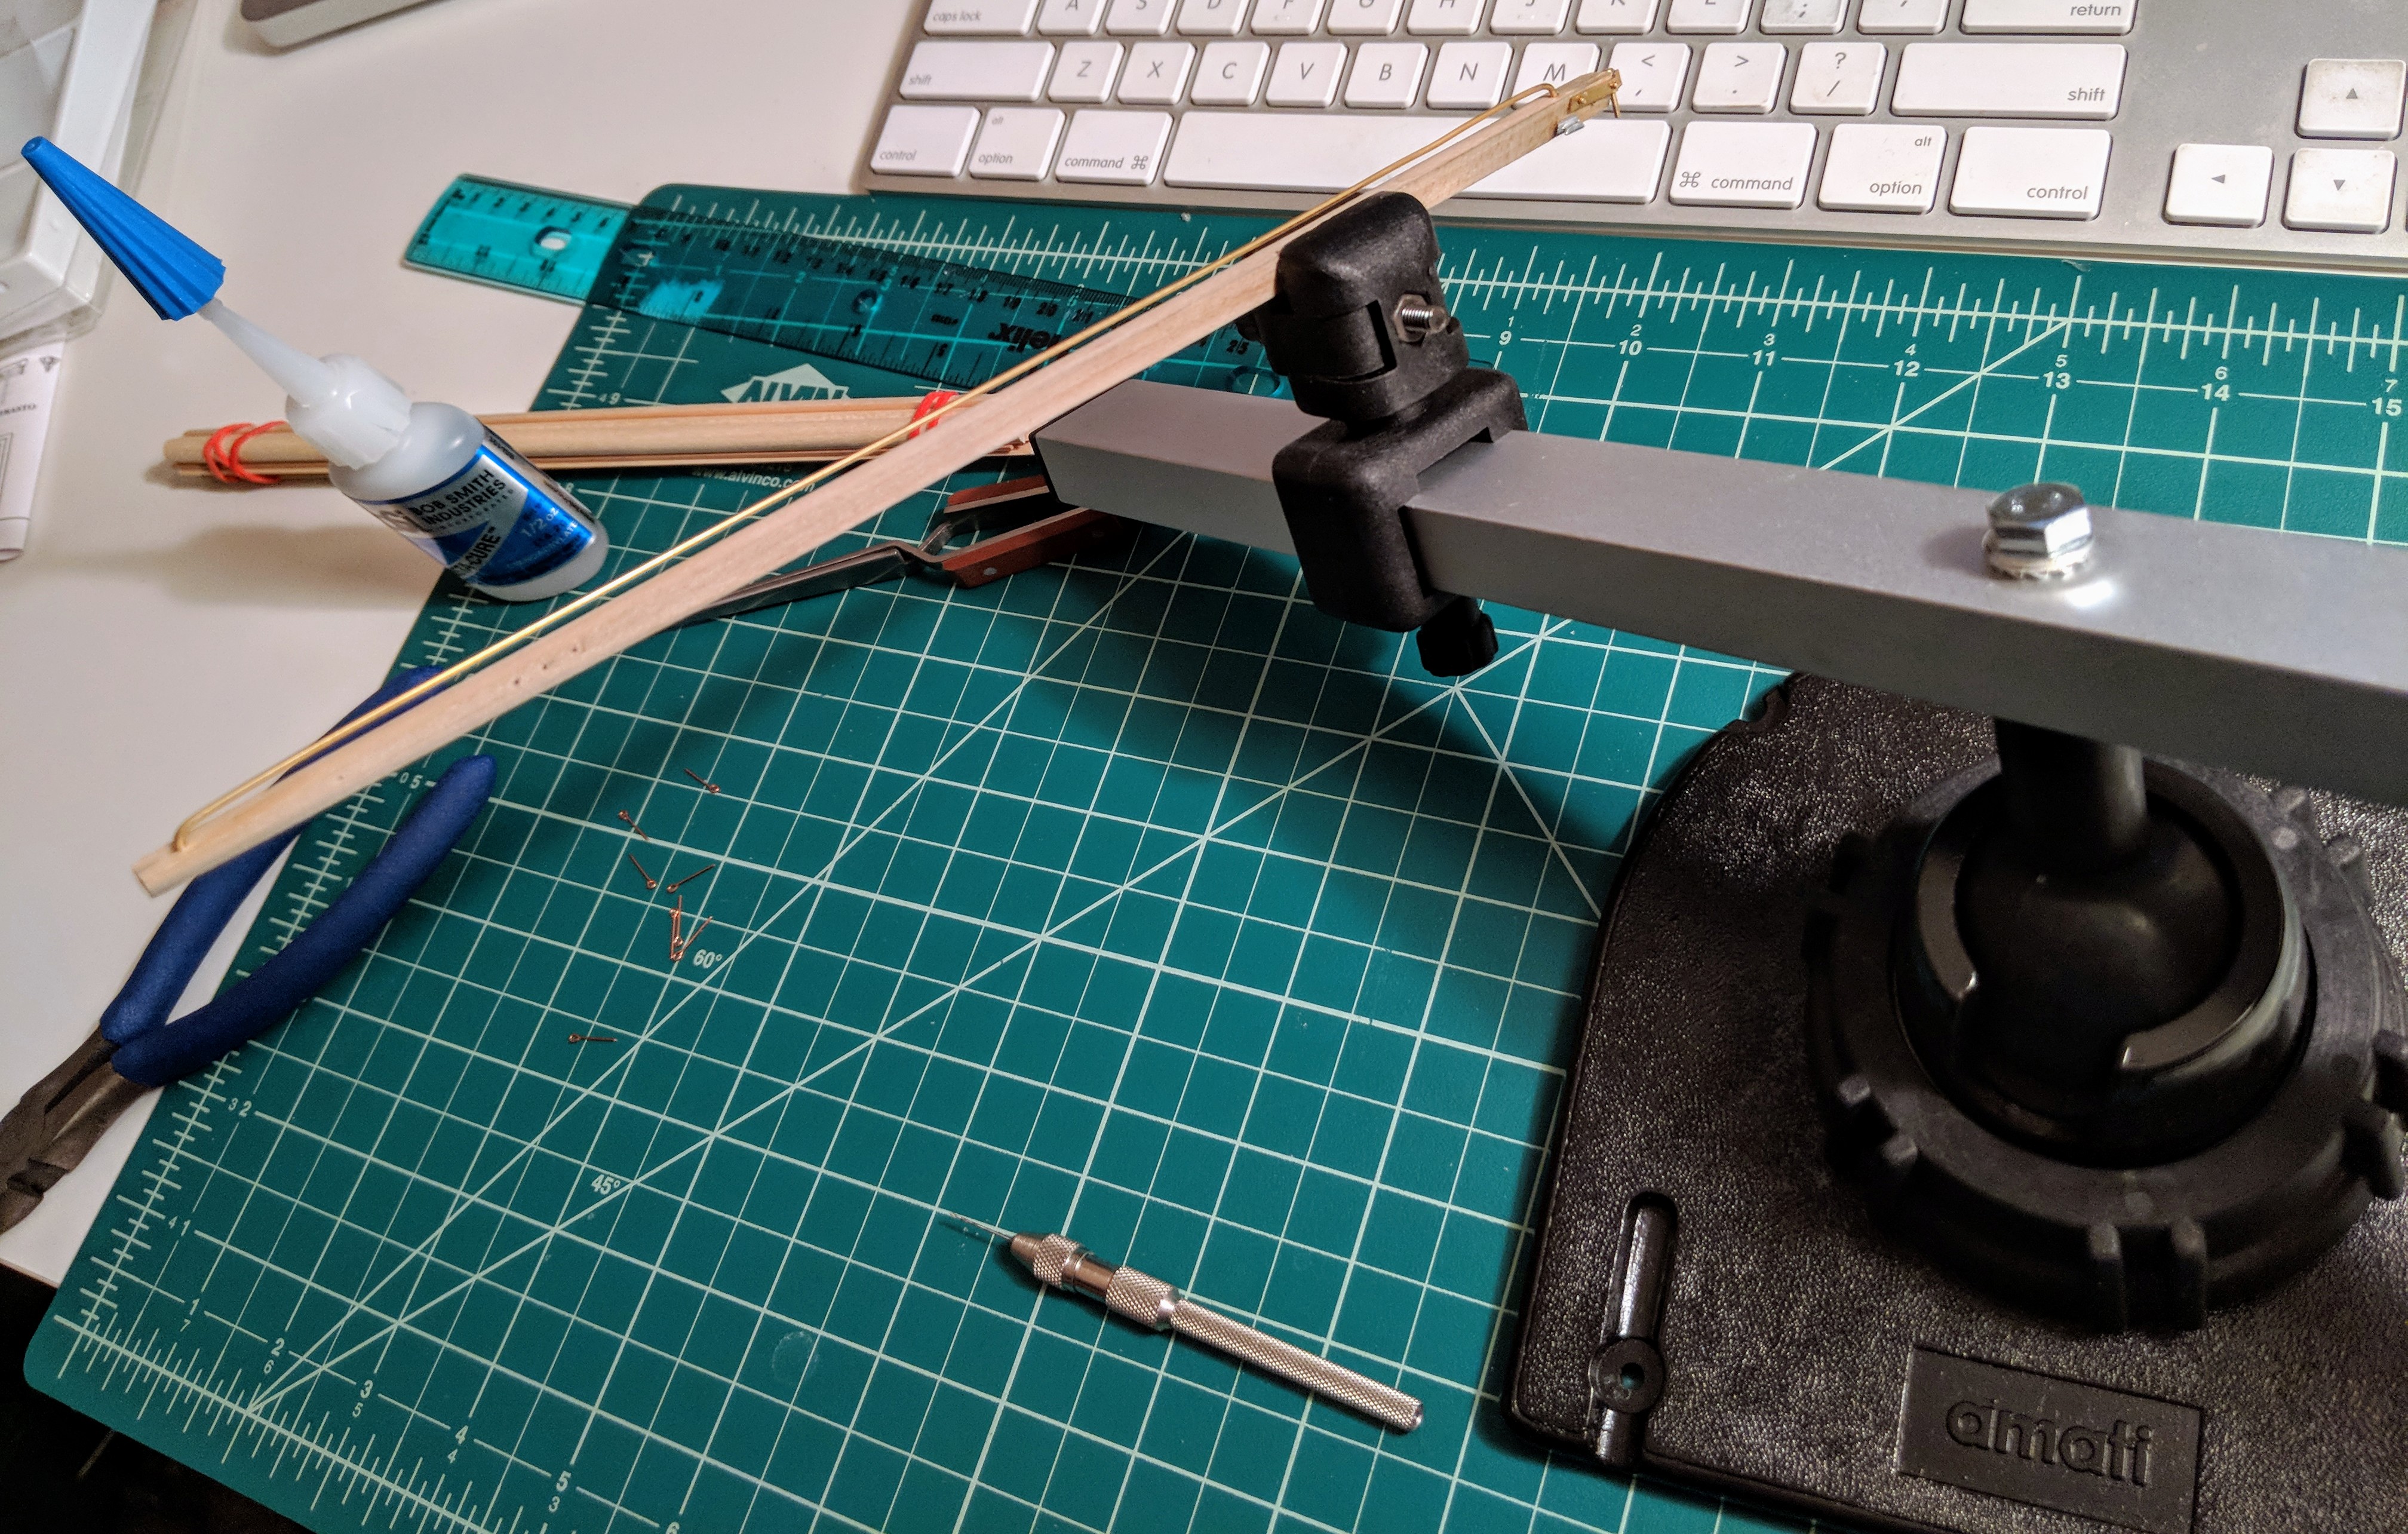
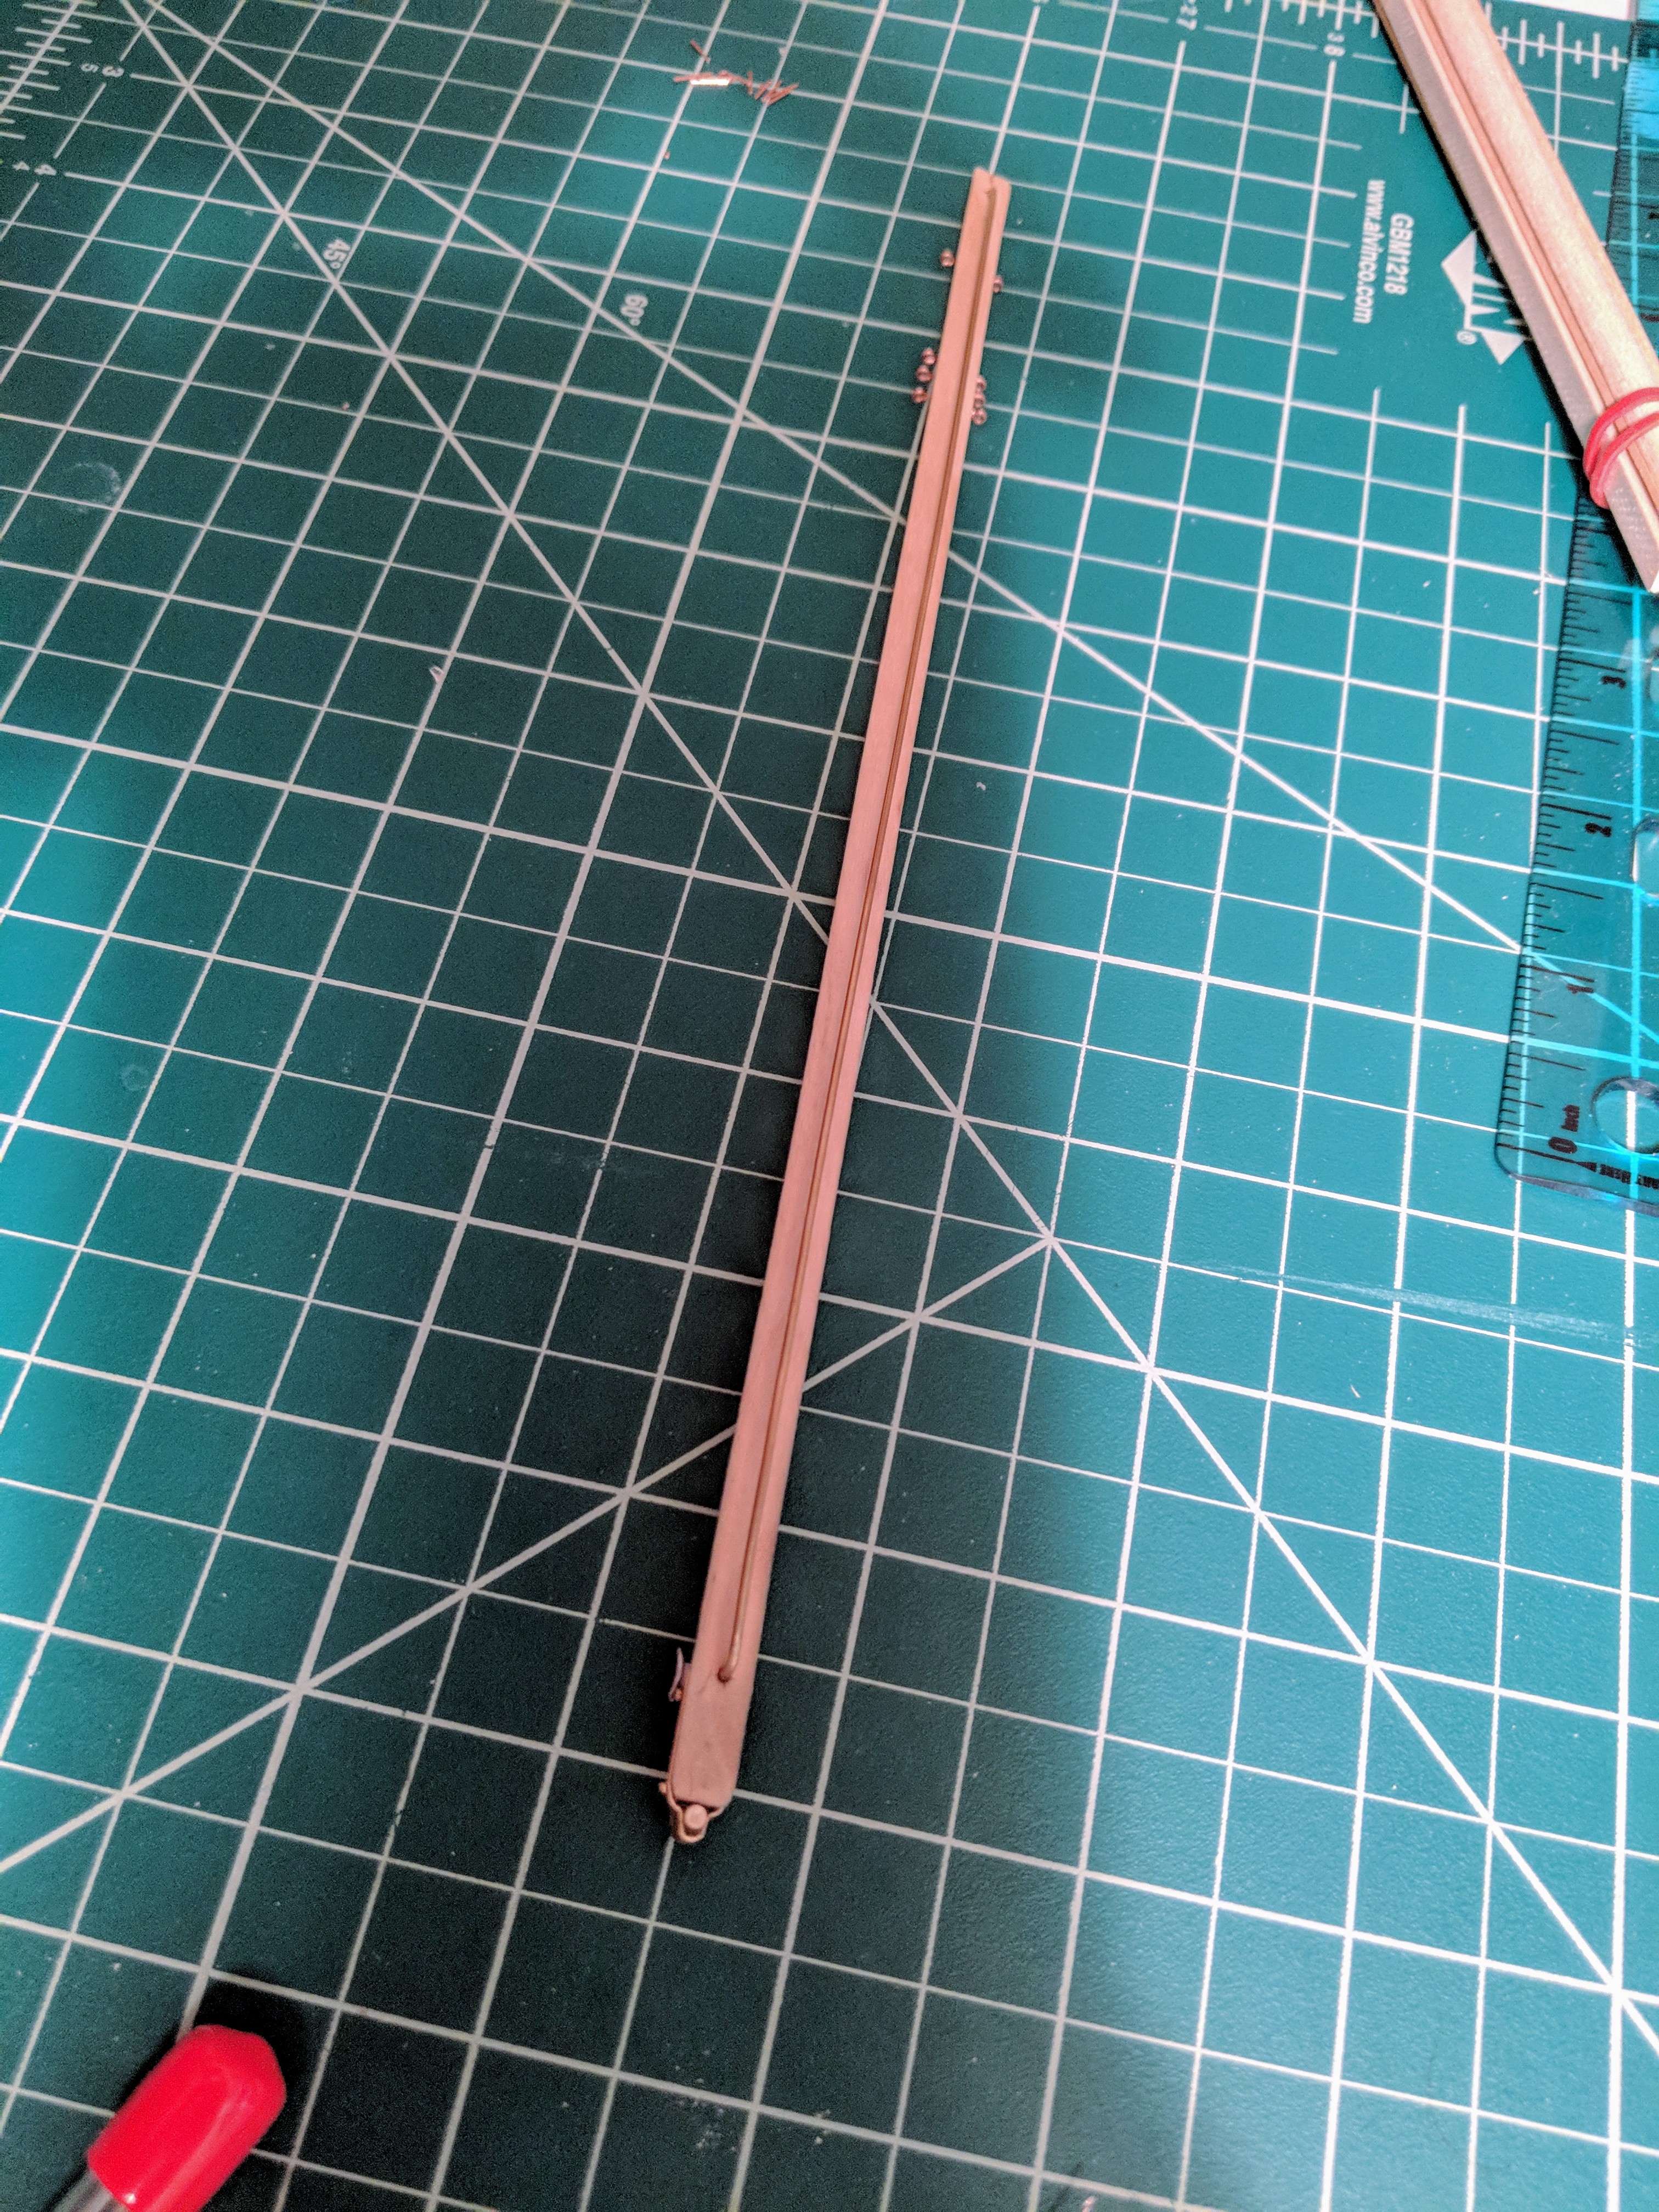
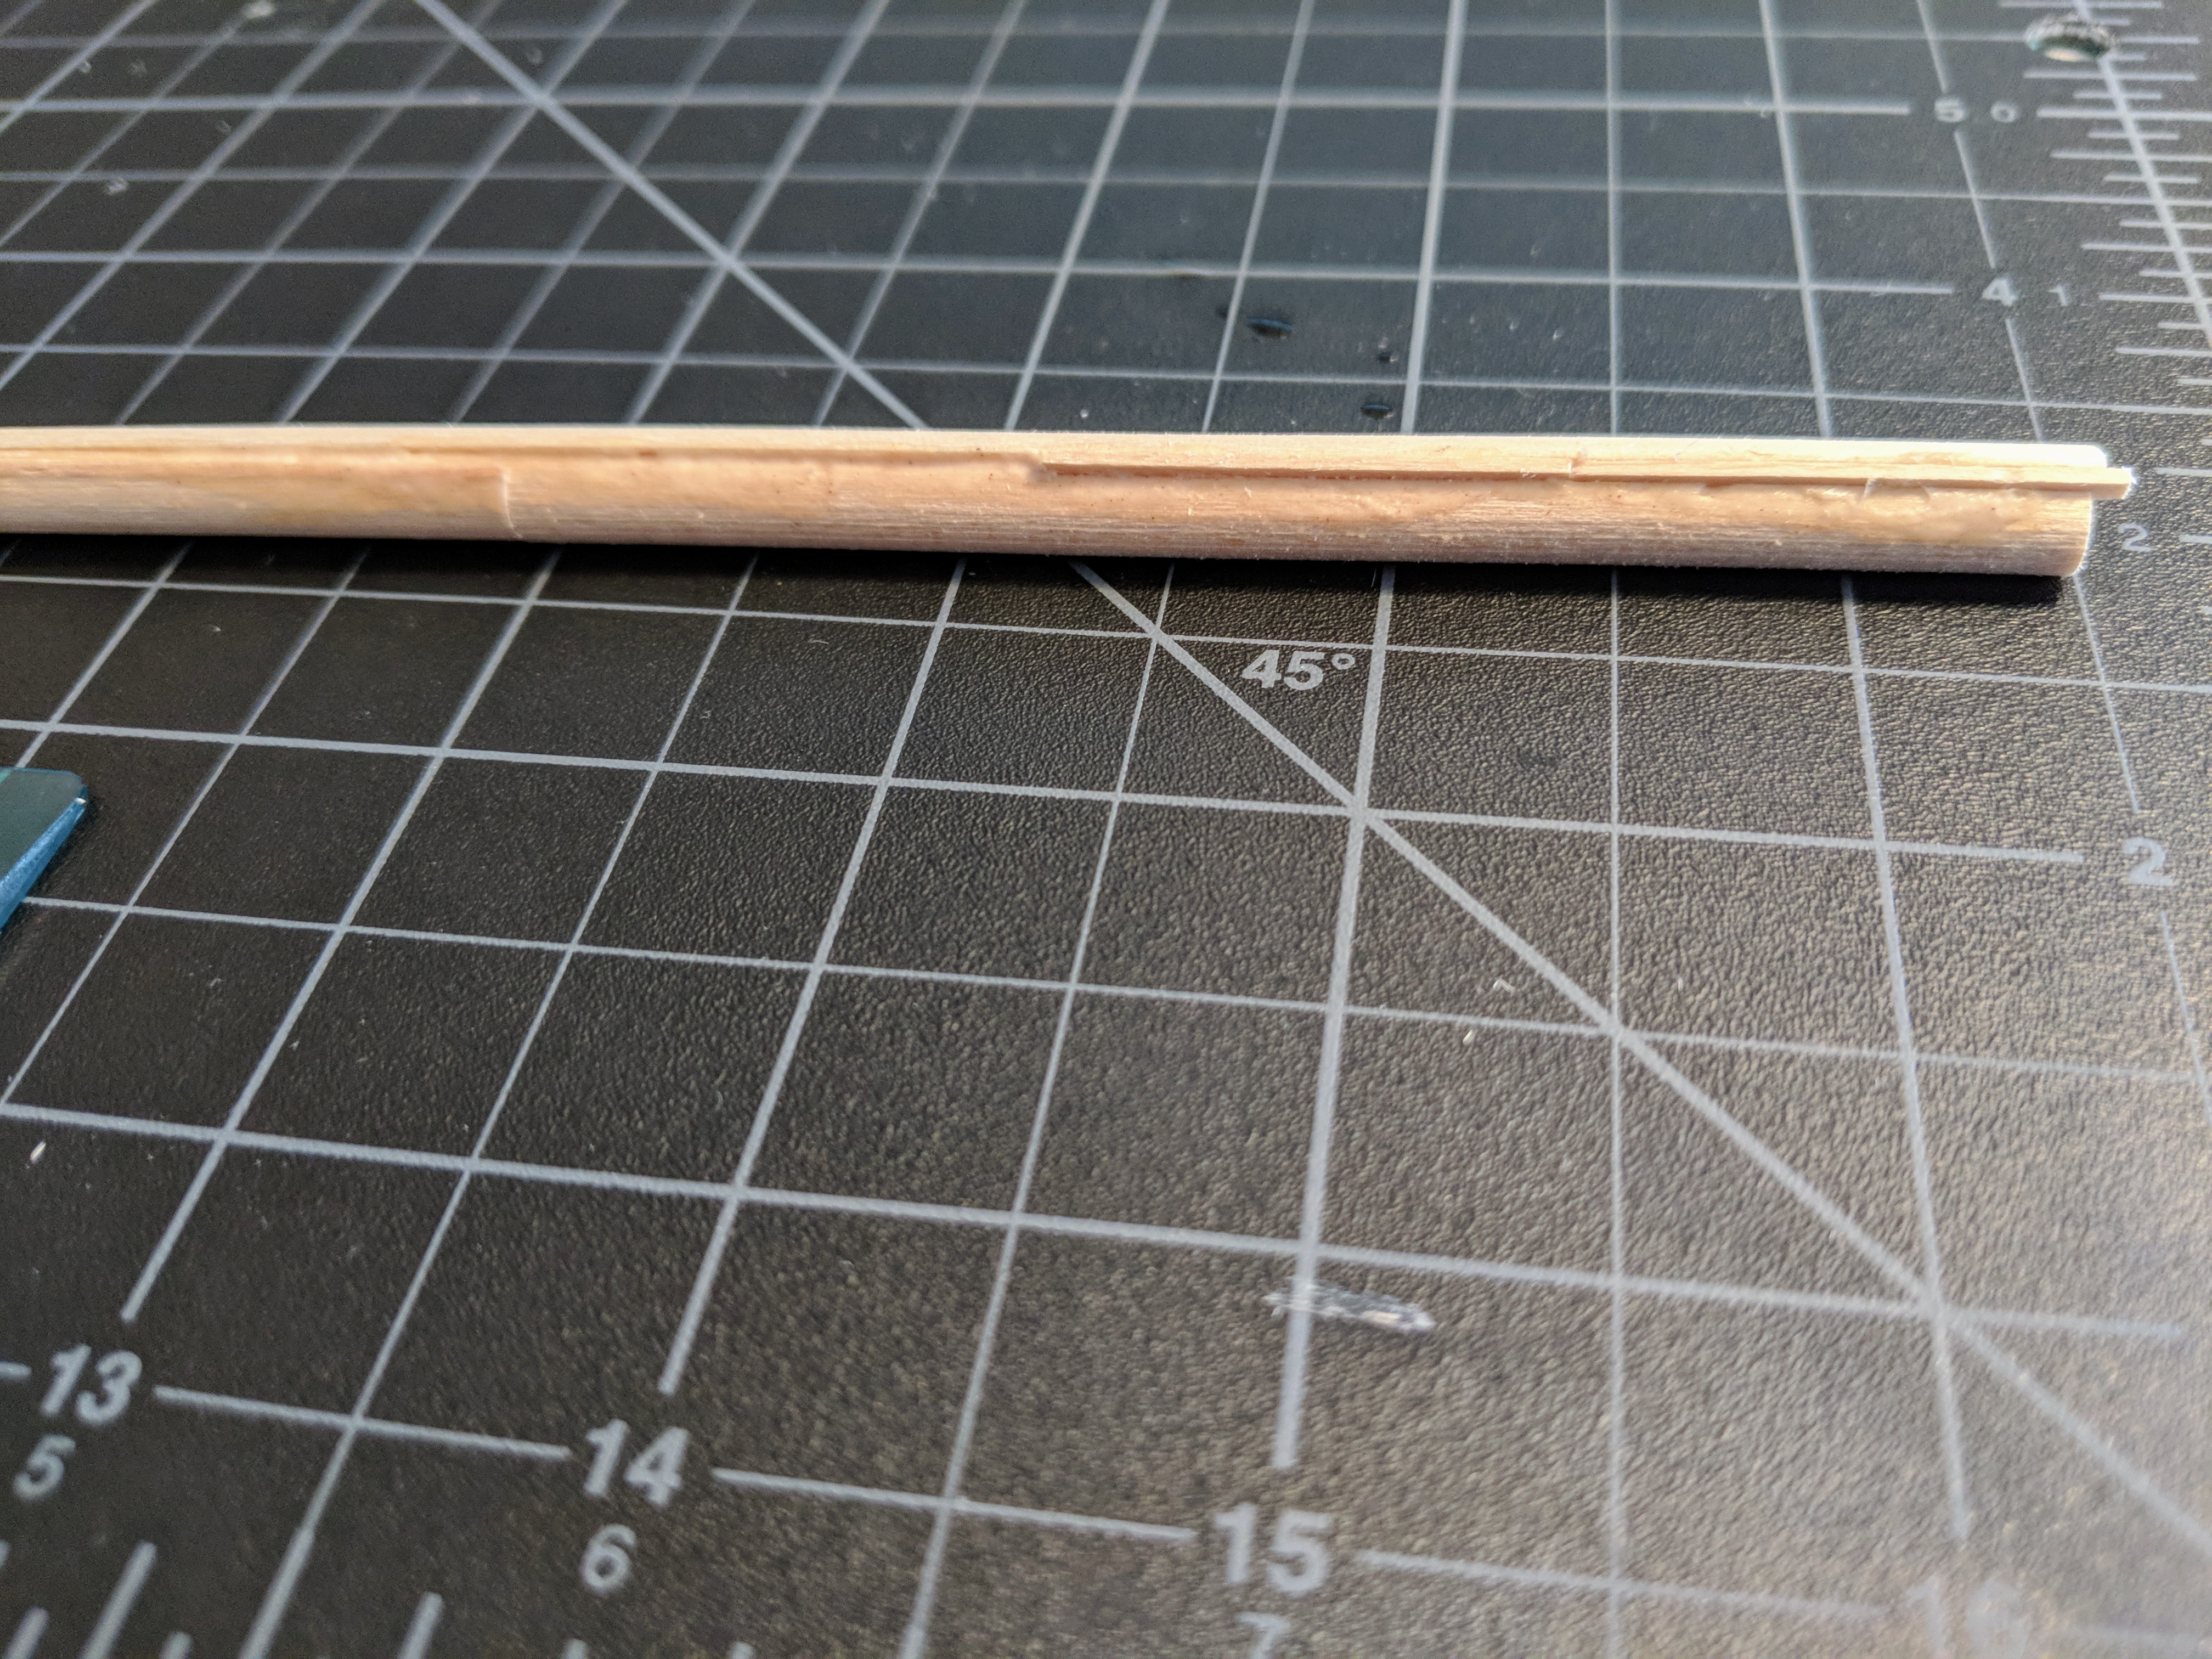
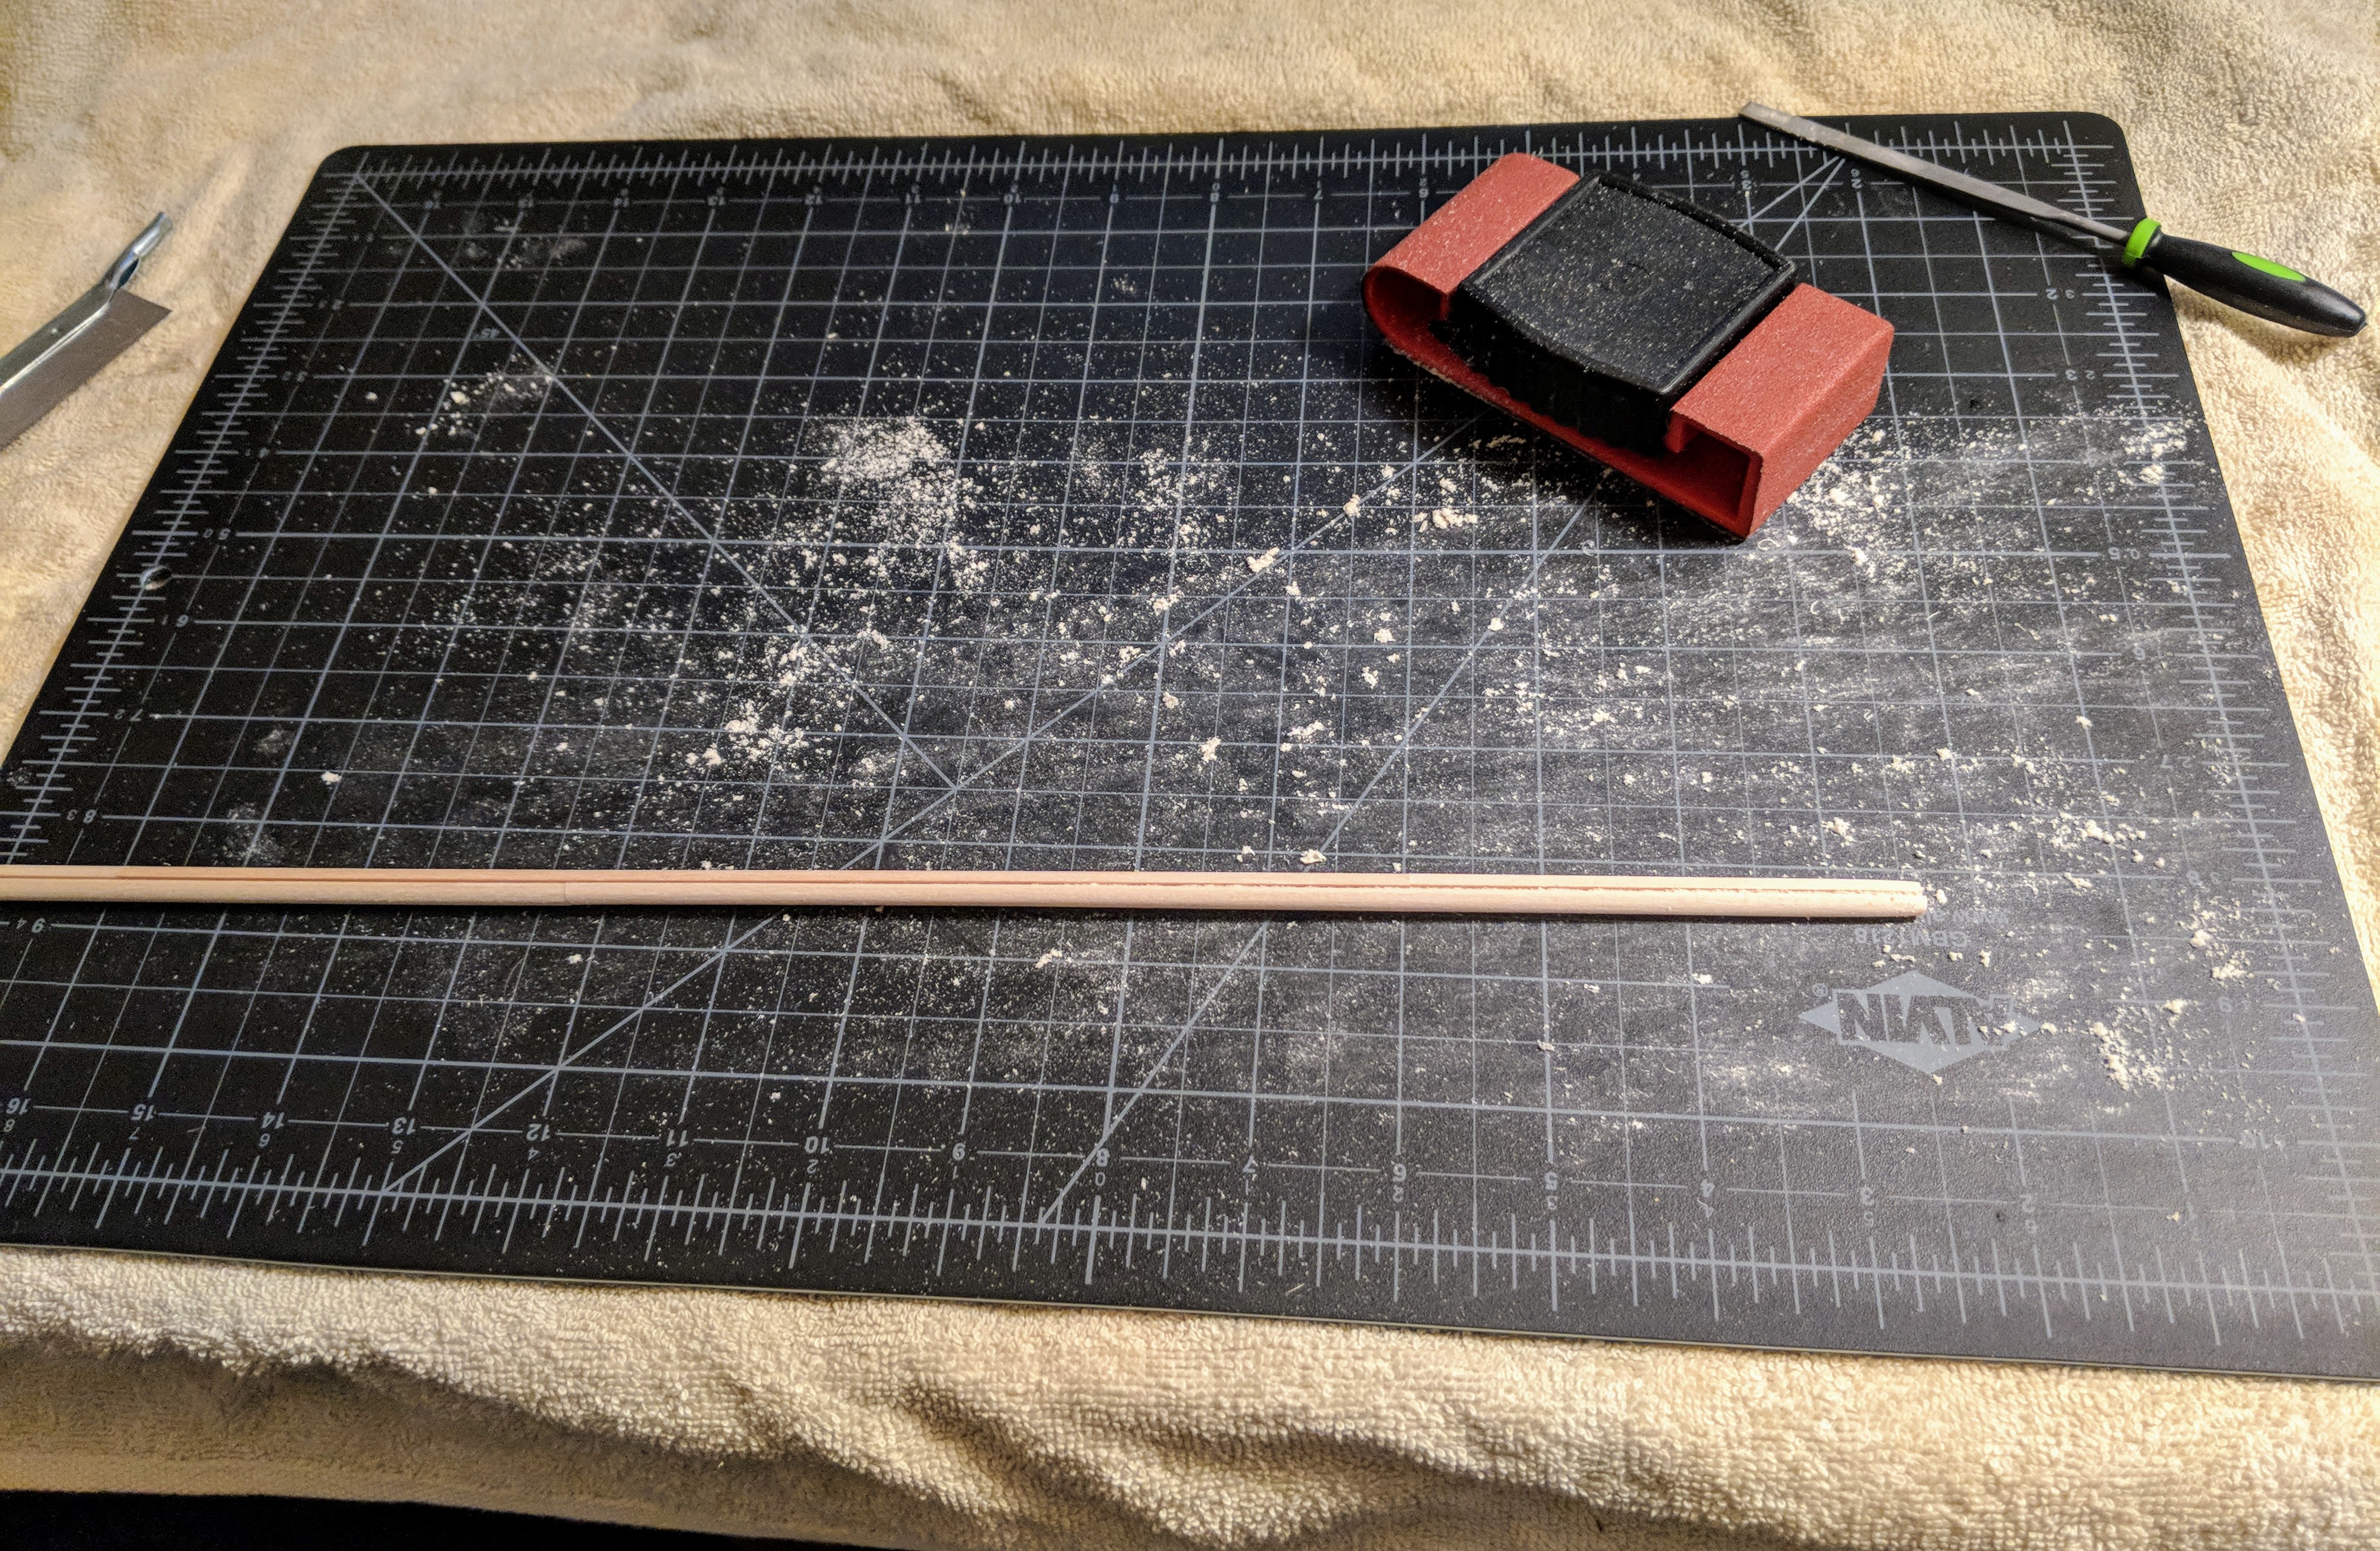
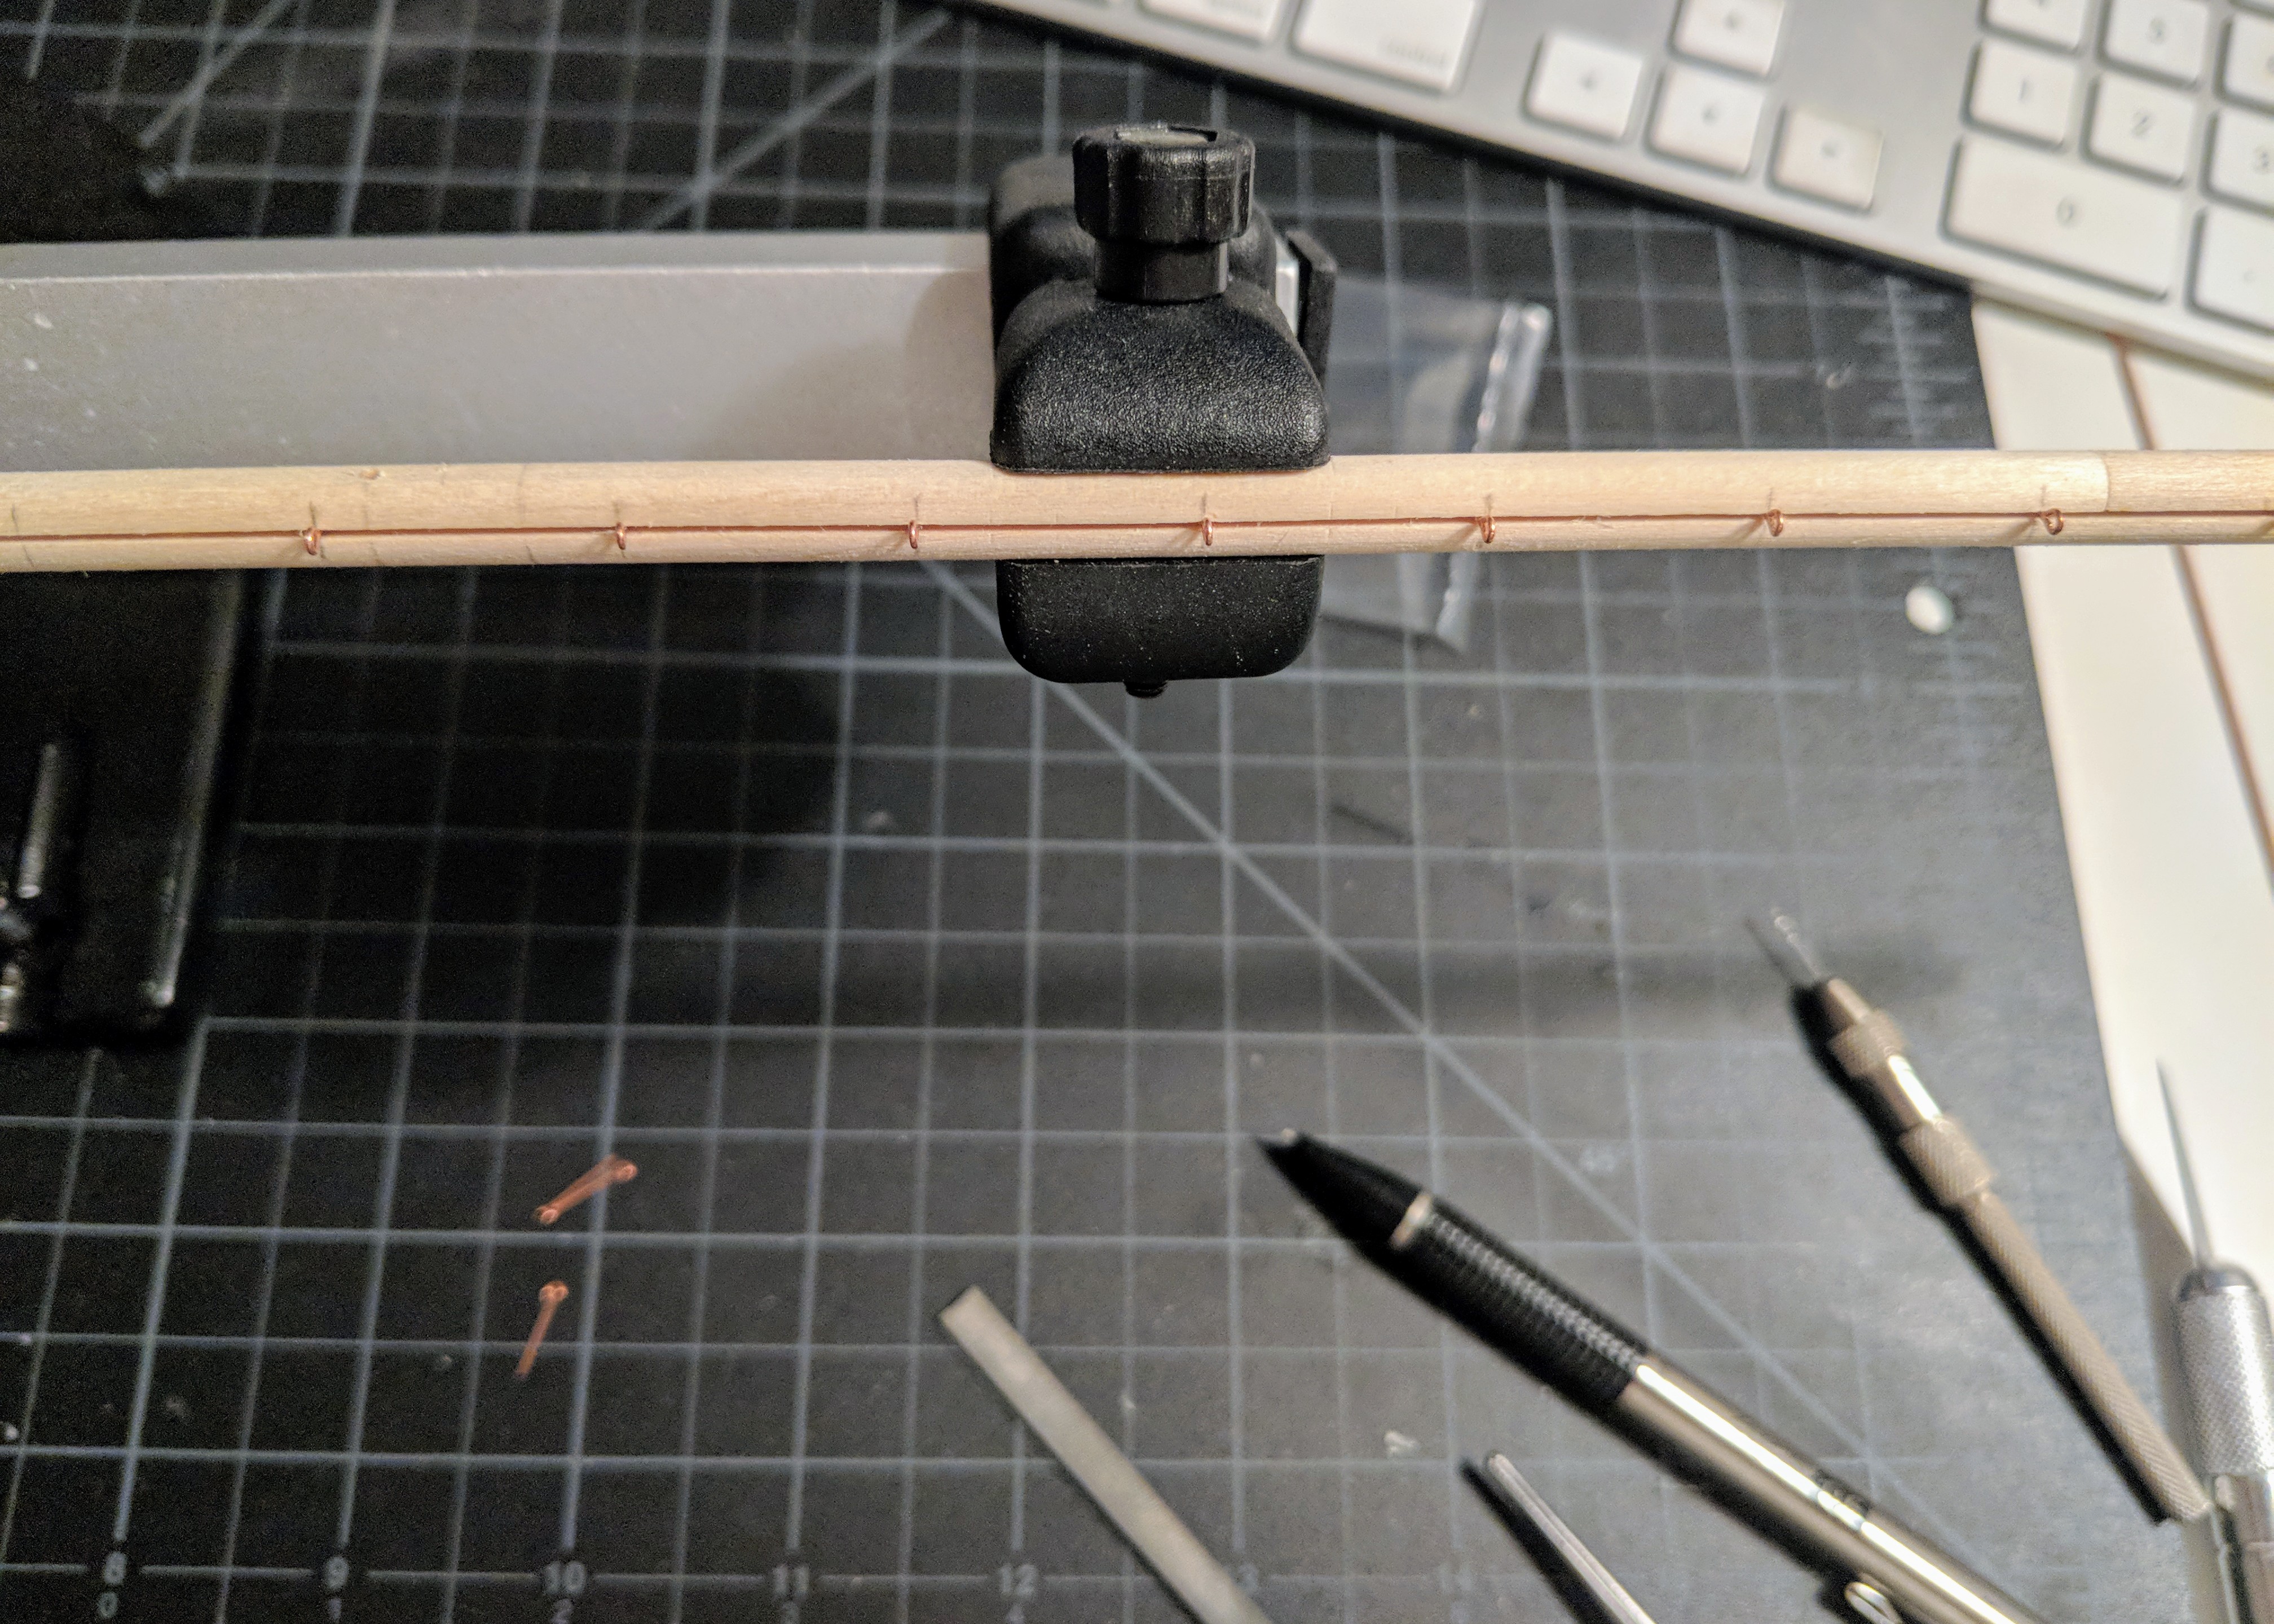
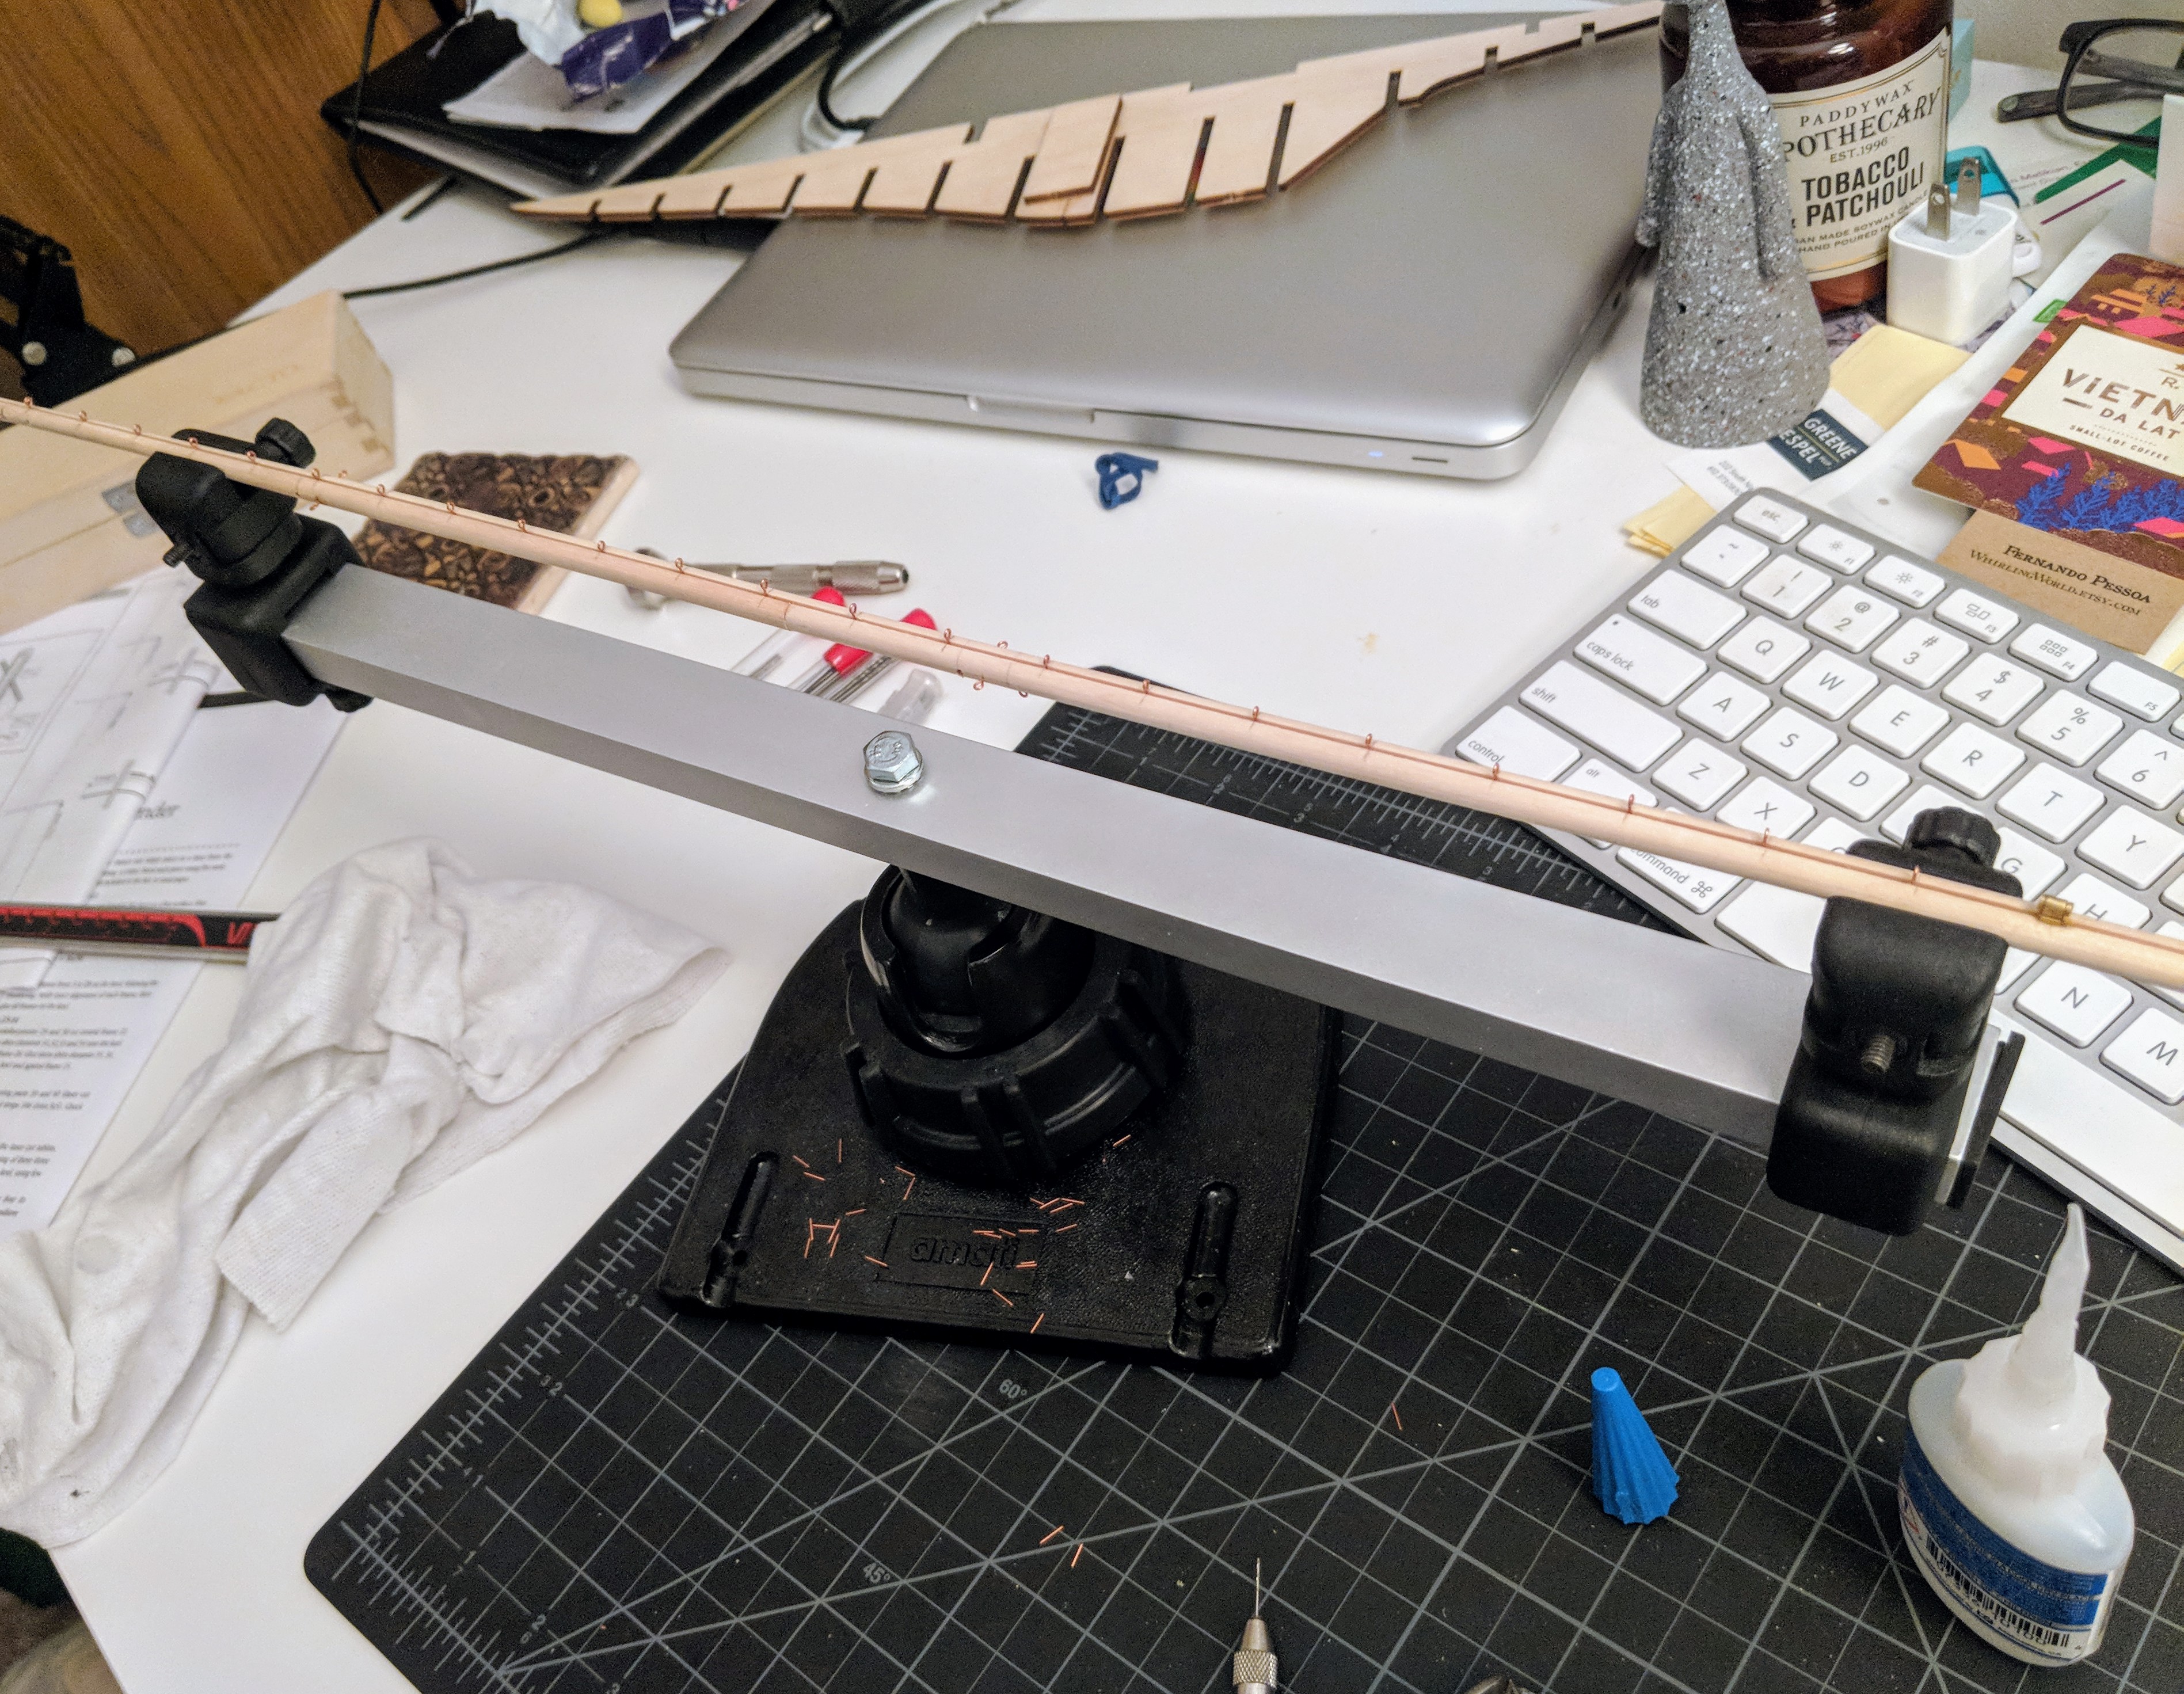
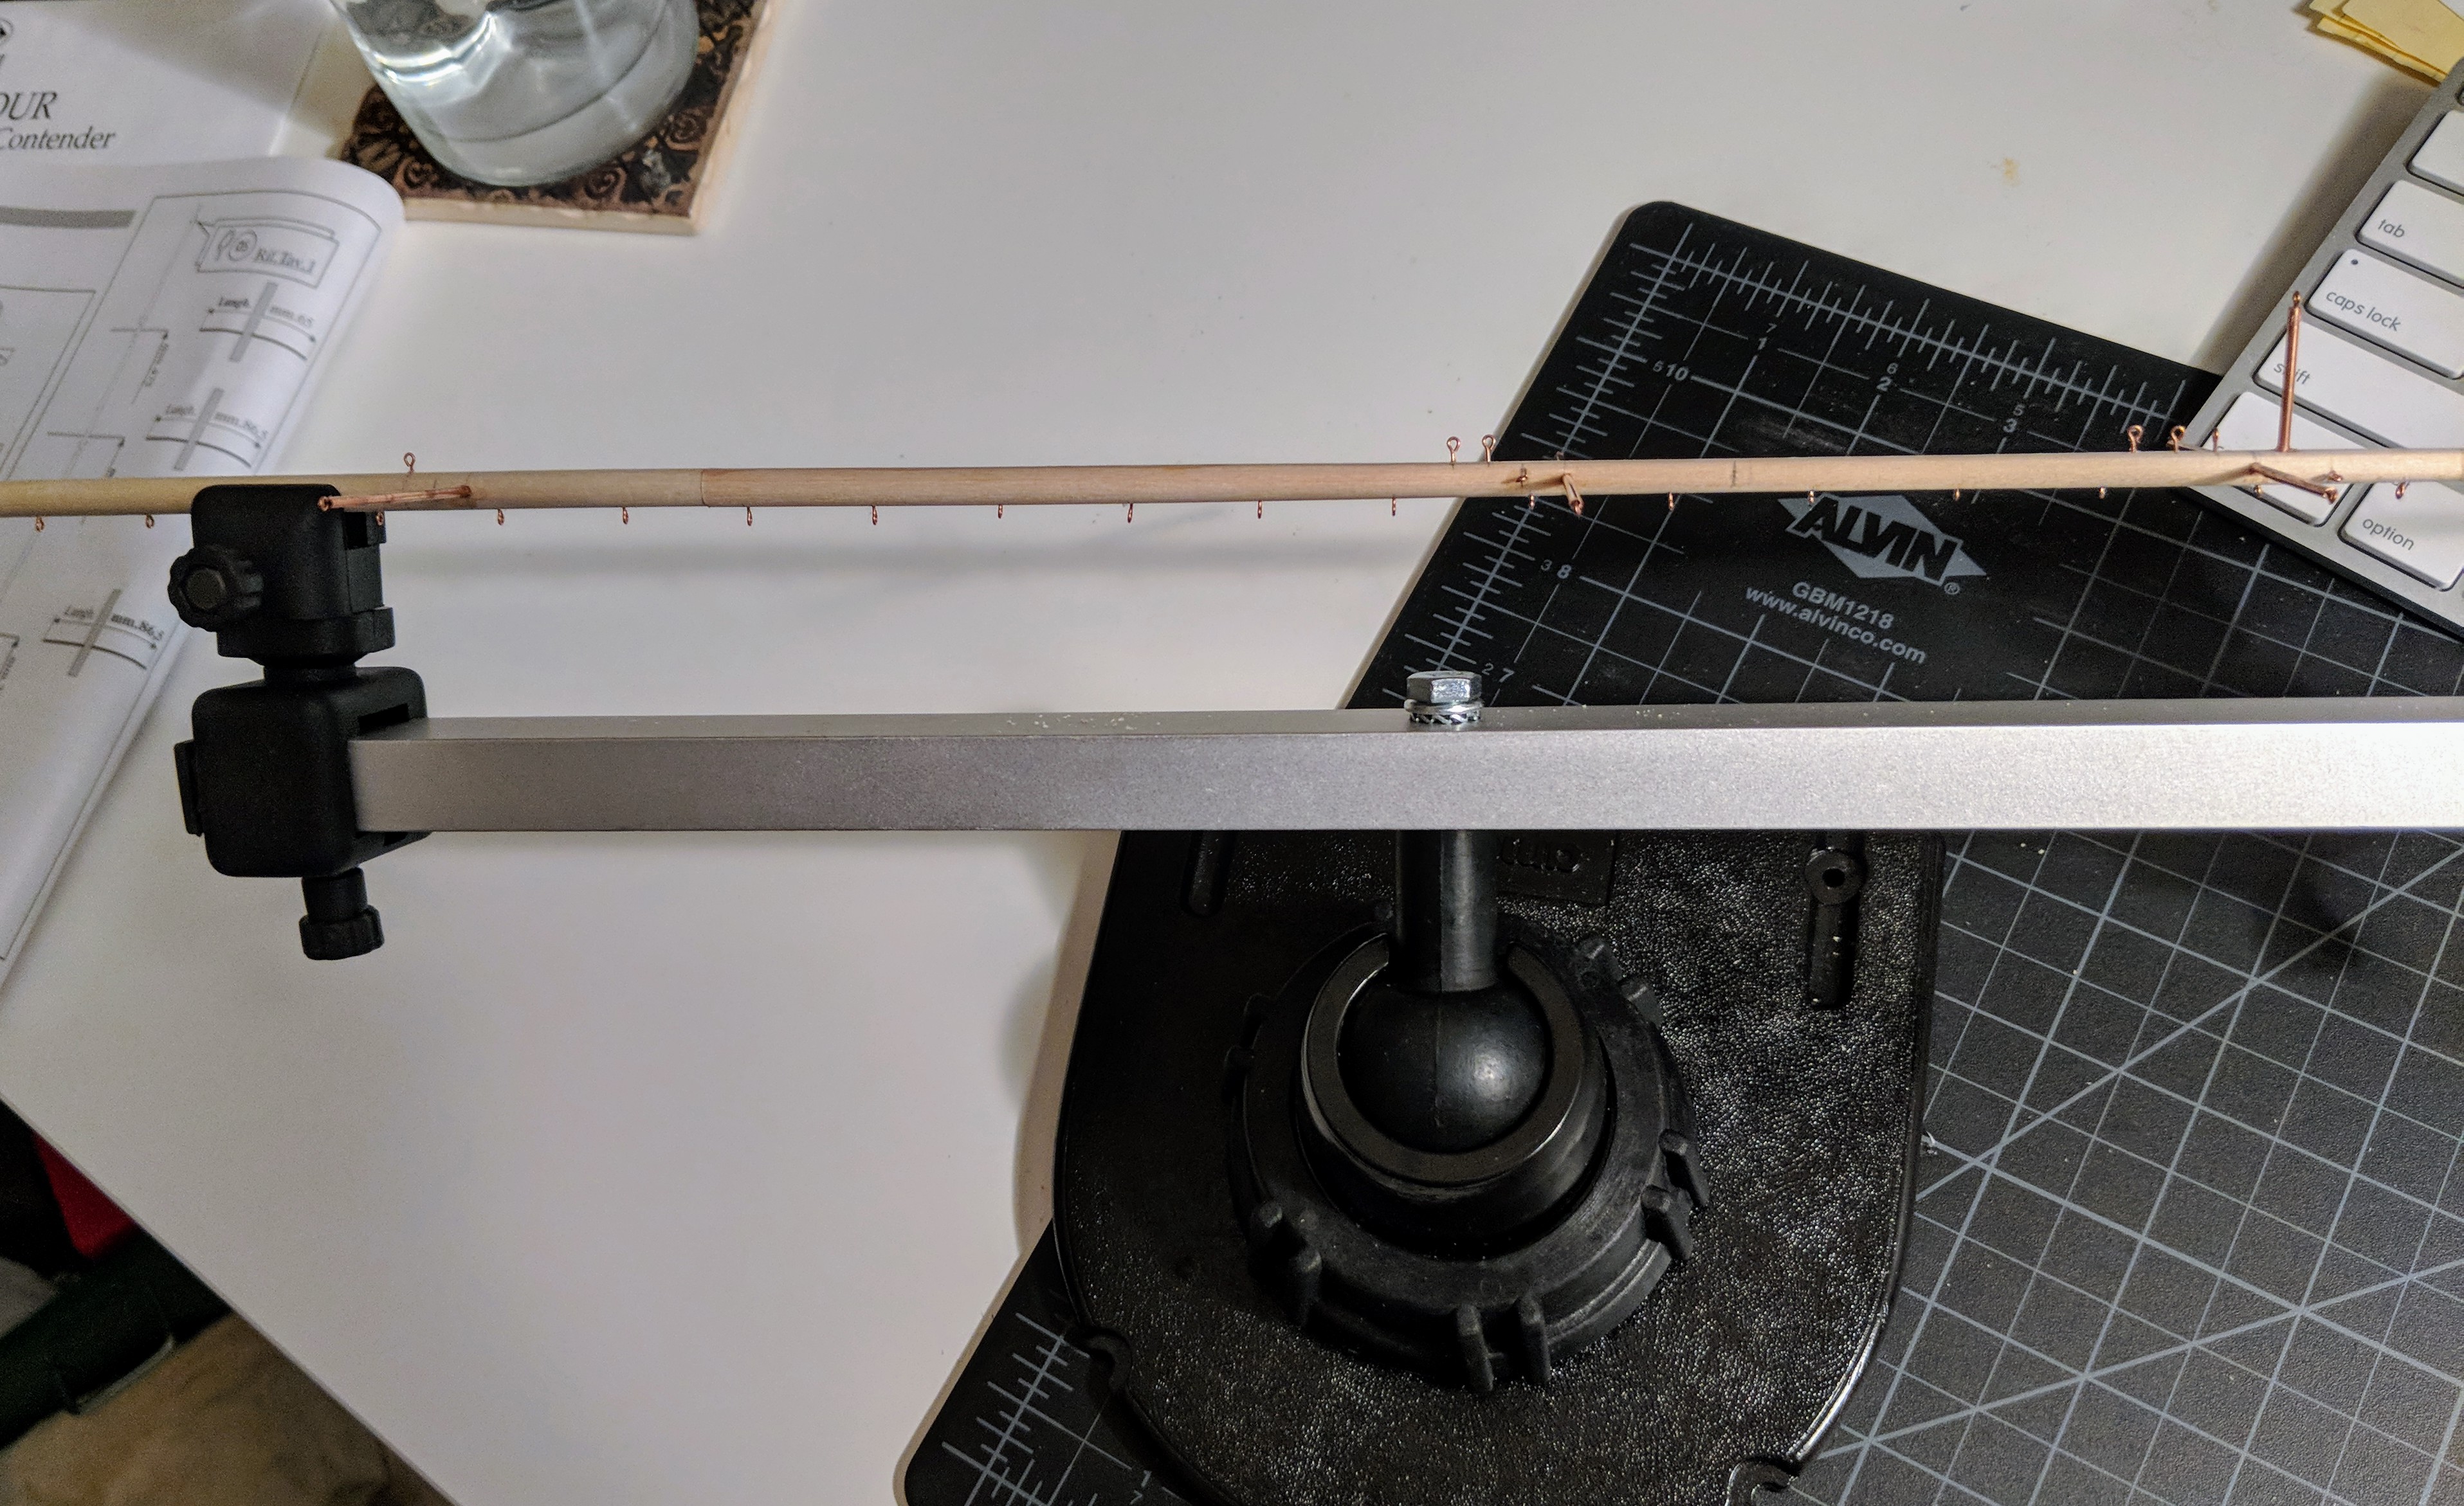
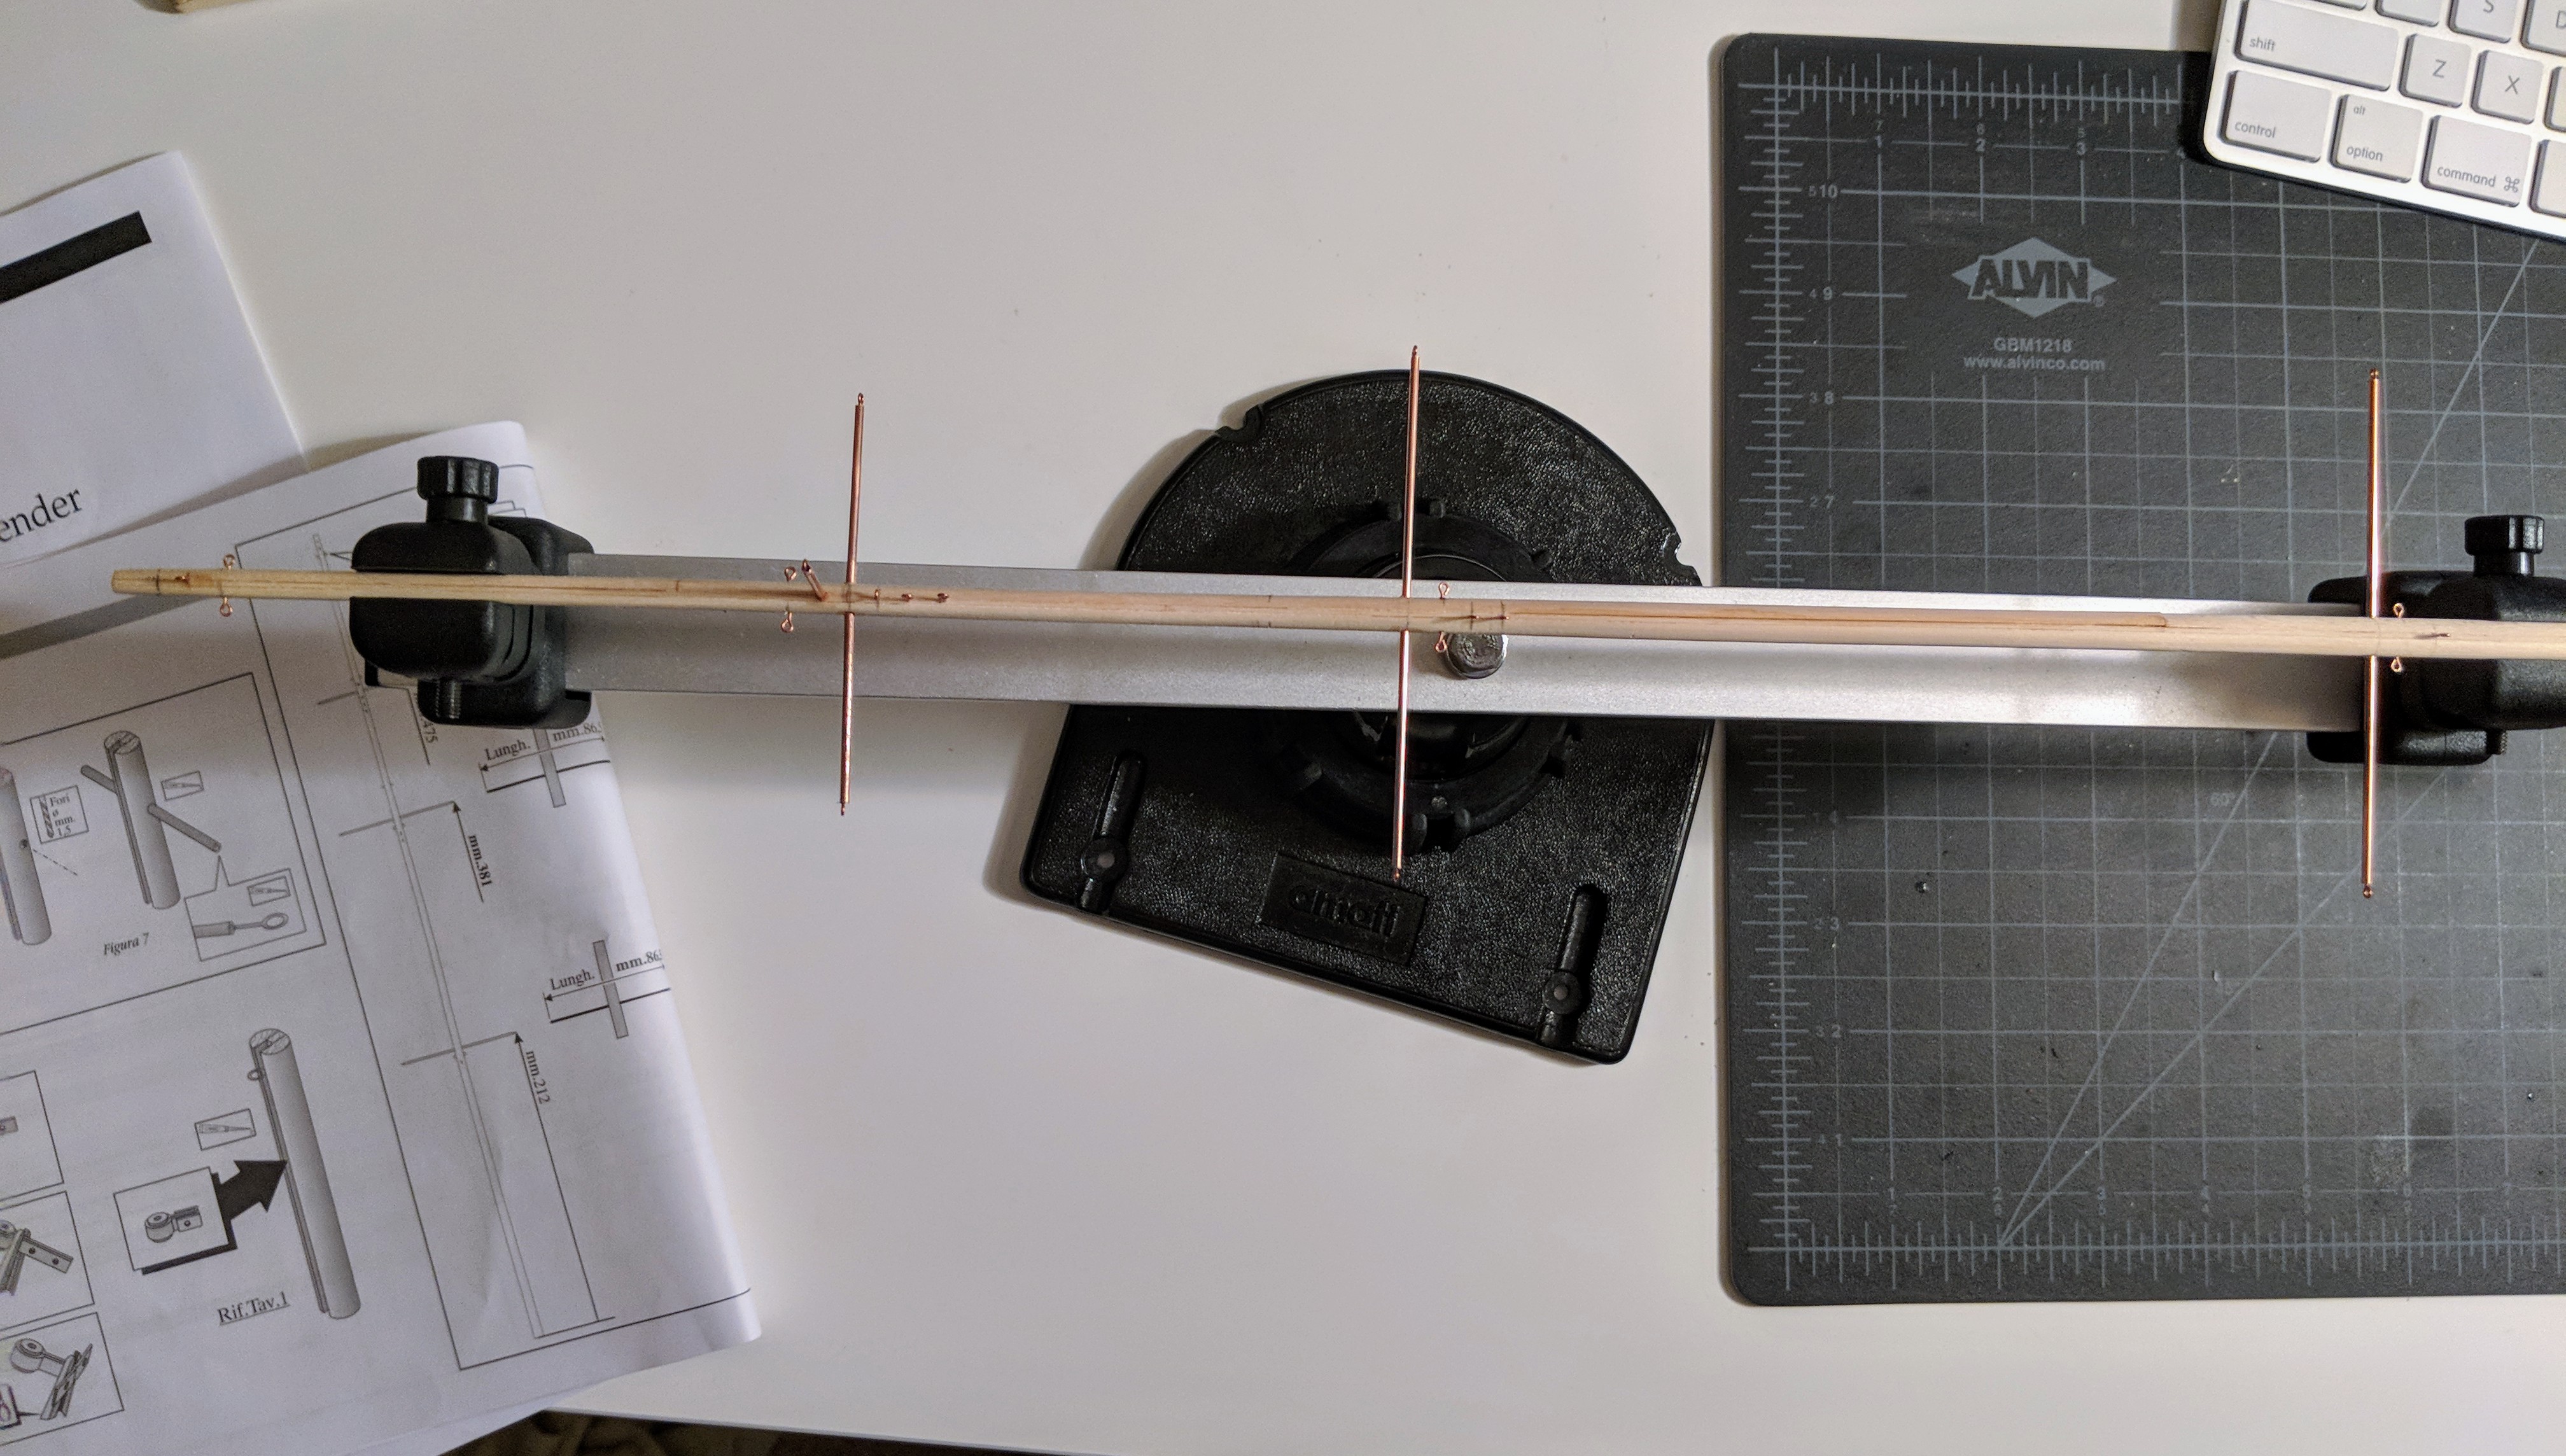
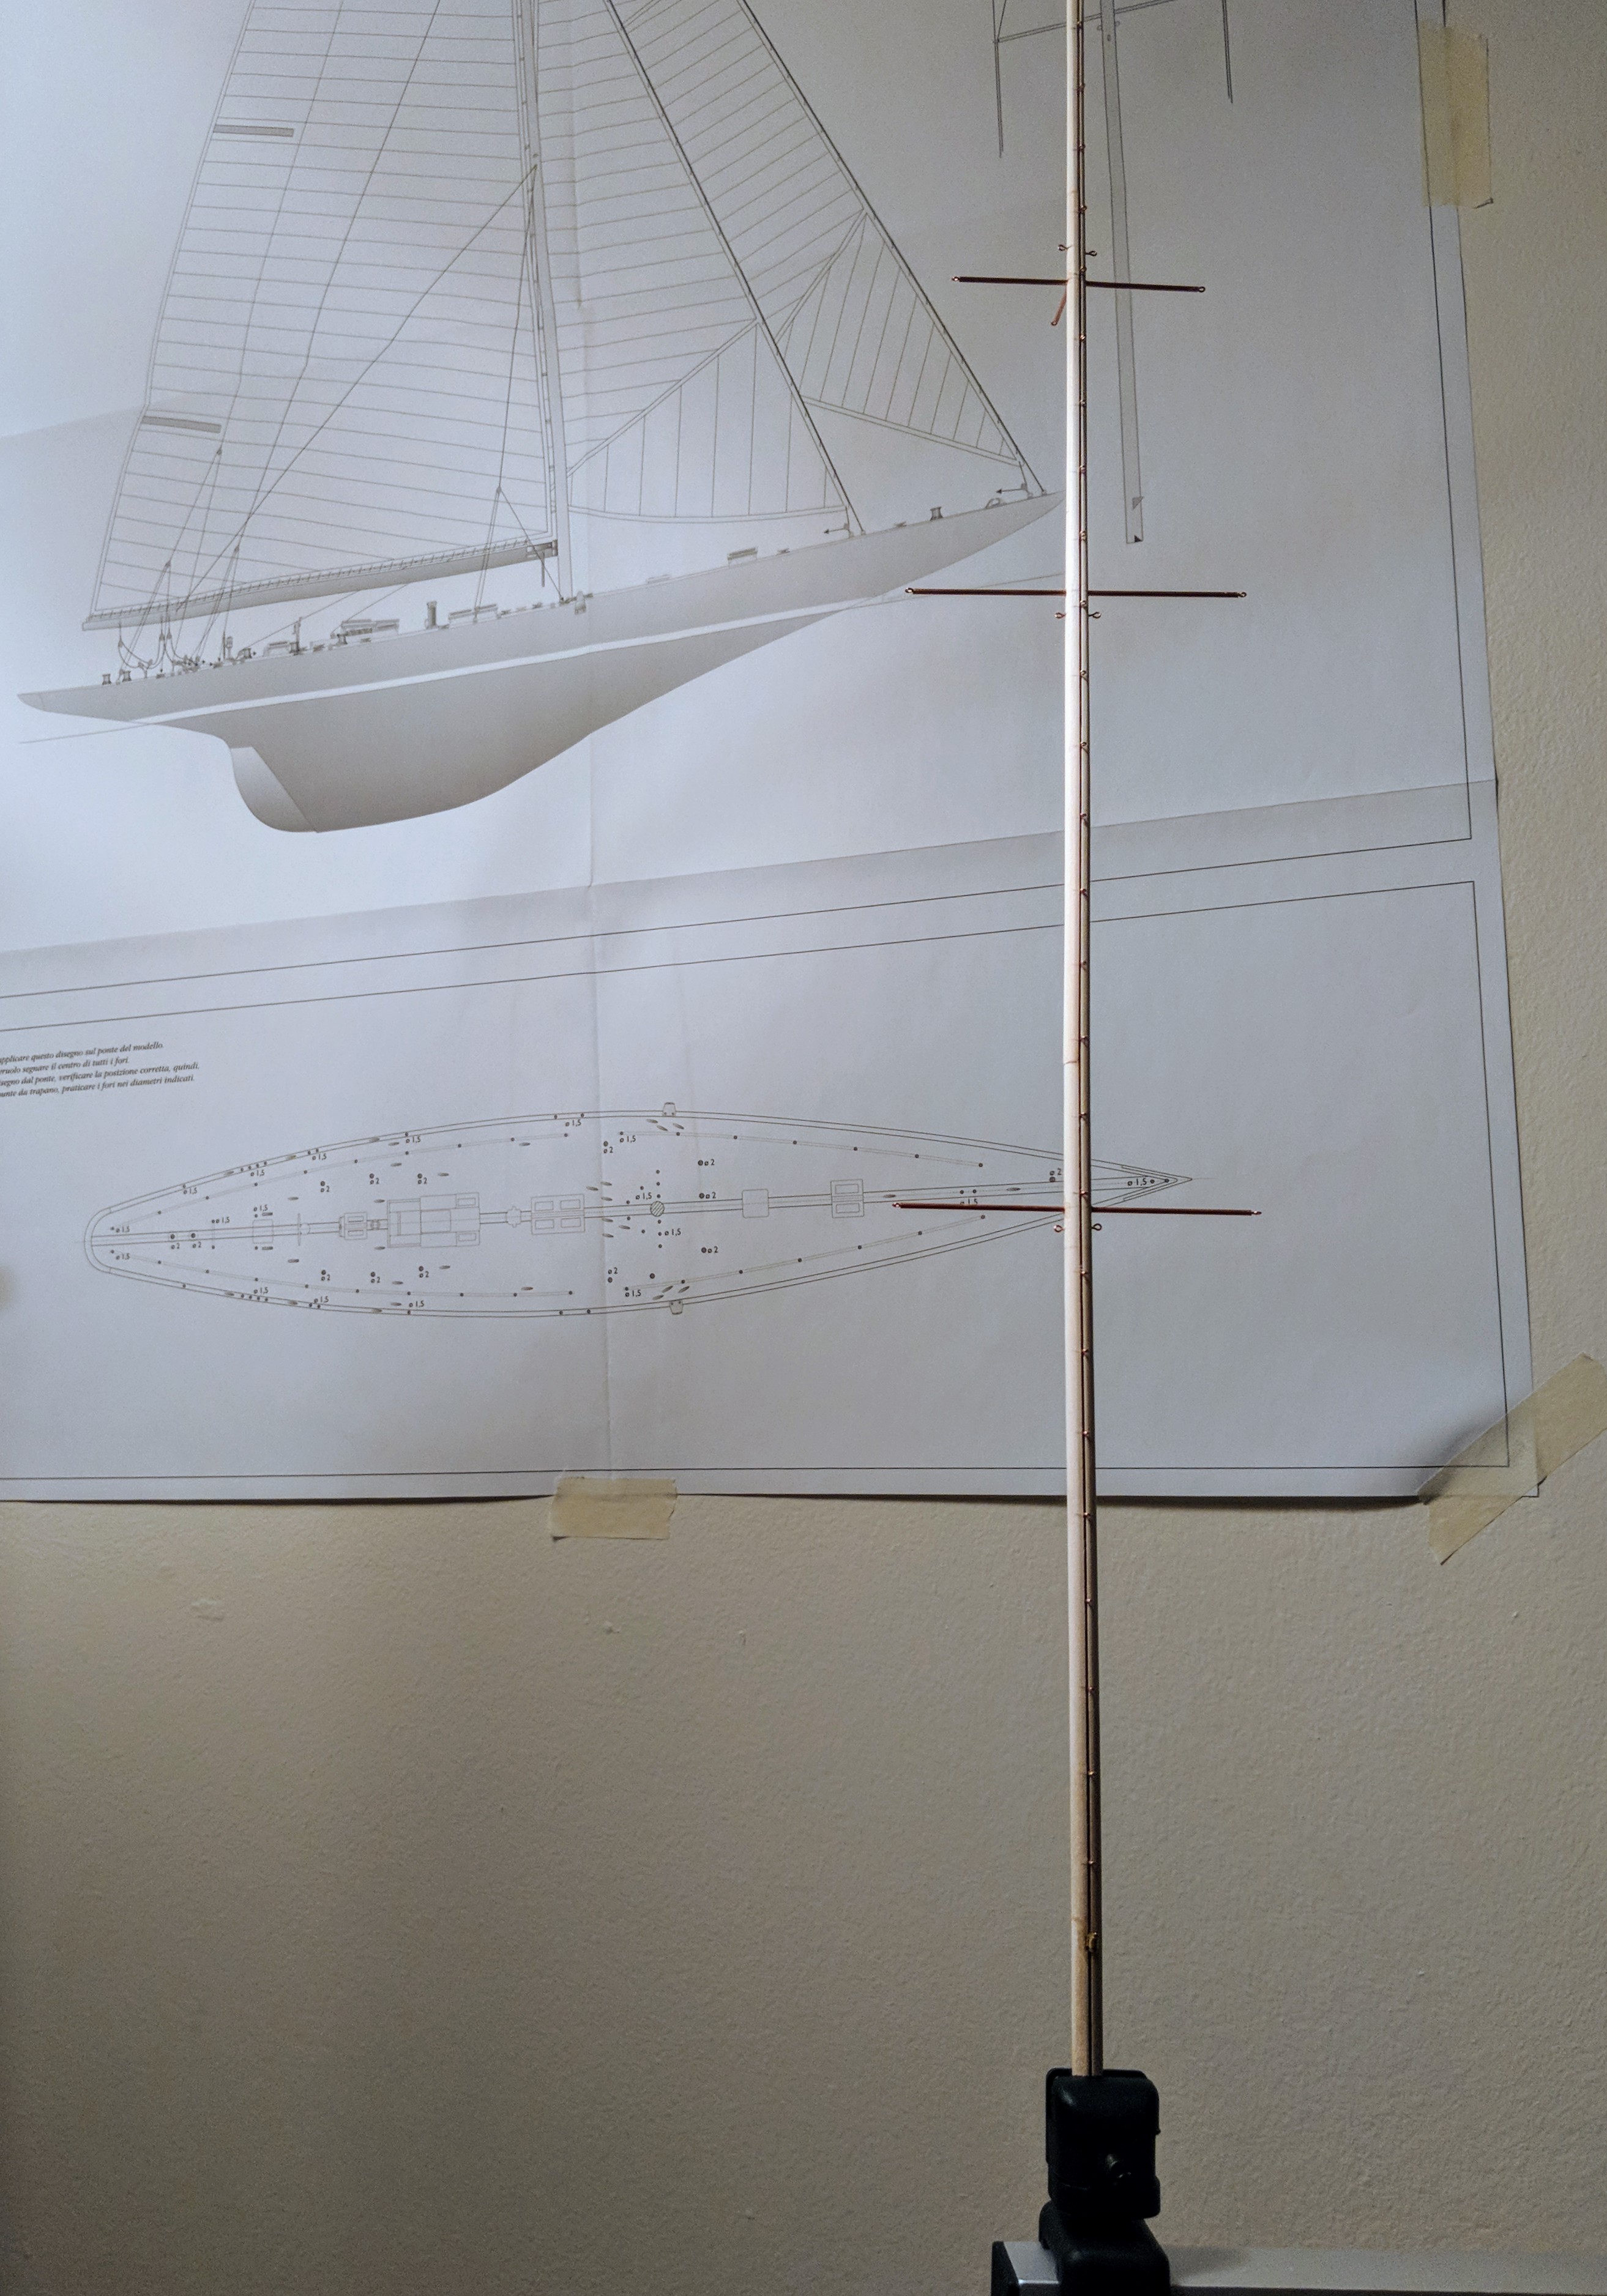
Given a mulligan I may have started somewhere other than with assembly of the mast and boom. The instructions begin with assembling these elements, but if you're new to ship modeling as I am, then these steps are quite fiddly. I knew that this hobby would involve tiny parts and much patience, but I was not immediately prepared for how small the eyebolts are at this scale. Practice makes perfect though, so I improved as I went along. But, the early mistakes were much more frequent, so just a friendly warning if you want to start off with a kit like this! Thankfully these pieces will be painted over and there are chances to minimize the degree to which the mistakes are obvious.
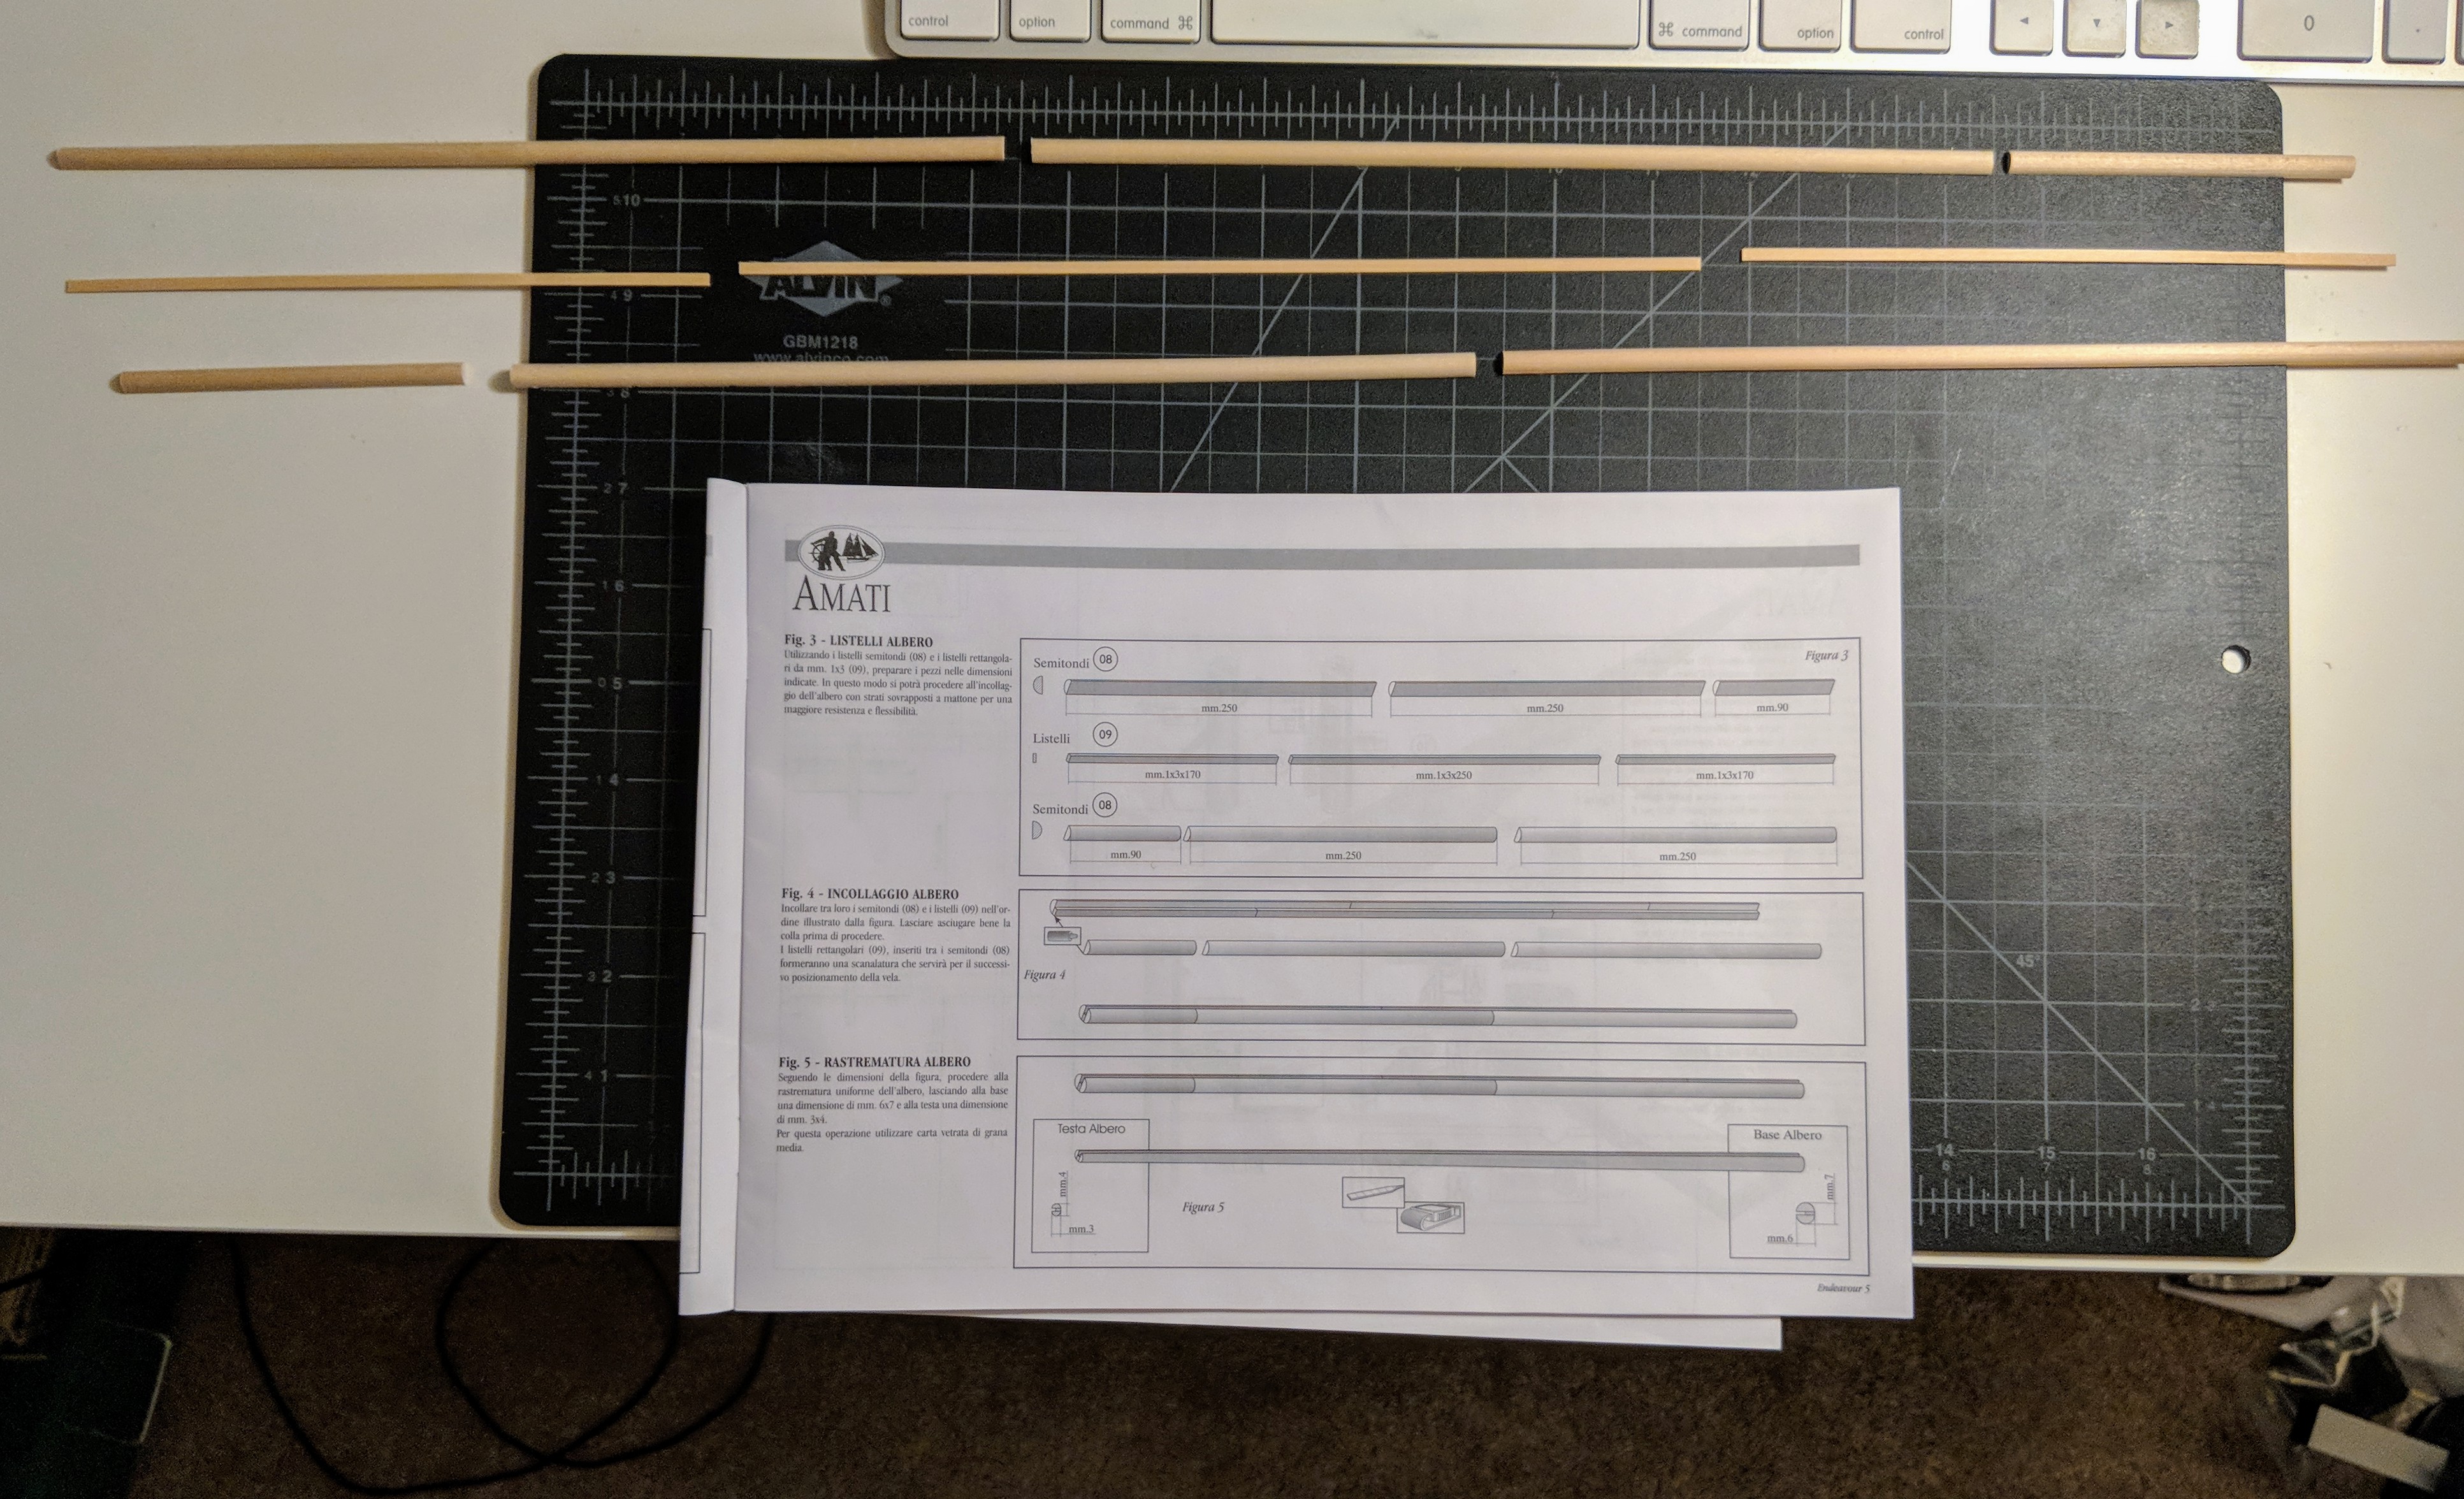
That being said, the basic ideas behind what you're doing are quite approachable. Just measure twice (or thrice) and cut once. Don't force any parts into place, all those good pieces of advice that I learned via trial-and-error.
Second (and last) is a medium that I may jettison for any future models except in limited cases. The medium I'm referring to is CA glue, super glue. It's fast drying (obviously) and strong, but this means that if you don't get placement immediately perfect then there is little or no forgiveness, with wood anyways. I don't like this and (as you'll later see) although I continued to use it for hull planking I grew to dislike it there as well. Everyone has their preference though, but this one may not be one of mine. We'll see as I move along though.
Now to the photos and commentary 🙂