I've fallen quite far behind on updating this log! Hopefully the pictures I've been taking throughout the process will suffice and memory will supply any useful details as I catch back up on the build process here.
This post will cover the process of gluing the "bulkheads" to the keel and then adding a false deck. The word "bulkhead" is not entirely accurate, to be fair, since a yacht like this didn't have full fledged bulkheads. They are essentially functioning like a frame onto which the hull planking will be glued. The bulkheads and keel are the skeleton on which the rest of the boat builds. That means that everything here needs to be accurate, or the flaws will become magnified throughout the remainder of the build.
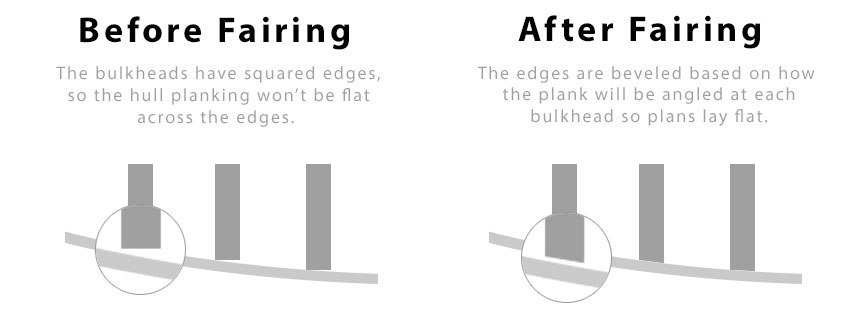
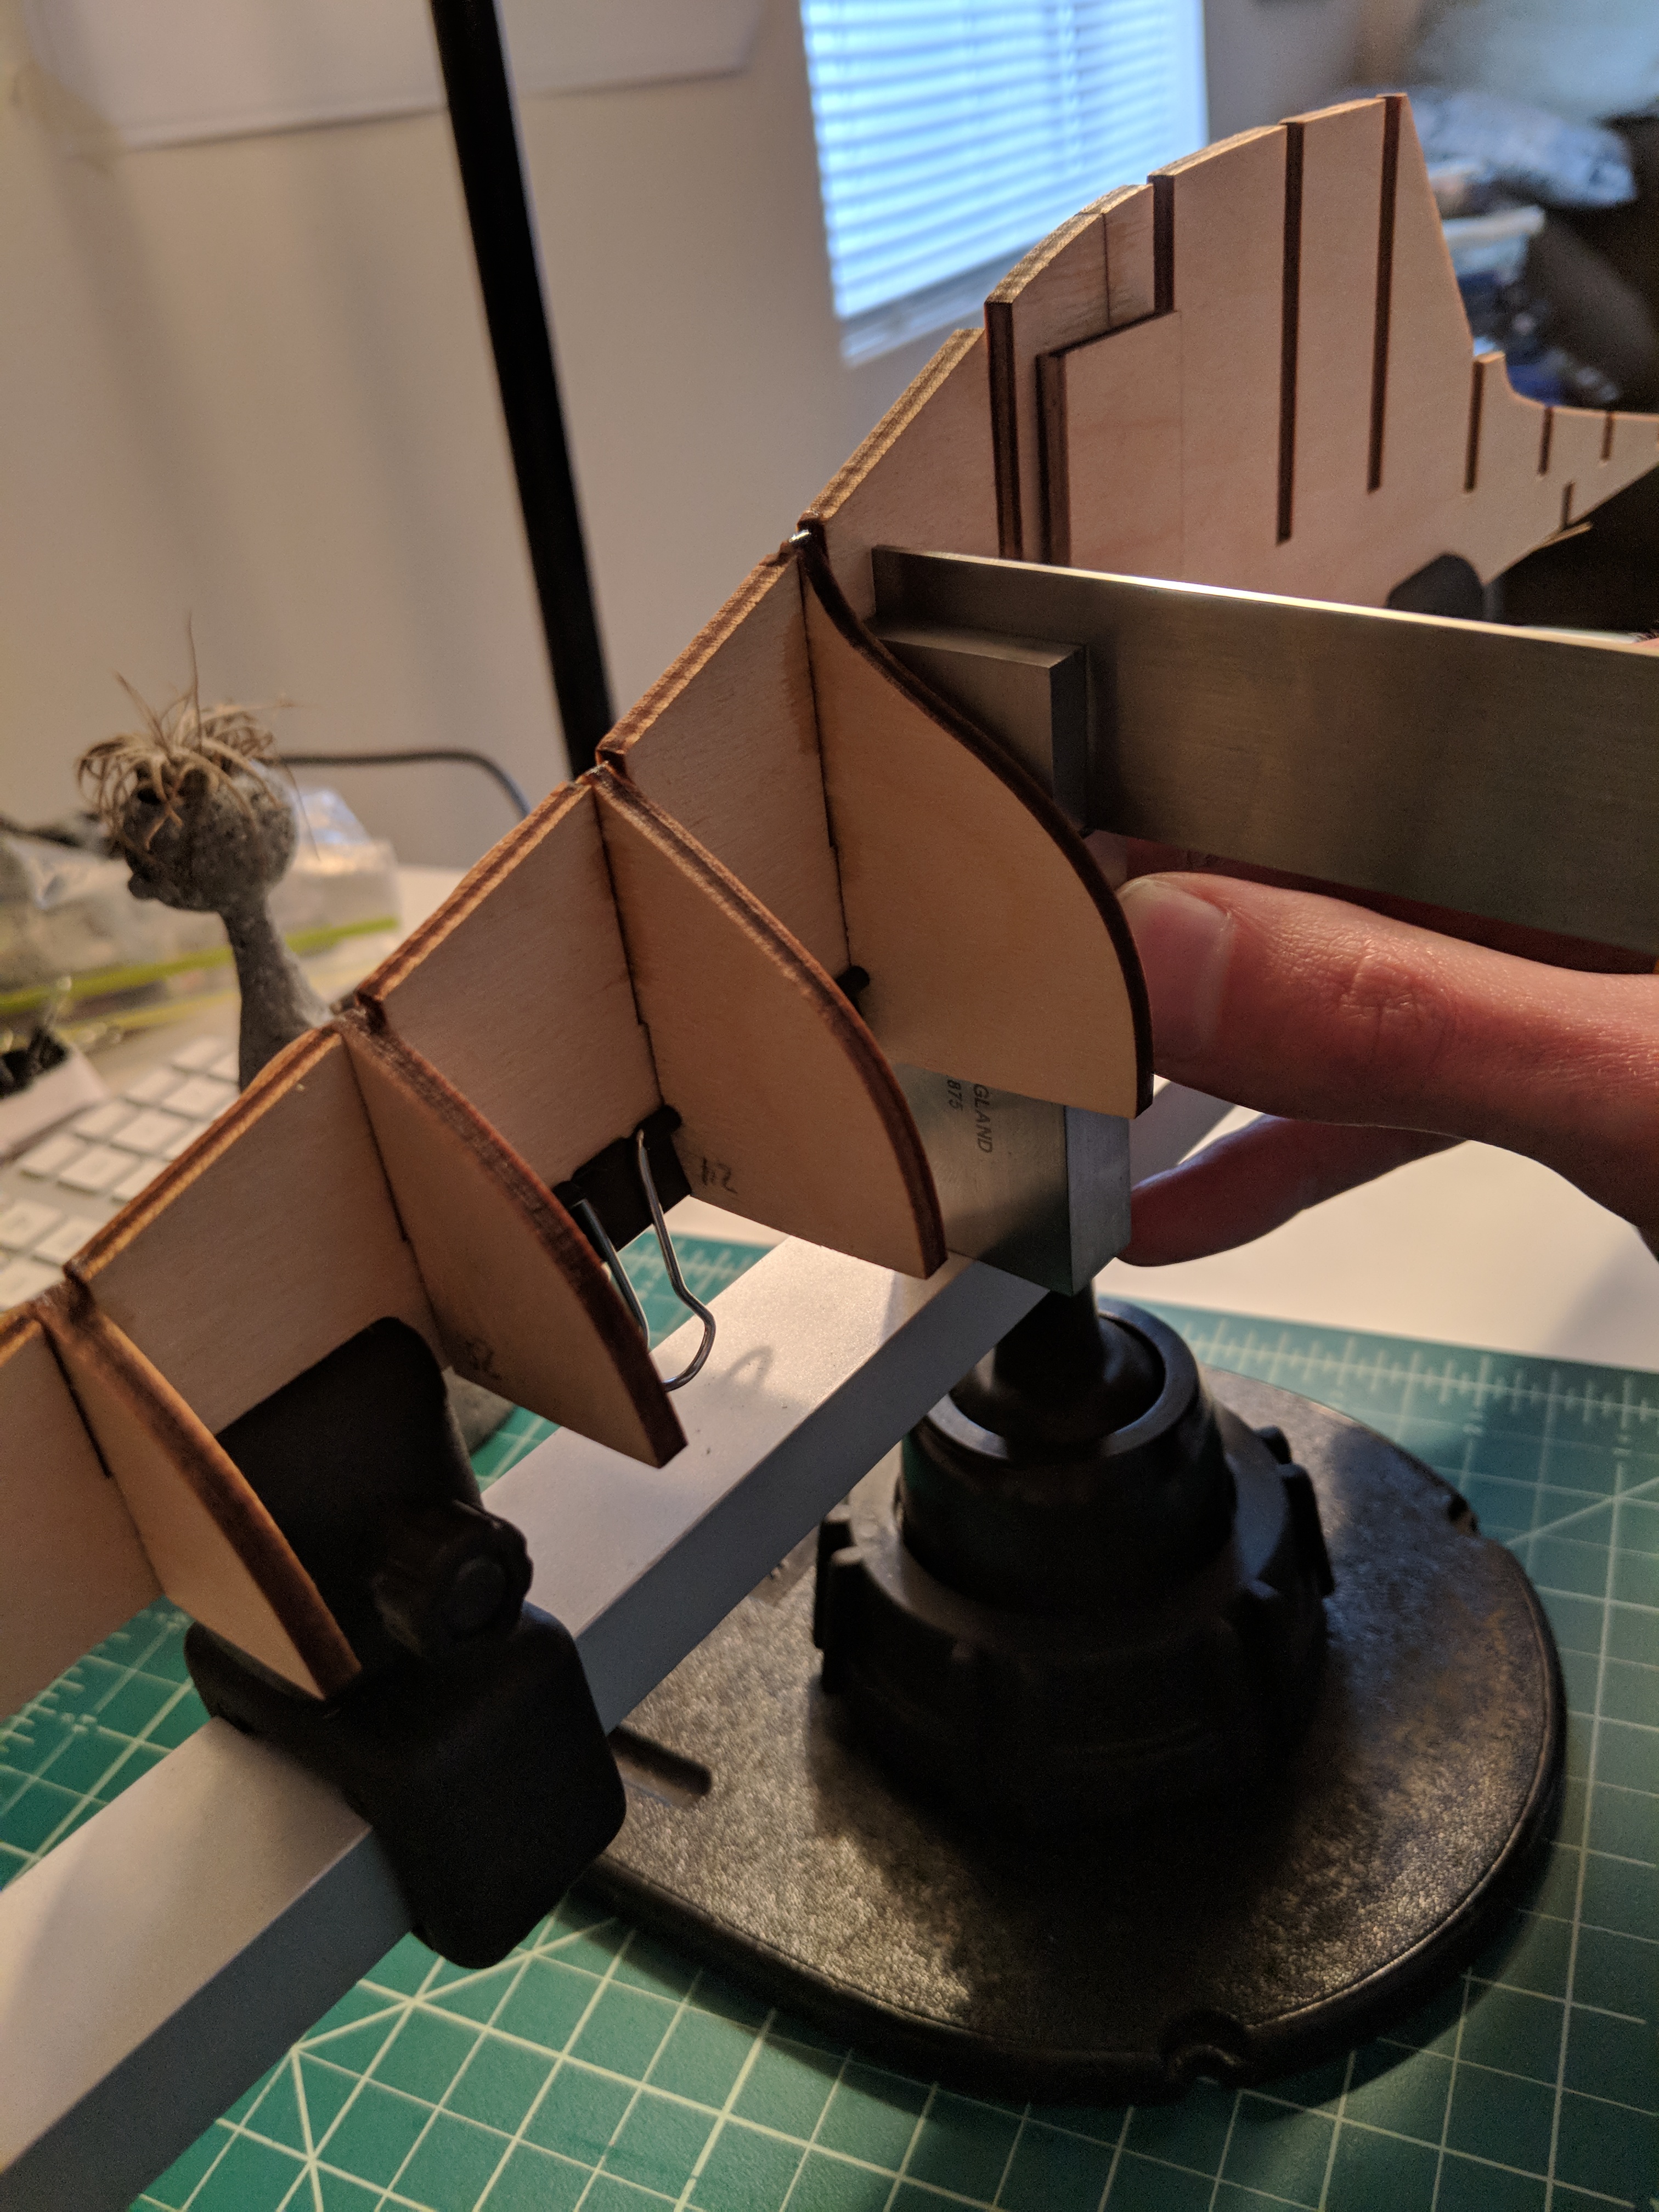
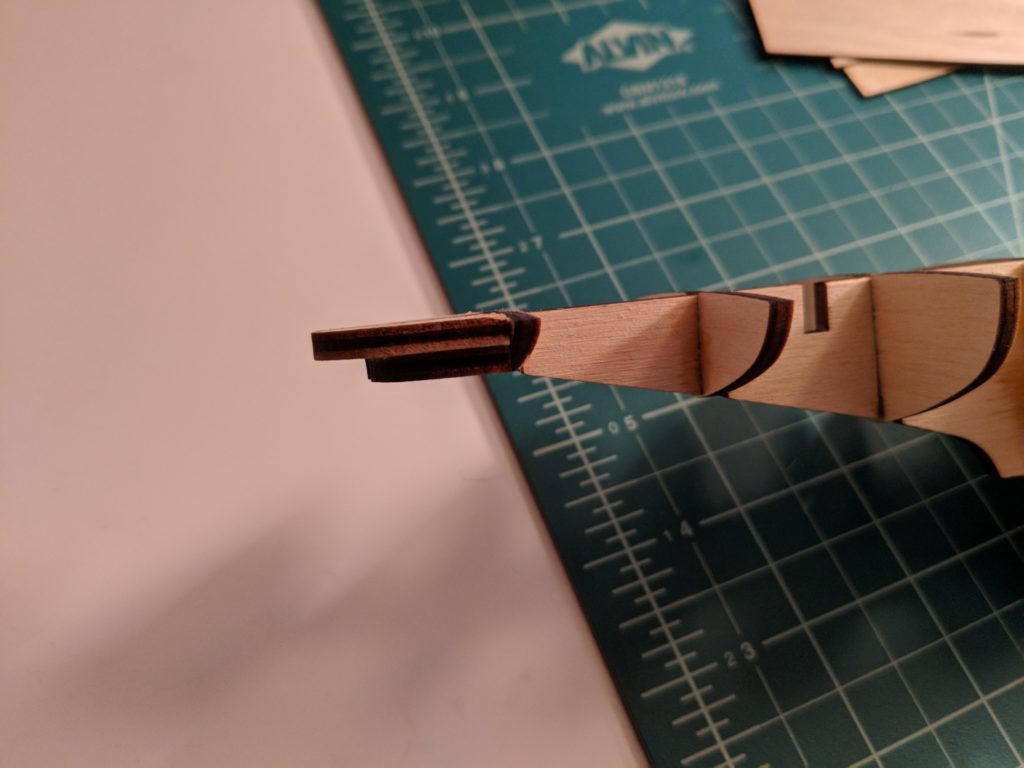
Details will be included to elaborate on each picture below, but this process is basically focused on keeping the bulkheads square, sanding it all level to add the false deck, and then fairing the edges of each bulkhead so that the subsequent hull planking has as much surface area to adhere to as possible. The first image below illustrates why hull fairing is important prior to beginning to lay the planks. Without fairing, then the planks only touch each bulkhead on the corner edge and don't form a solid bond. But, after sanding down the edges to more fully bring out the elegant contours of the hull, then each plank can adhere to the full curve of the bulkhead ends and form a tight bond with no bumps or flaws.
That's it all should work in theory, anyway. Let's see how it came out on my first ever attempt at putting theory into practice.

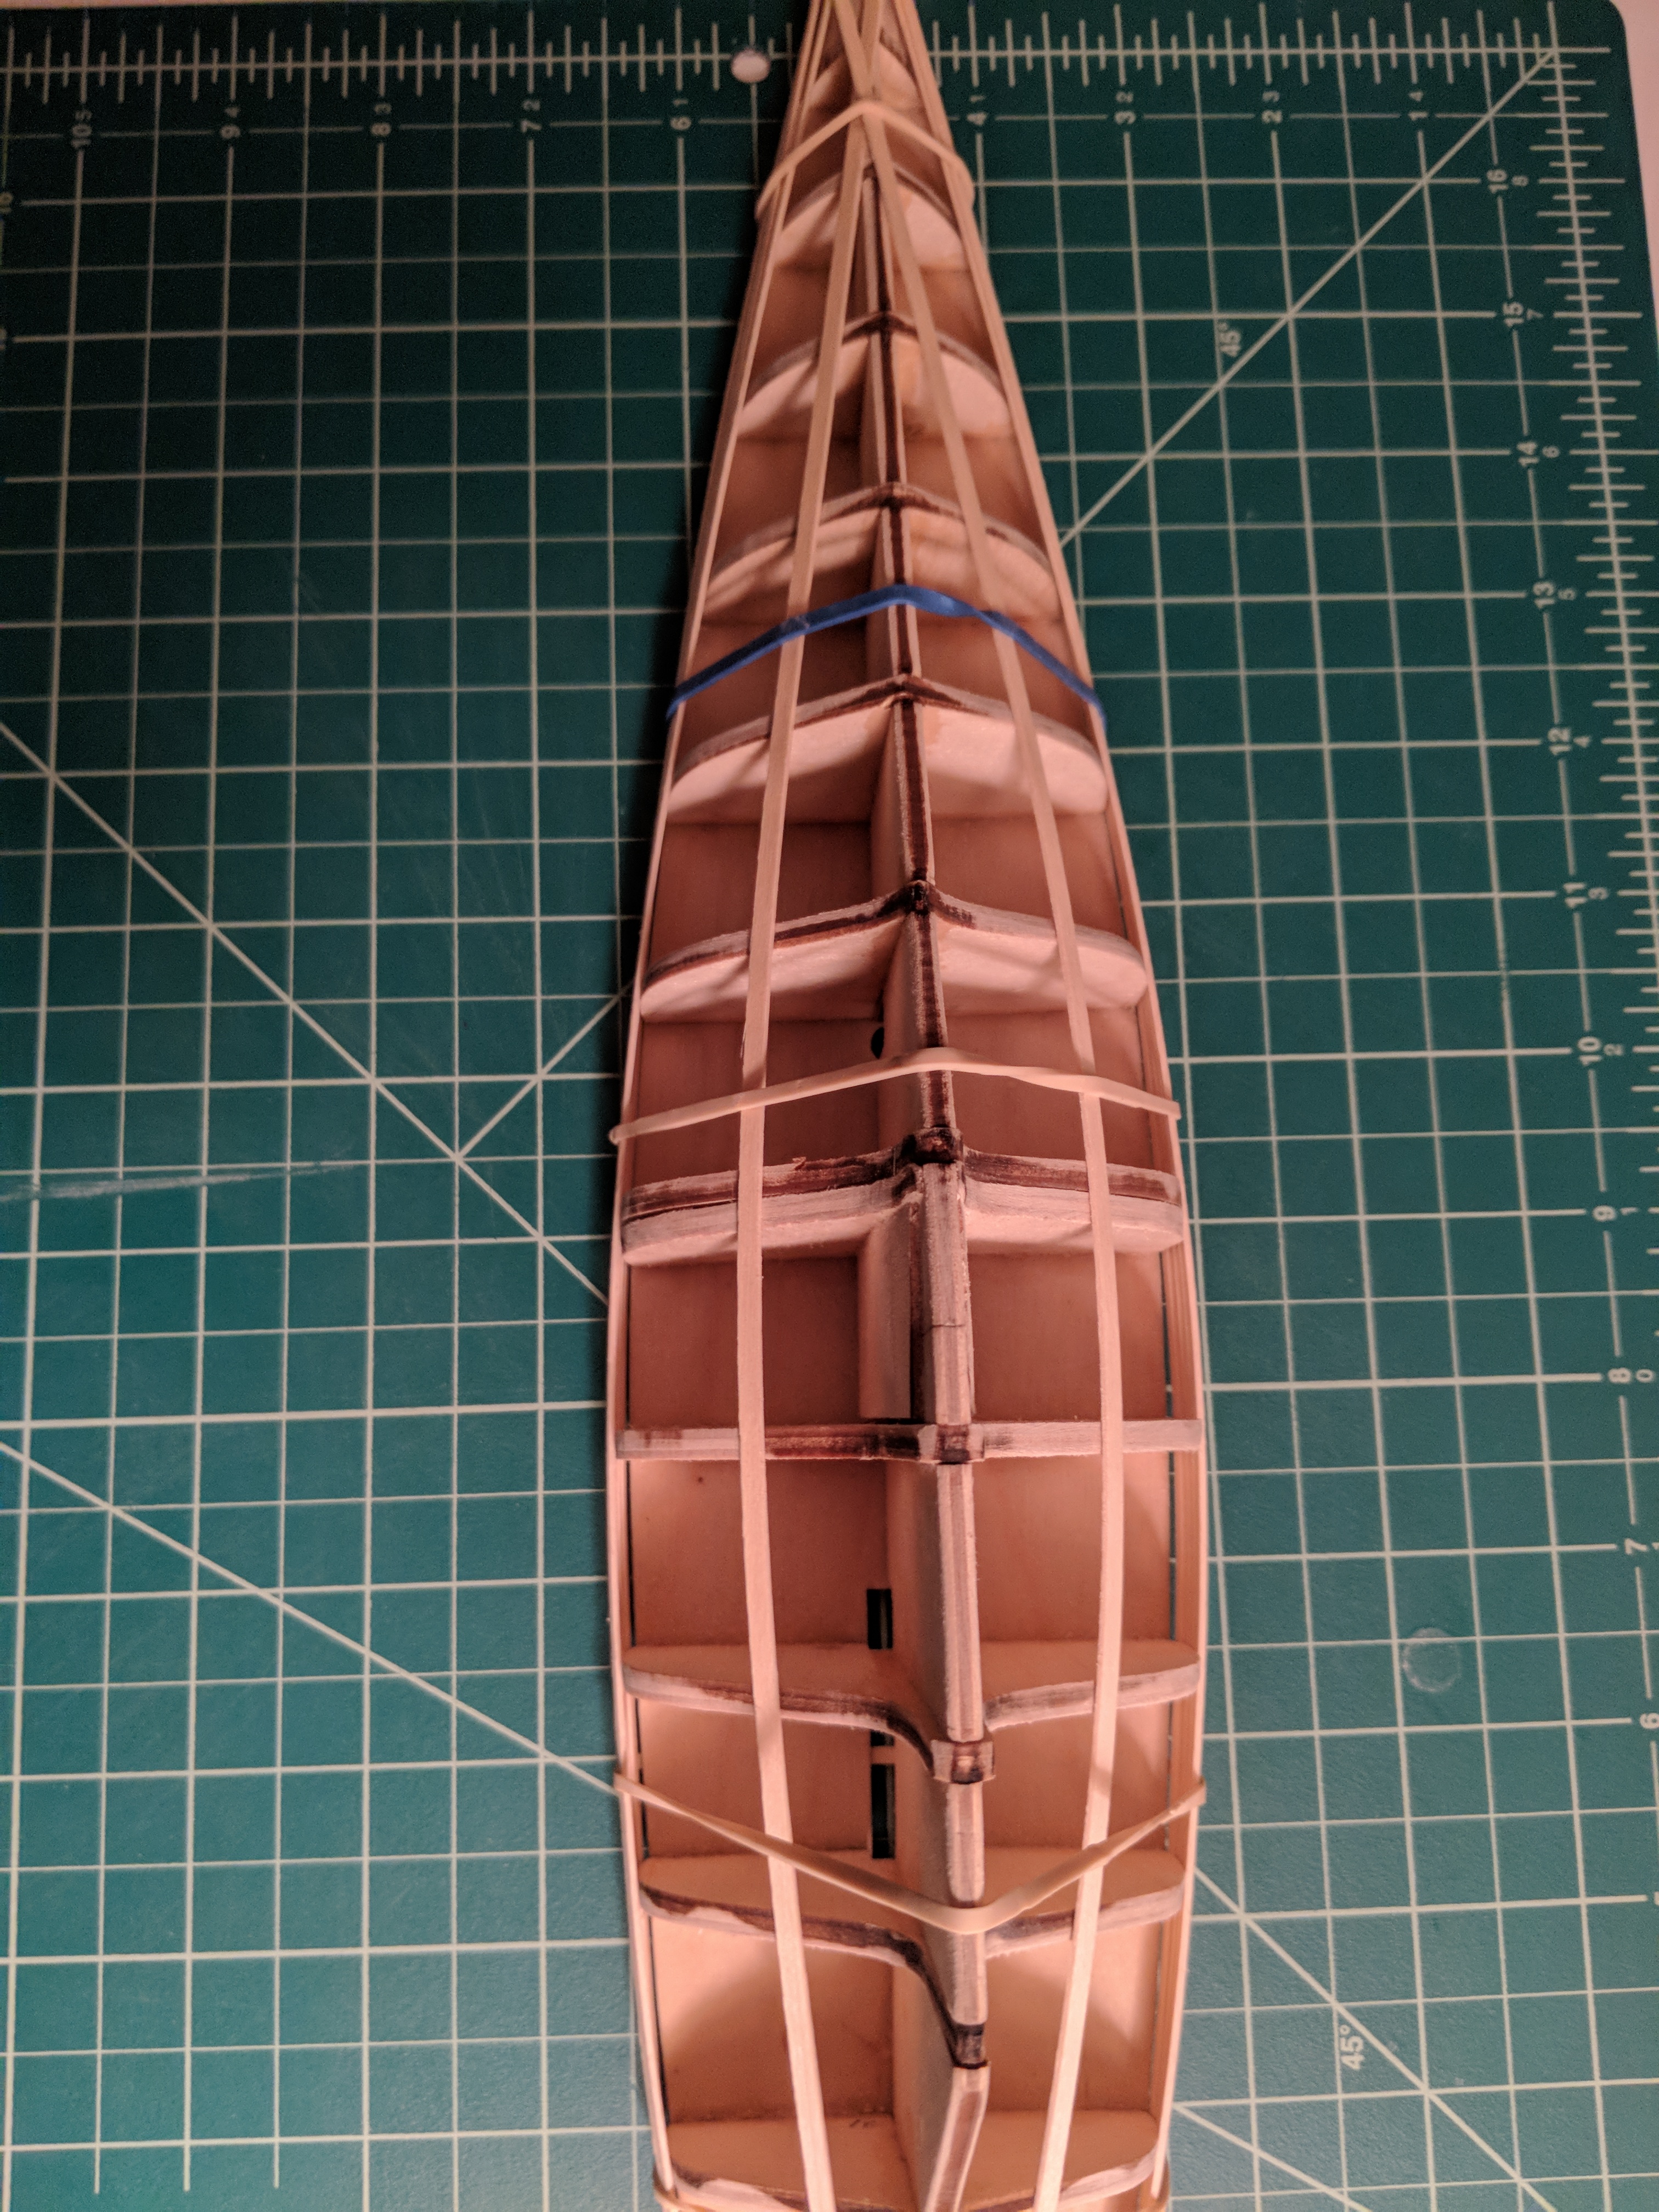
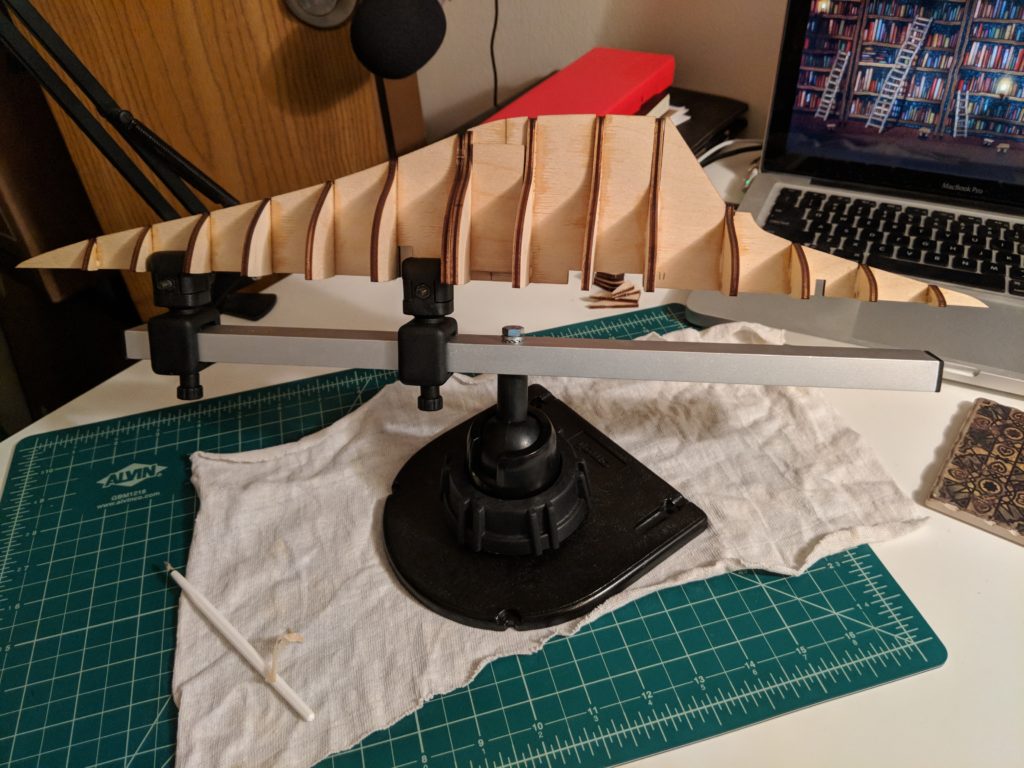
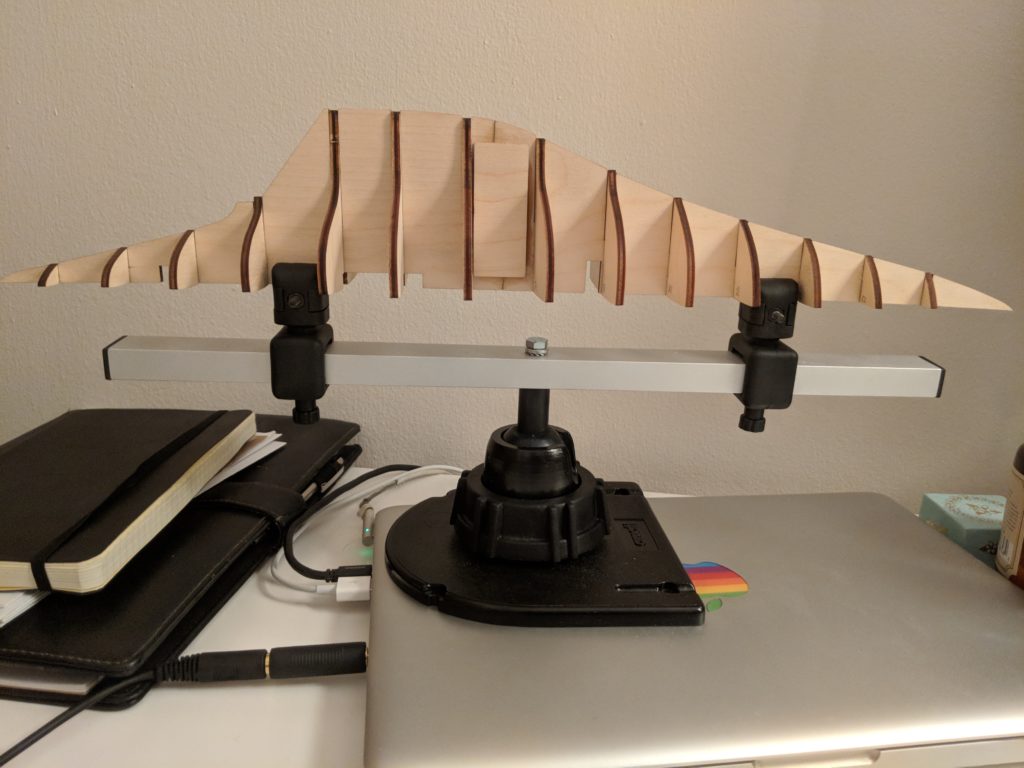
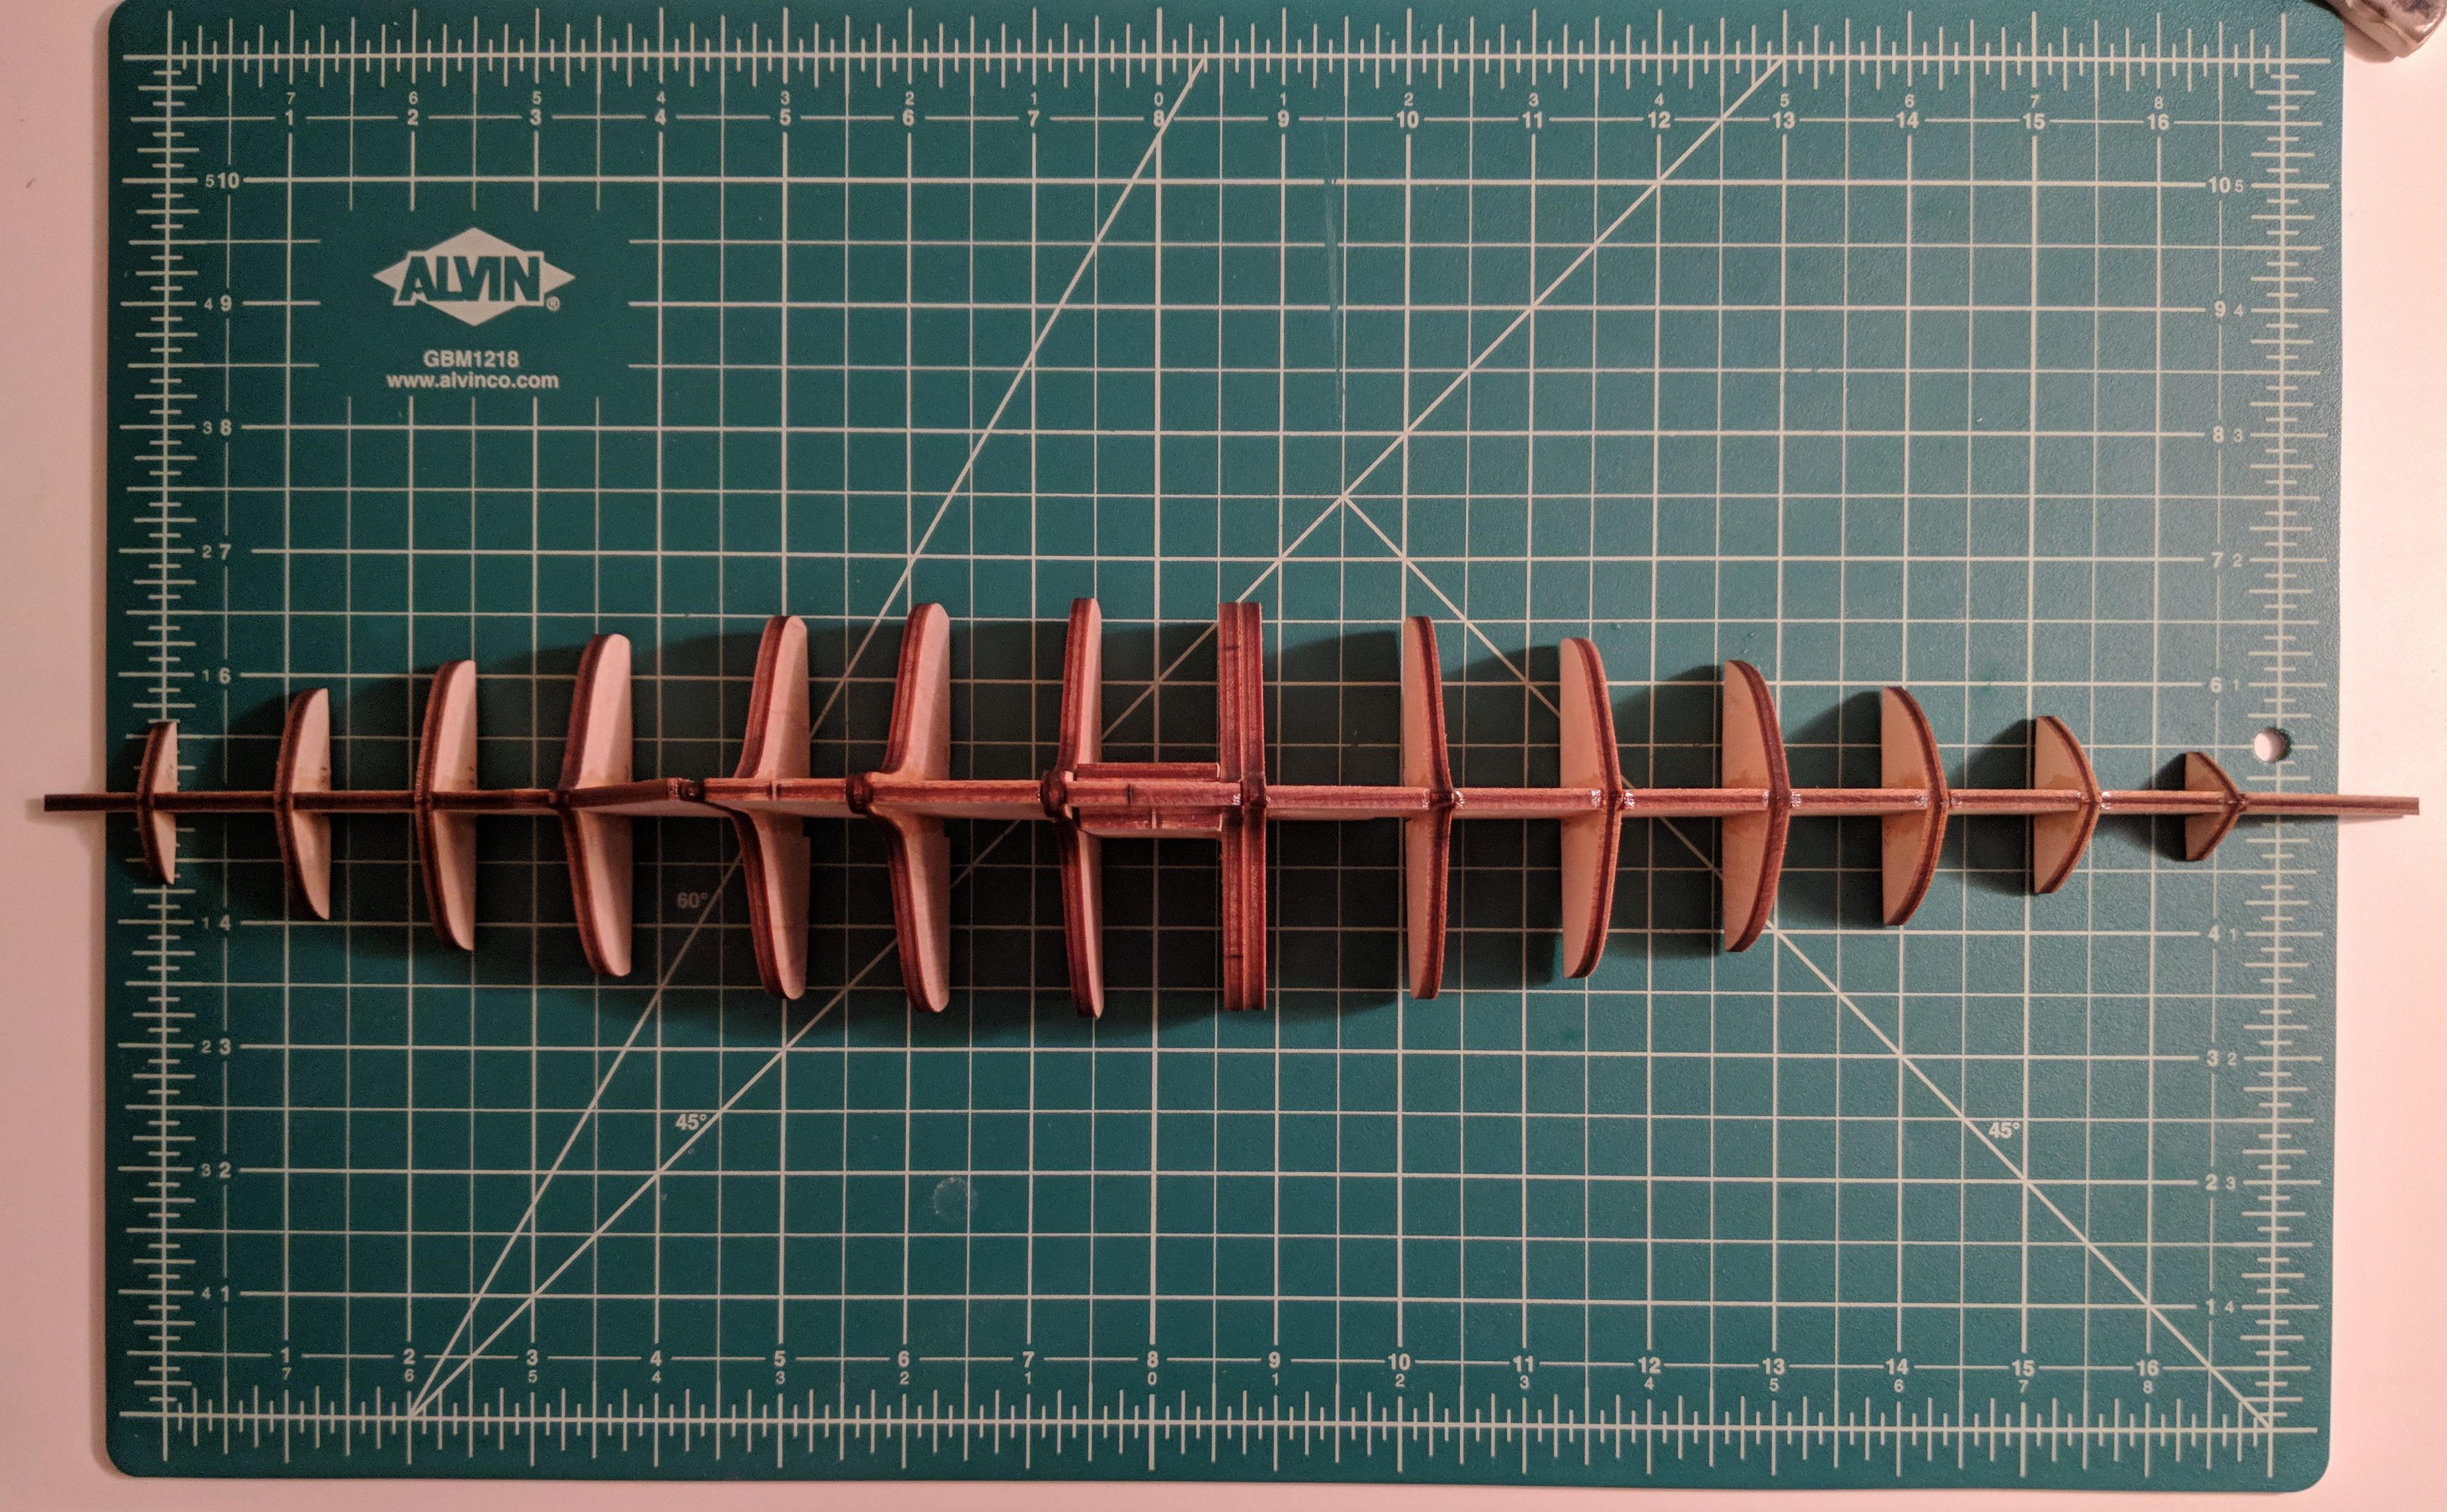
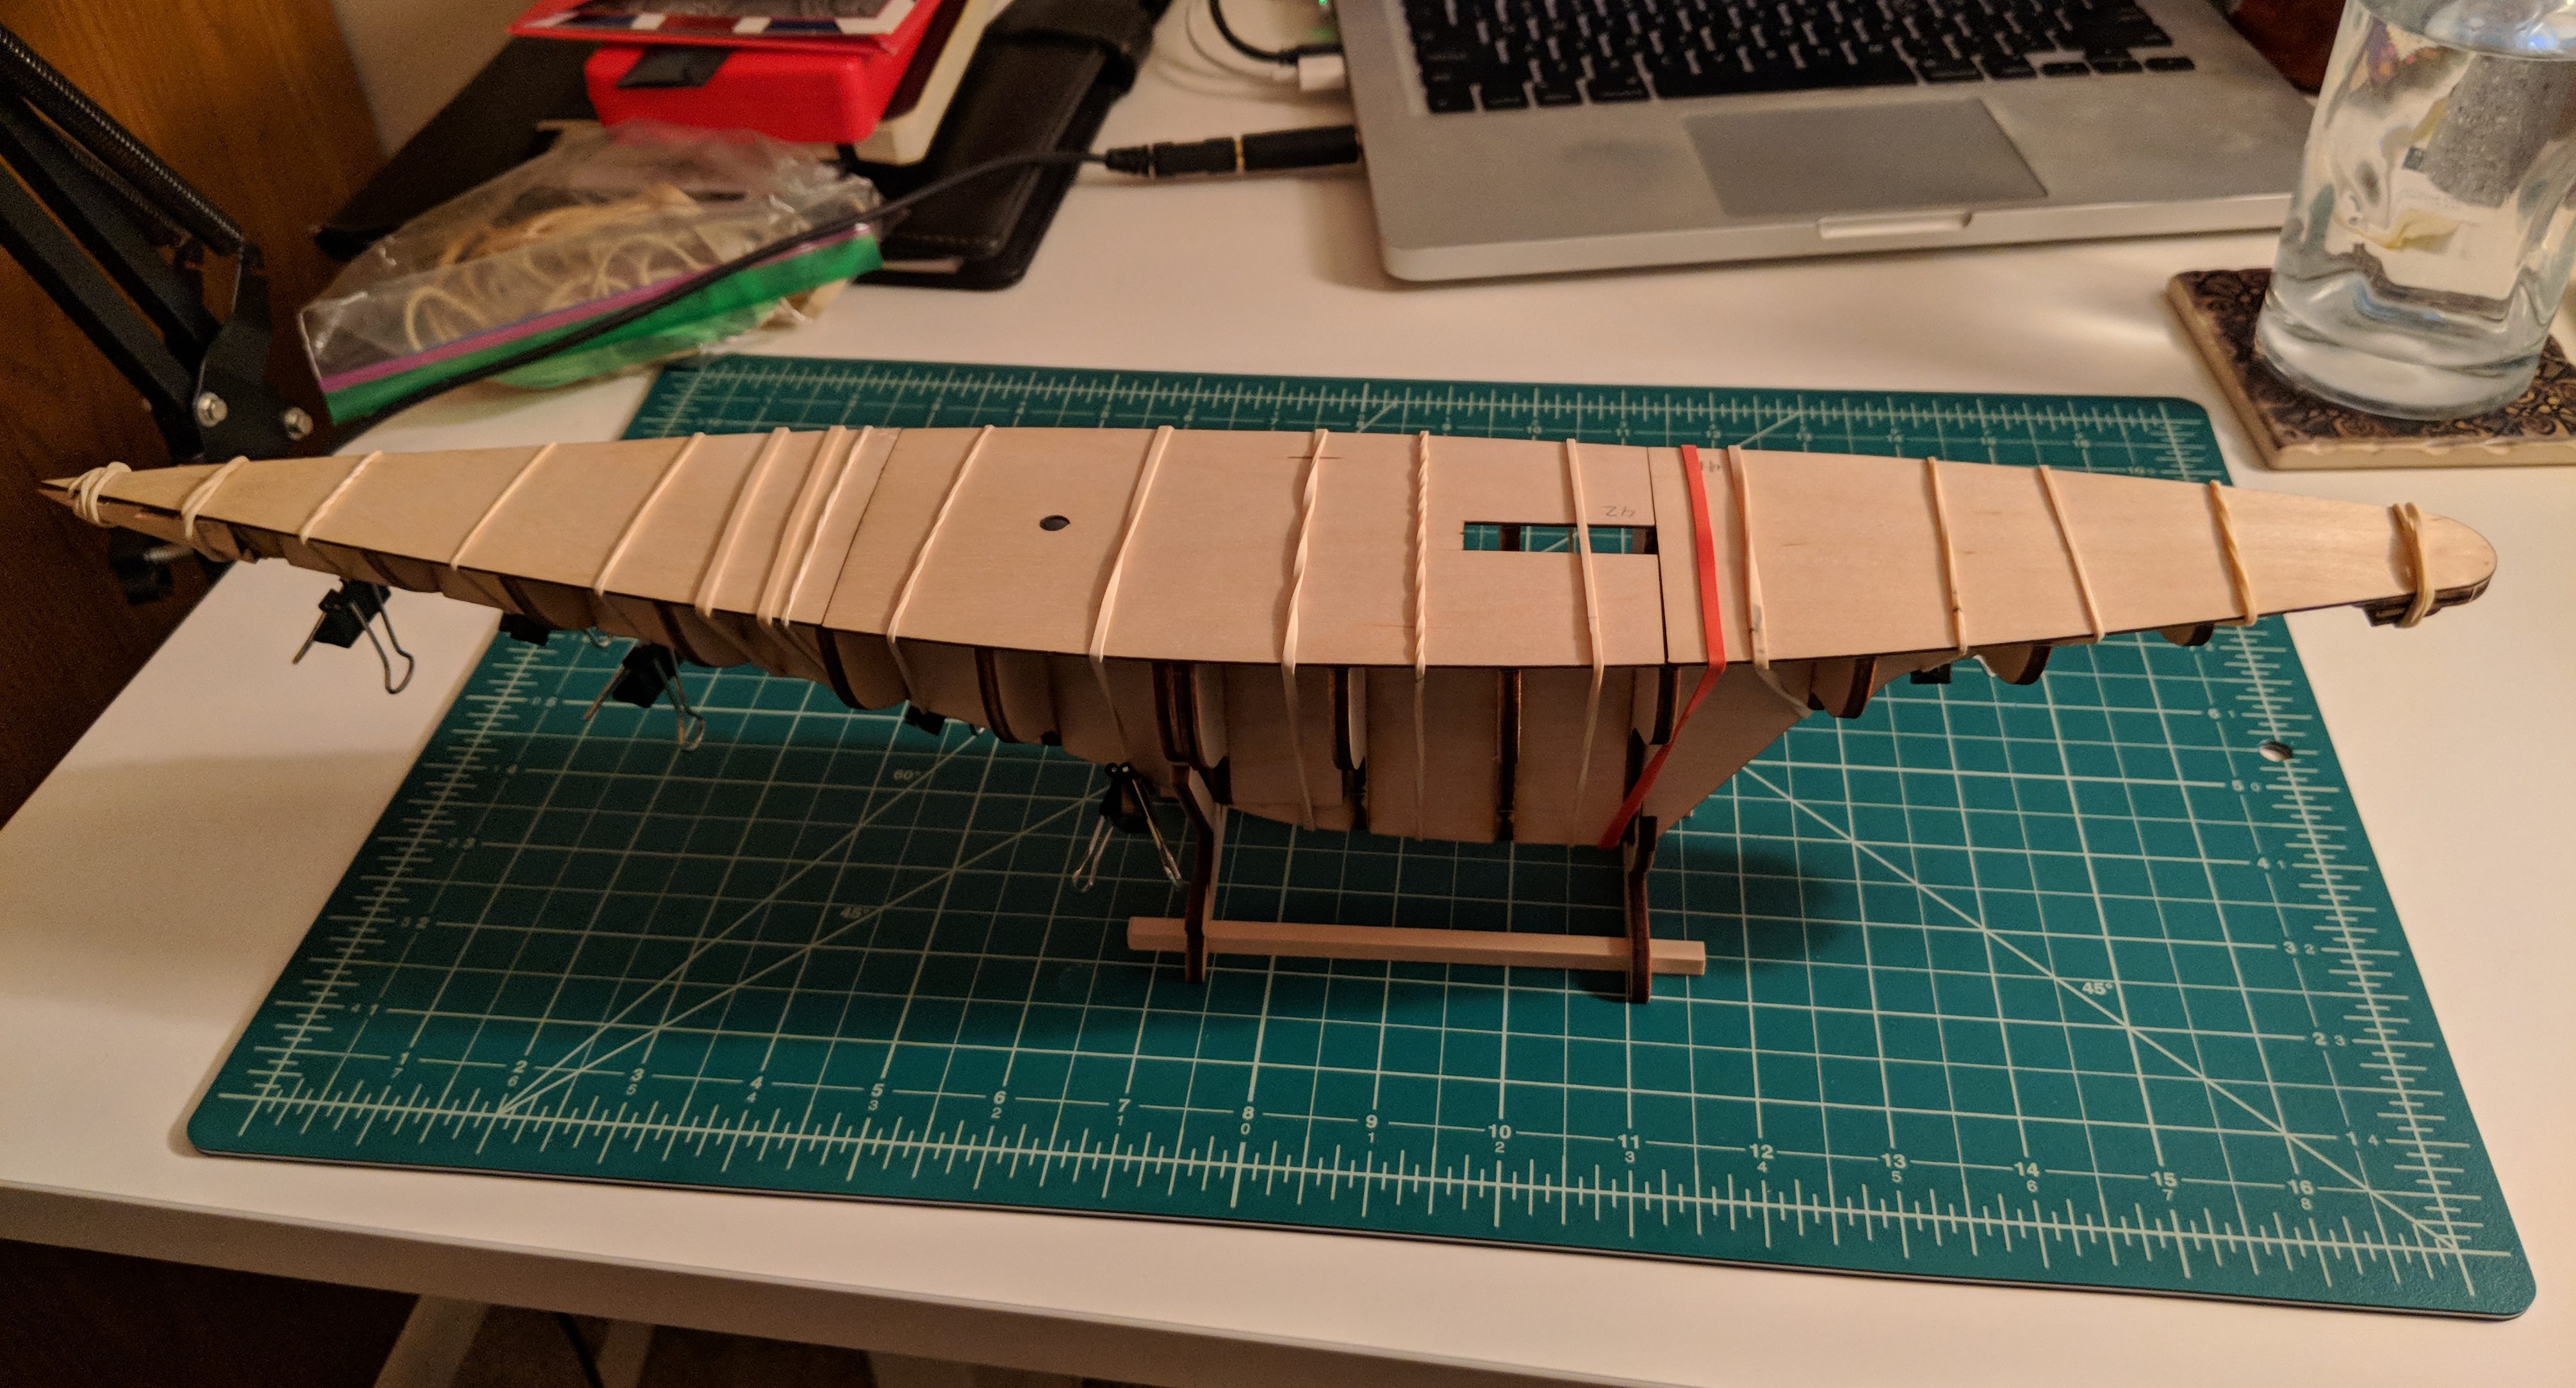
Bulkheads are basically good to go now. Bulkheads all in place. 
Bulkheads all in place.

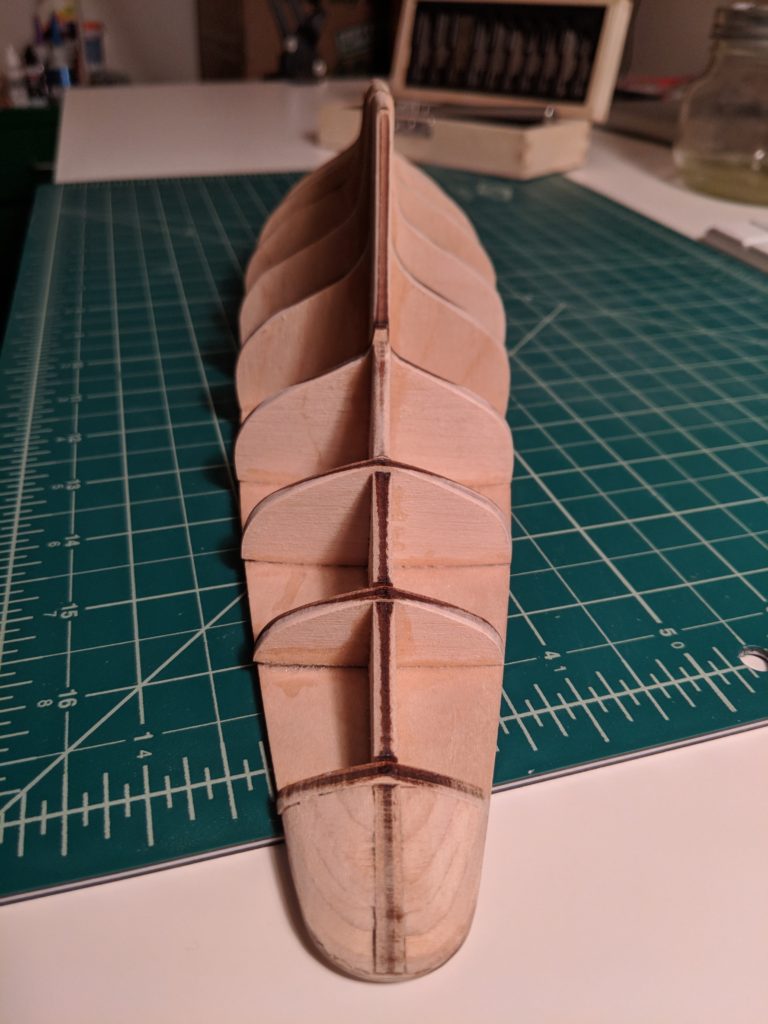
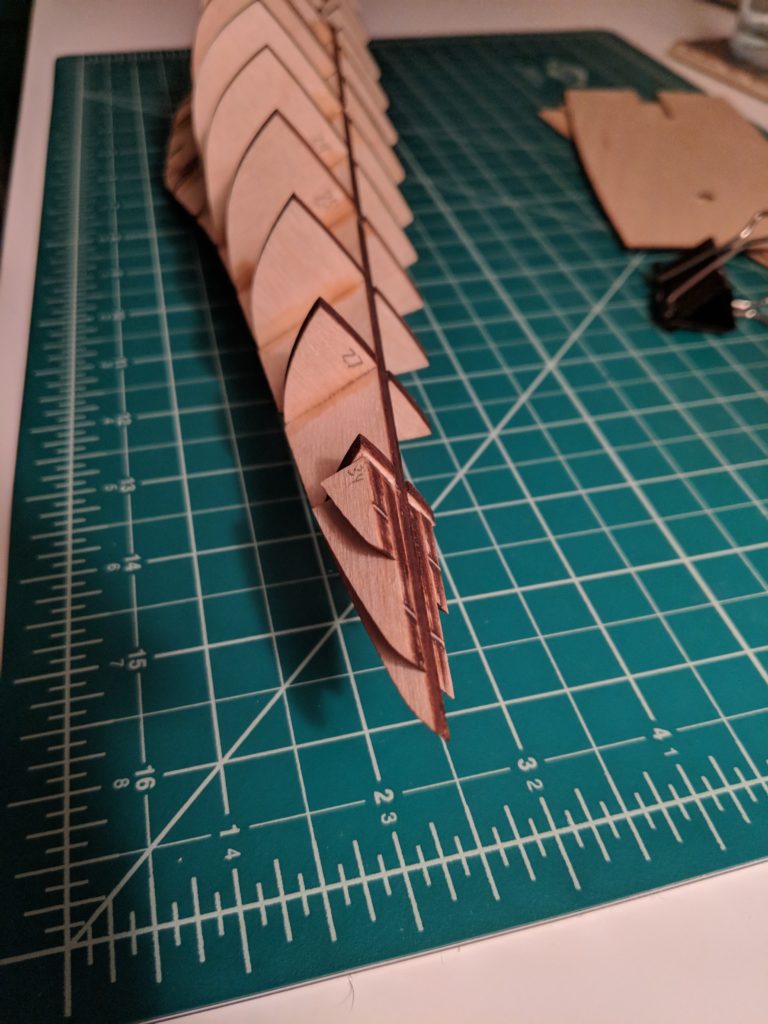
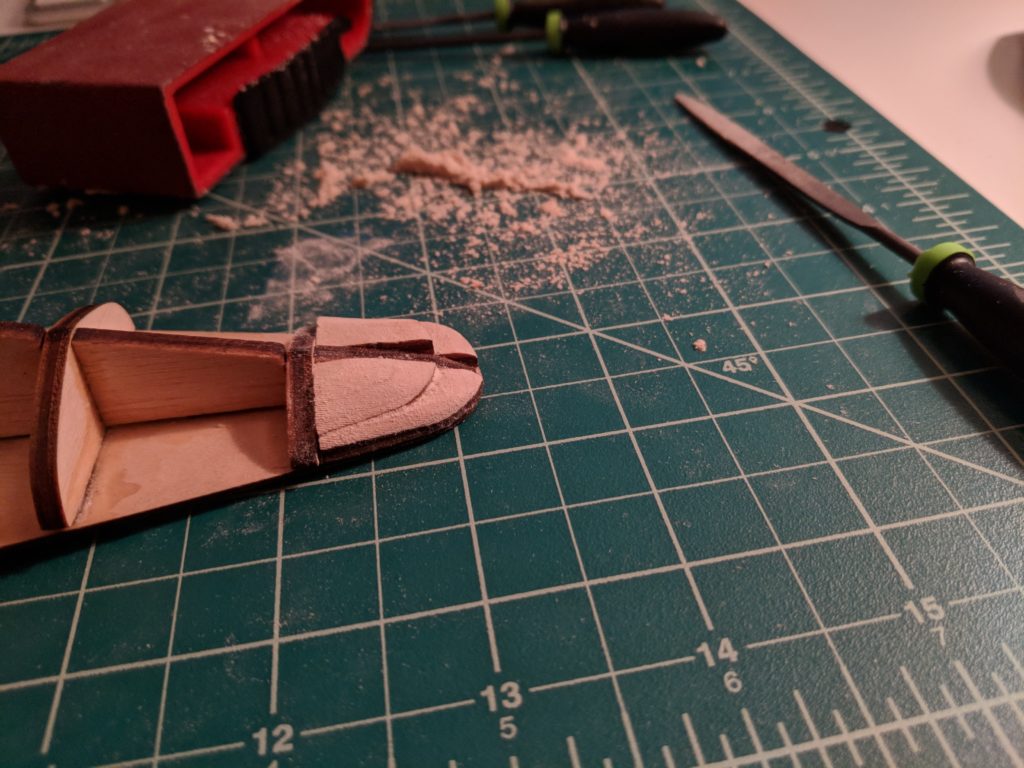
Now to add some filler blocks at the bow, just to help the ends of our hull planks have some surface to work with at the pointy bow. More filler blocks for the stern end.
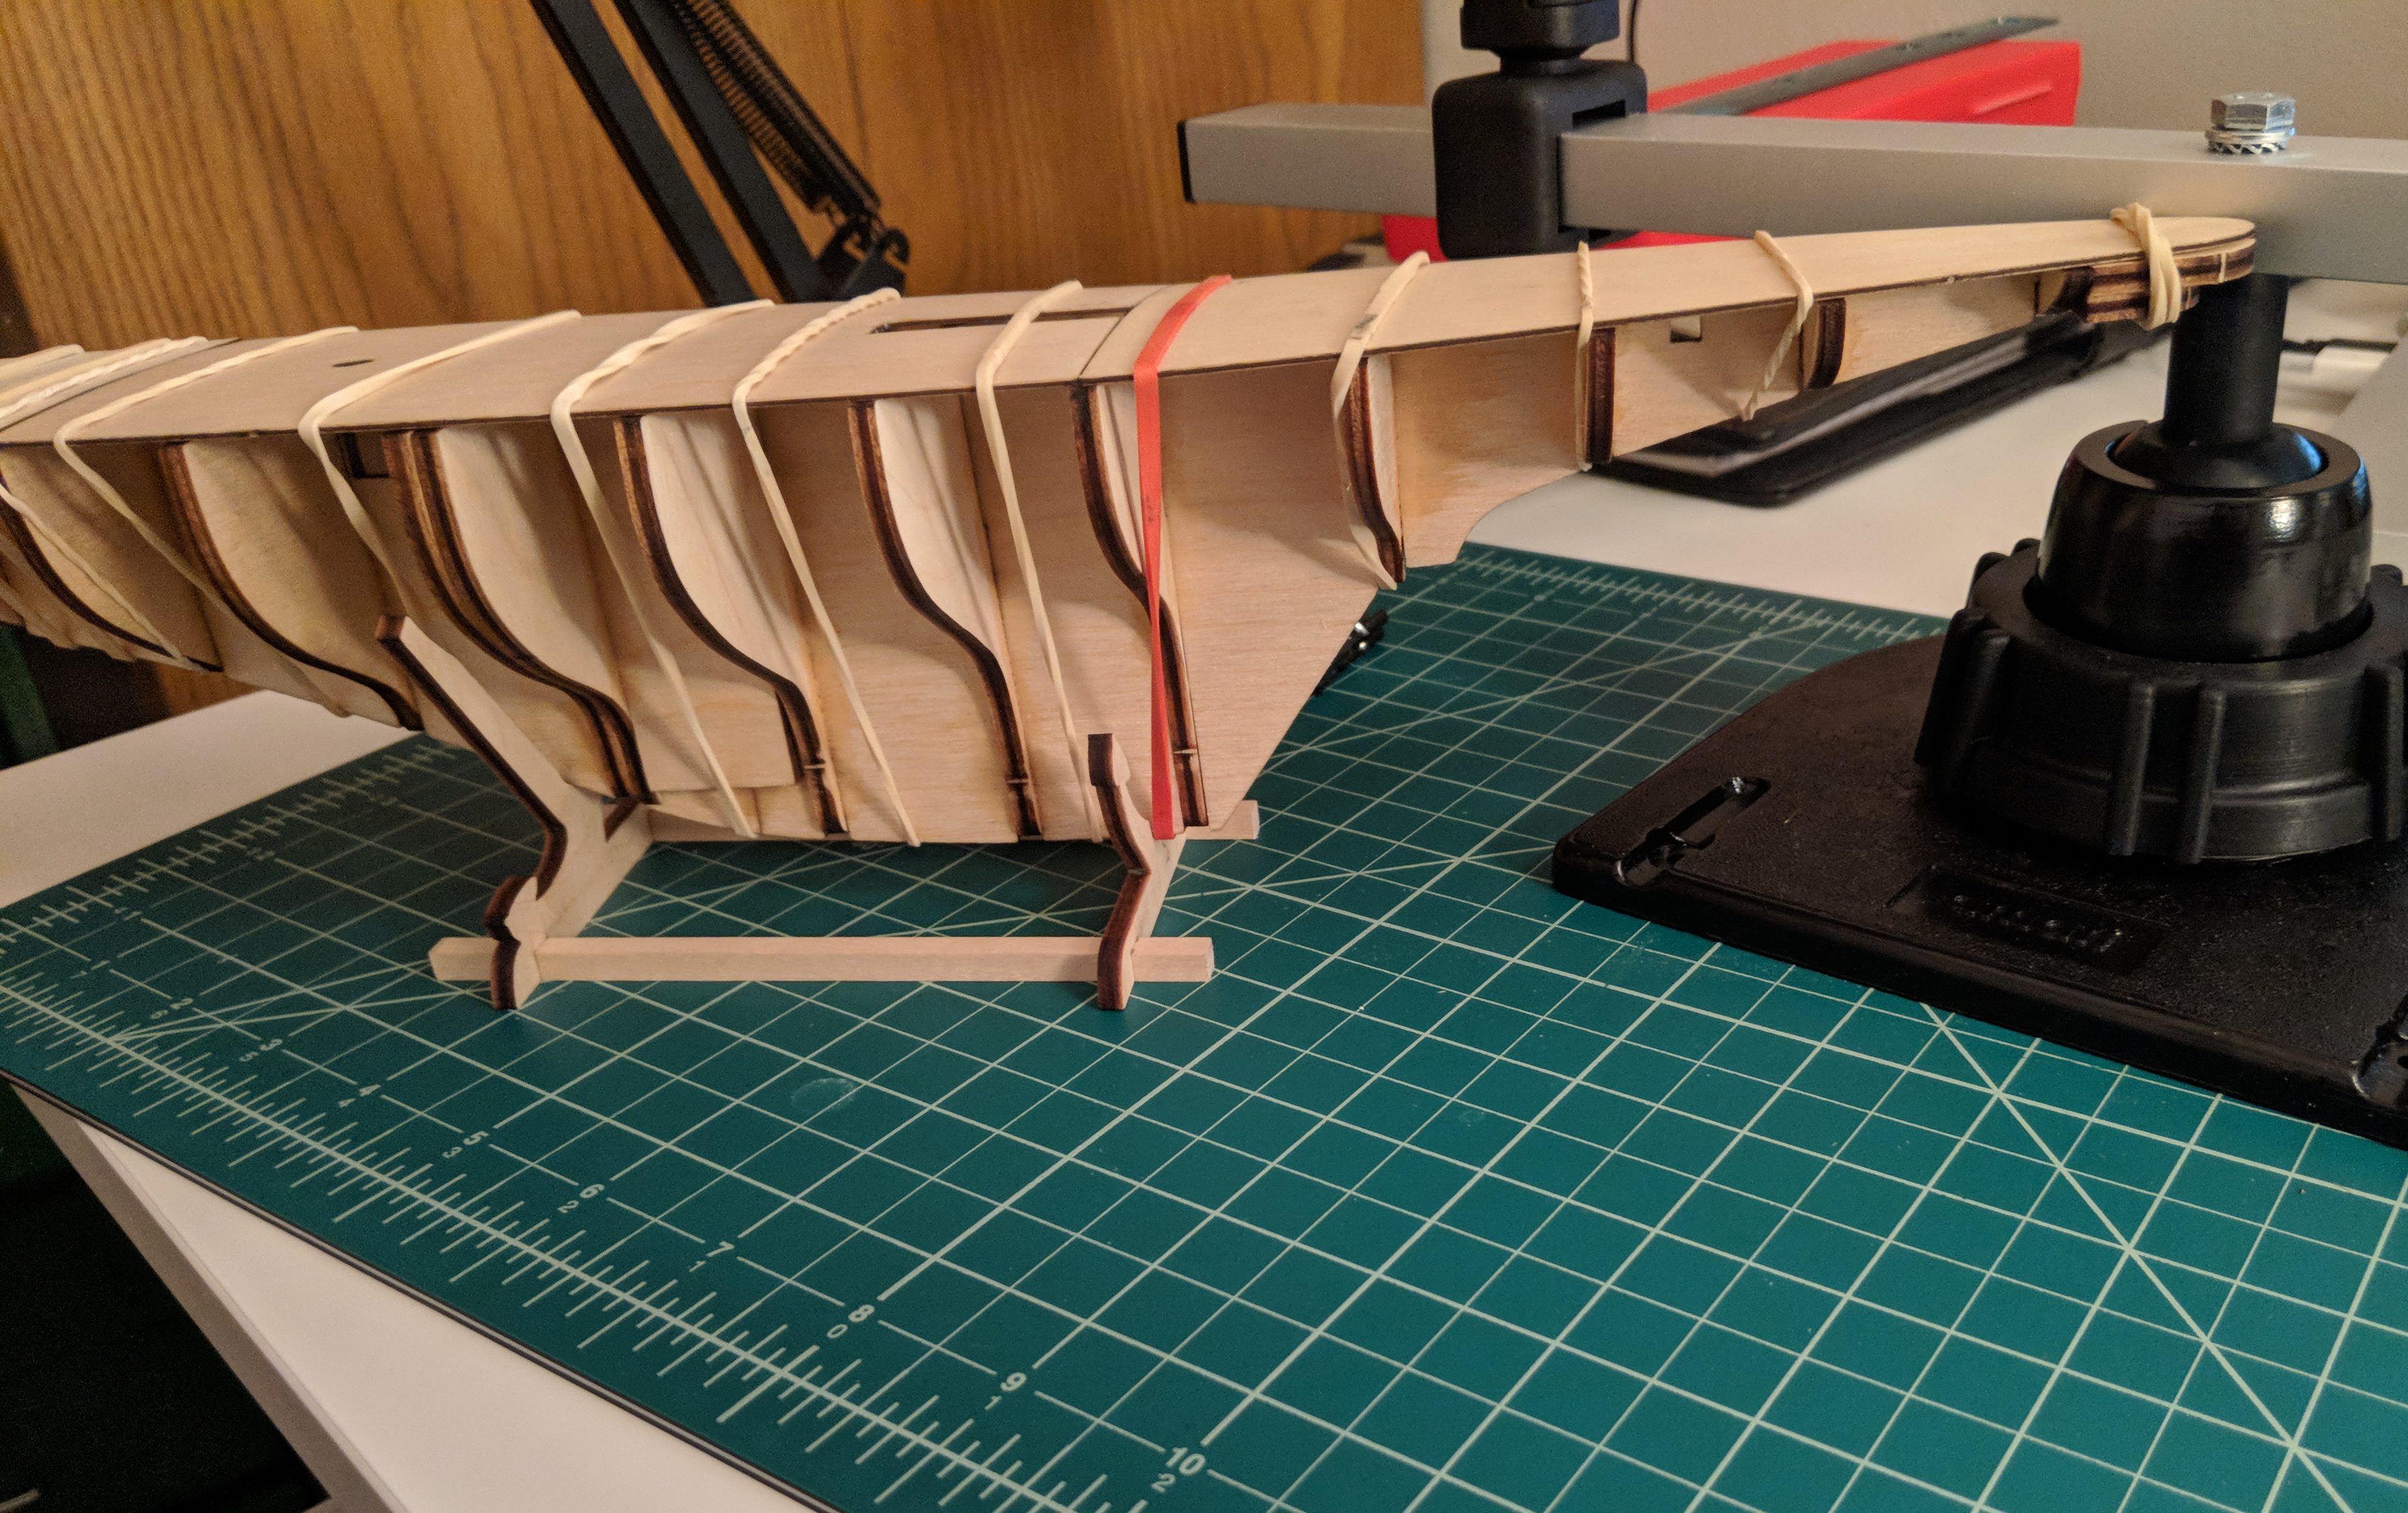
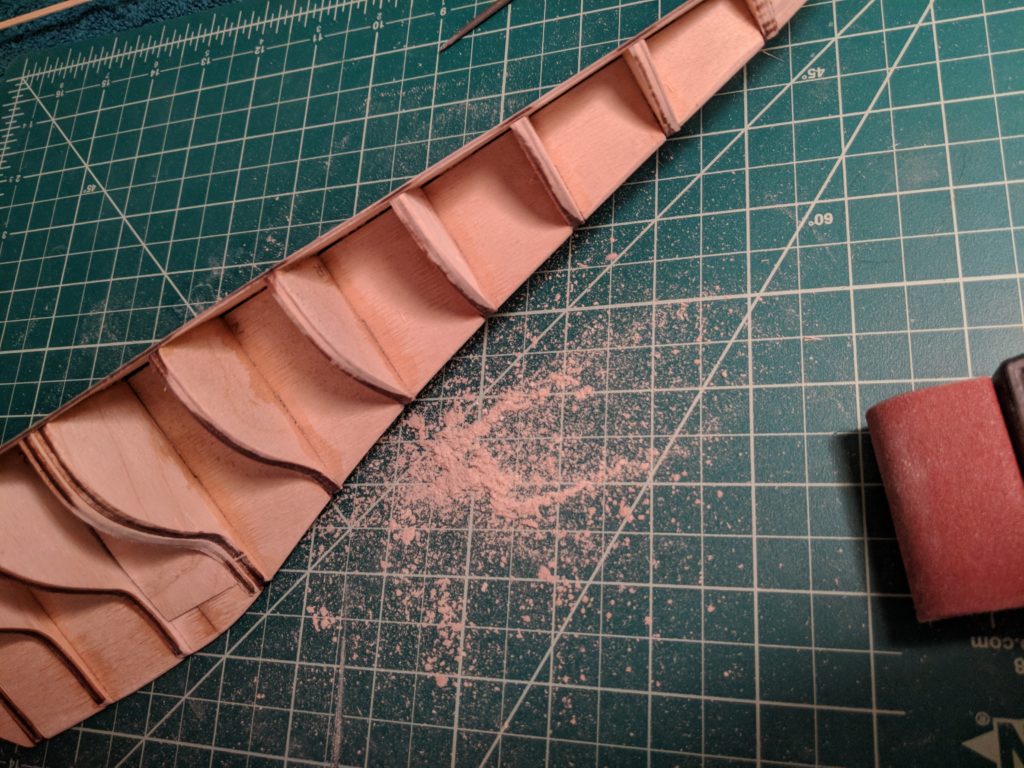
Filing down the filler blocks at the stern to bring out that rounded end. Probably would have gone faster with a Dremel, but there's just something about building a boat by hand.
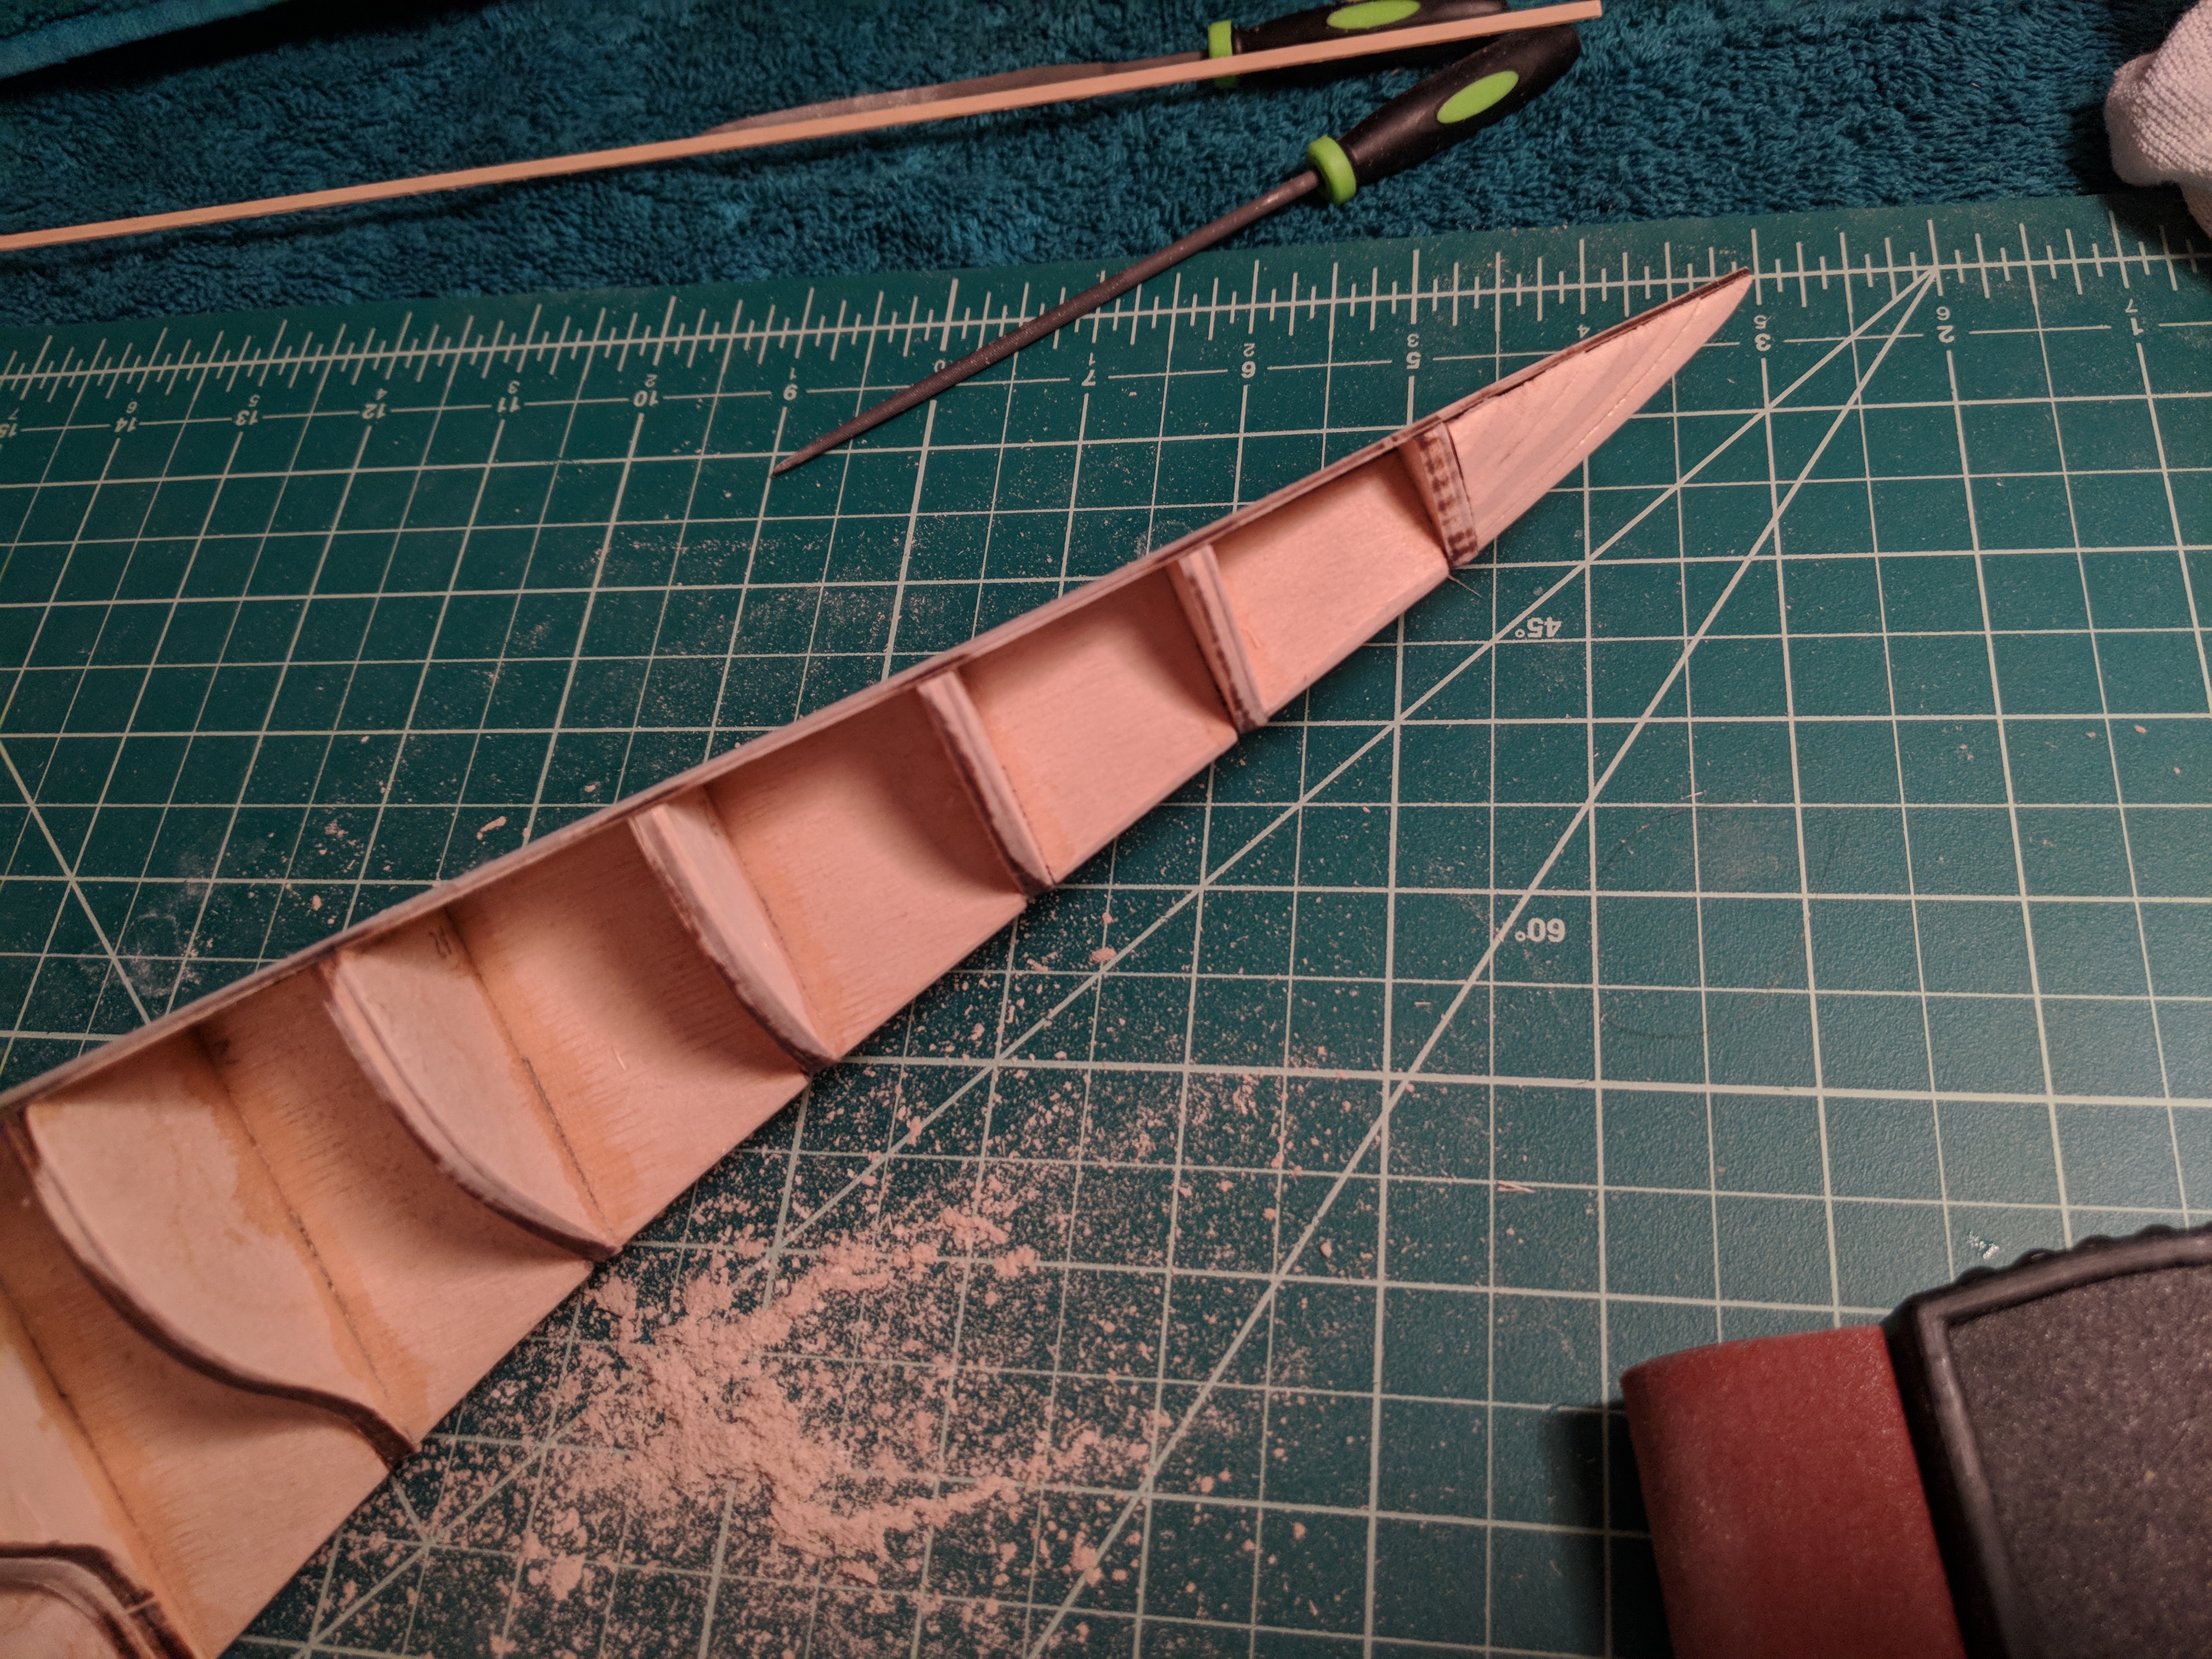
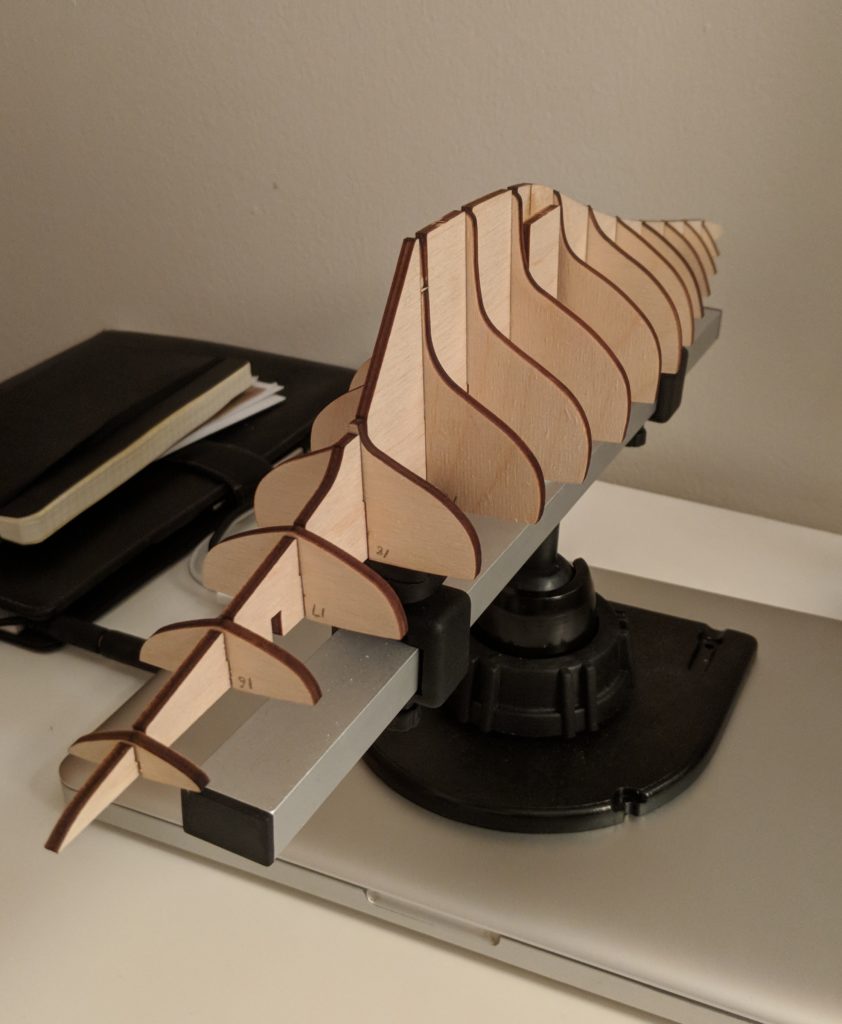
A bit more of the fairing process. Sanding and fairing near completeness finally.